Page 11For technical questions, please call 1-800-444-3353.SKU 66615
OPERATING INSTRUCTIONS
Read the ENTIRE IMPORTANT
SAFETY INFORMATION
section at the beginning of this
manual including all text under
subheadings therein before set up
or use of this product.
Tool Set Up
TO PREVENT
SERIOUS INJURY
FROM ACCIDENTAL
OPERATION:
Turn the Power Switch (11) off
and unplug the Polisher from its
electrical outlet before
performing any inspection,
maintenance, or cleaning
procedures.
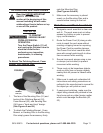
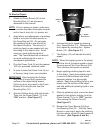
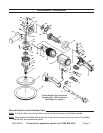
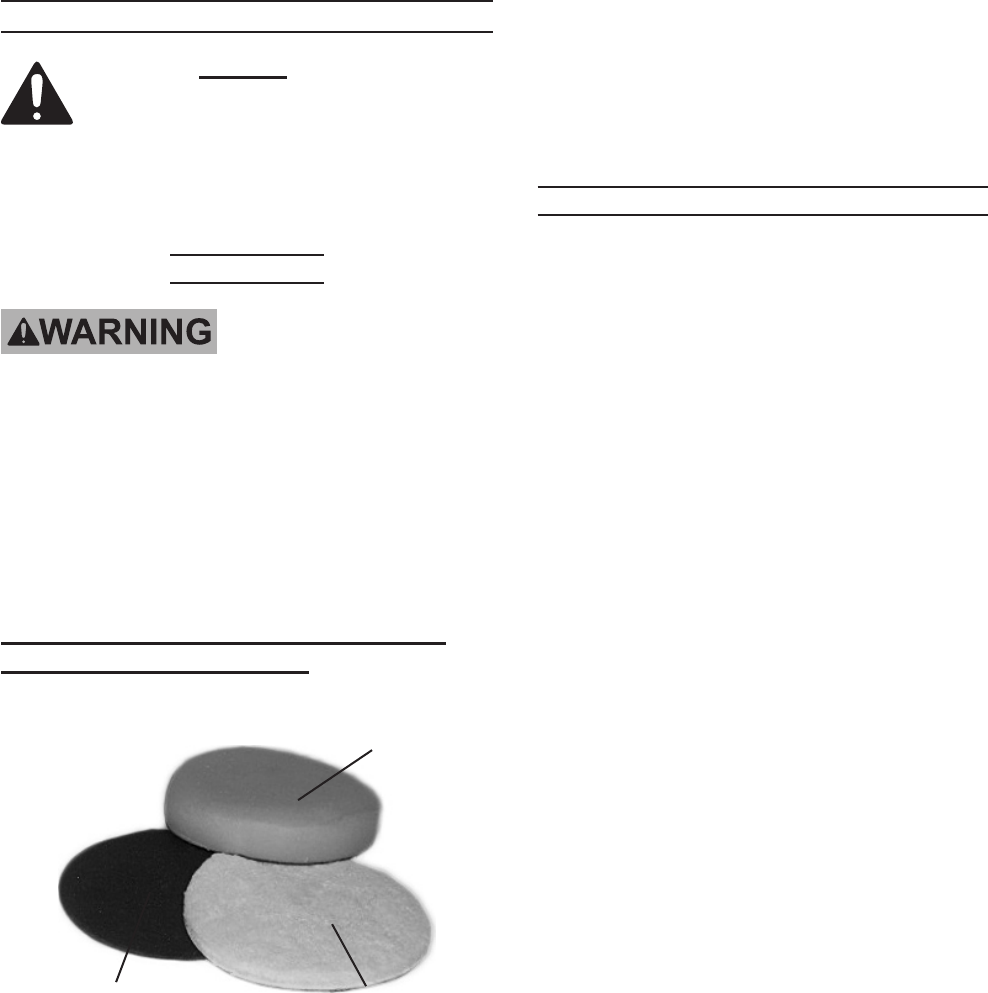
To Attach The Polishing Bonnet, Foam
Bonnet, And Sanding Disc:
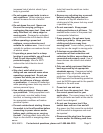
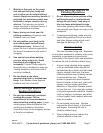
FIGURE A
FOAM
BONNET
(53)
POLISHING
BONNET (52)
SANDING
DISC (54)
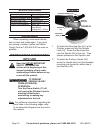
1. The face of the Mounting Disc (51) and
backs of the Polishing Bonnet (52),
Foam Bonnet (53), and Sanding Disc
(See Figures A and B.)
To attach the Polishing Bonnet , Foam 2.
Bonnet, or Sanding Disc to the Mounting
onto the Mounting Disc.
(See Figures A and B.)
Make sure the accessory is placed 3.
evenly on the Mounting Disc and is
secure before turning on the tool.
Work Piece and Work Area Set Up
Designate a work area that is clean and 1.
access by children or pets to prevent
injury and distraction.
Route the Power Cord (5) along a safe 2.
route to reach the work area without
creating a tripping hazard or exposing
the Power Cord to possible damage.
The Power Cord must reach the work
area with enough extra length to allow
free movement while working.
Secure loose work pieces using a vise 3.
or clamps (not included) to prevent
movement while working.
There must not be hazardous objects, 4.
such as utility lines or foreign objects,
nearby that will present a hazard while
working.
Make sure to read and understand all 5.
instructions and safety precautions as
outlined in the manufacturer’s manual for
the object you will polish or sand.
If waxing and polishing, make sure the 6.
object being waxed and polished is free
from burrs and any other foreign matter
which could damage the Bonnets (52,
53).


