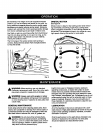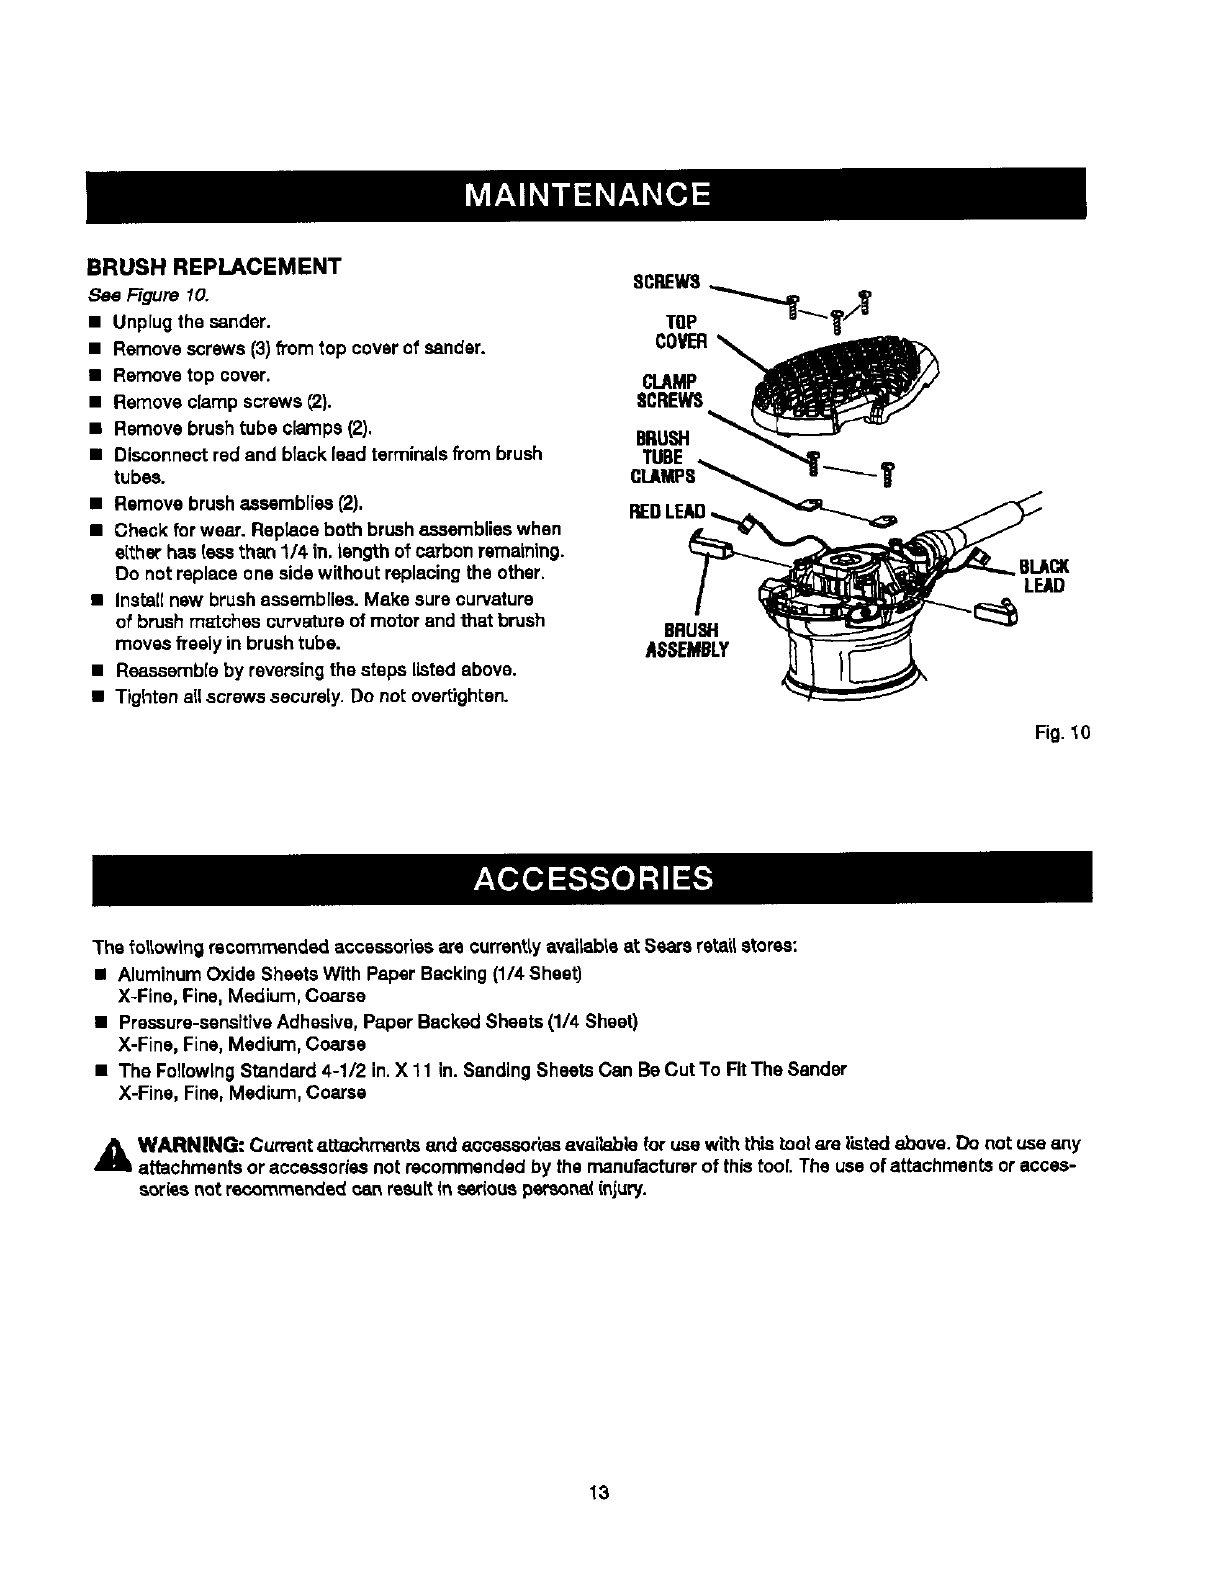
BRUSH REPLACEMENT
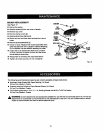
Rgure 10.
• Unp[ugthe sander.
• Remove screws(3)fl'om top coverof sander.
• Remove top cover.
• Remove clamp screws (2.).
• Removebrushtube clamps(2).
• Disconnectred and blacklead terminalsfl'om brush
tubes.
• Remove brushassemblies(2).
• Check for wear. Replaceboth brushassemblieswhen
e(therhas tess than 1/4 in. length of carbon remaining.
Do not replace one side withoutreplacingthe other.
• Installnew brushassemblies.Make sure curvature
of brushm_ches curvatureof motorand that brush
moves freely in brushtube.
• Reassembleby reversingthe steps listedabove.
• Tightenallscrews securely.Do not overtighten.
BLACX
LEAD
Fig._0
The following recommendedaccassodas arecurrentlyawitab_eat Searsretail stores:
• AluminumOxide SheetsWith Paper Backing(1/4 Sheet)
X-Fine, Fine, Medium, Coarse
• Presaure-sensitTveAdhesive,Paper Backed Sheets(1/4 Sheet)
X-Fine, Fine, Medium, Coarse
• The FollowingStandard4-1/2 in.X 11 in.Sanding SheetsCan Be Cut To FitThe Sander
X-Fine, Fine,Medium, Coarse
A WARNING: Currentattanhments end accessoriesevailablafor use with this tsof are listedabove. Do not use any
attachmentsor accessoriesnot recommendedby the manufacturerofthistool. The use ofattachments oracces-
sor(esnot recommsnde_ can resultIn ser(ouspersona(injury.
13


