


17
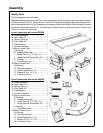
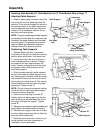
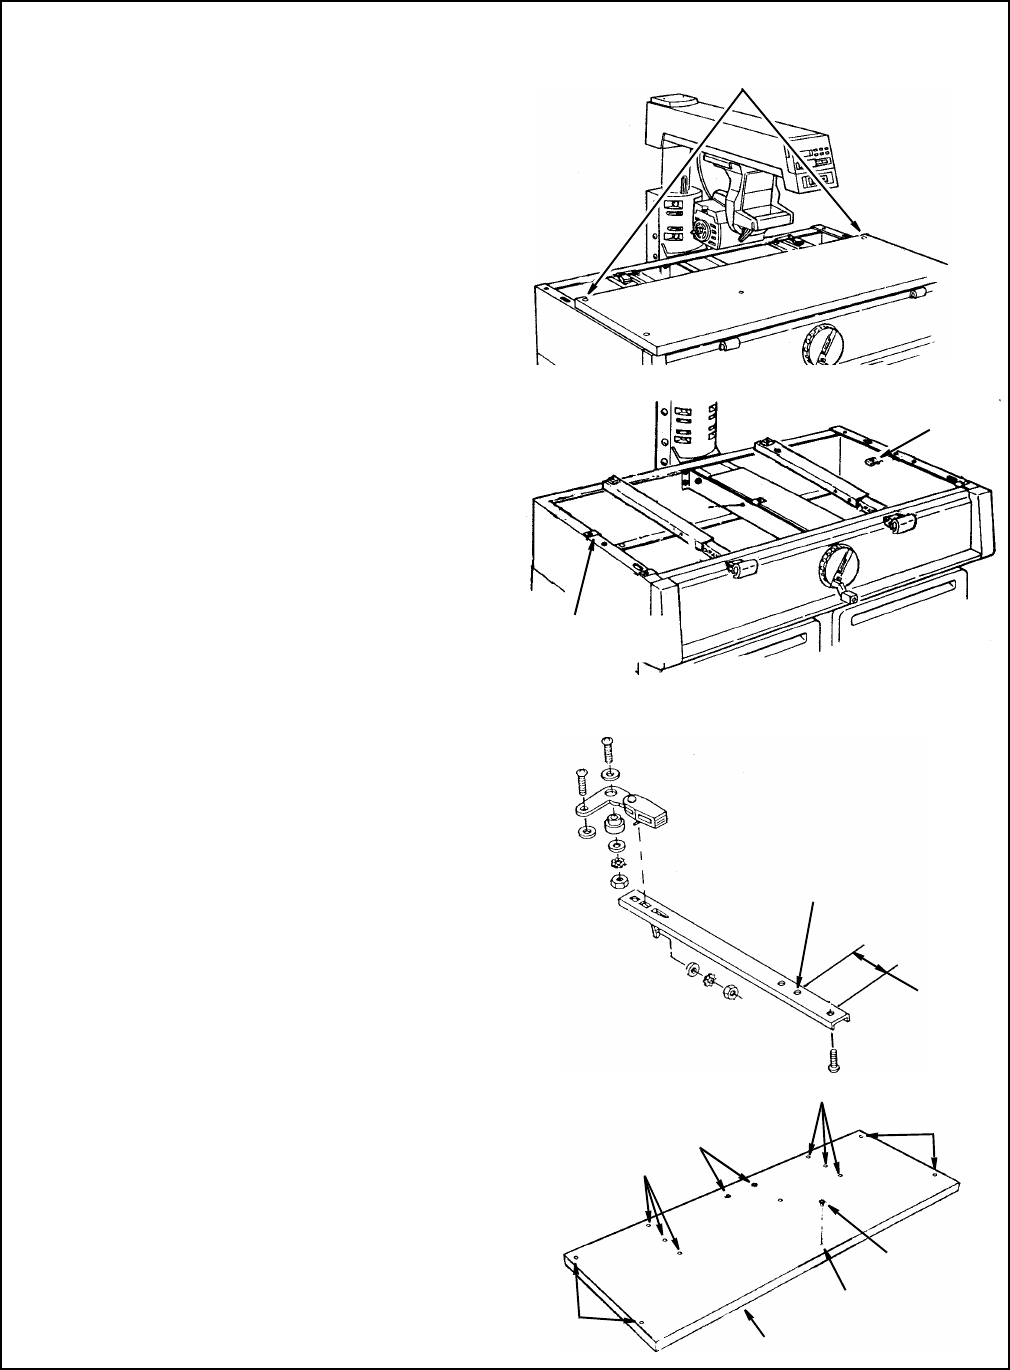
Installing Table Boards (44" Wide
Models)
Installing Front Table
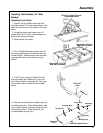
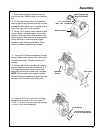
1. Position the front table and insert the
front two screws. The rear screw holes in the
table do not line up on any holes in the saw
base.
2. Using the rear screw holes as a drill
guide, drill a 5/16" hole in the saw base for
each of the two rear screws.
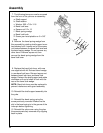
3. Remove the front table.
4. The U-Clips that were used as nuts for
the rear screws must be moved to the new
screw location. Remove them from the saw
and reinstall them on the holes you just
drilled.
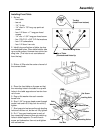
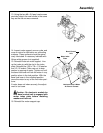
5. A 5/16" hole must be drilled in the left
and right table rails. Measure 3" from the
front hole and drill a second hold. This new
hole will be used to mount the front table
board.
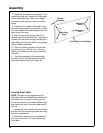
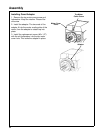
6. Identify top and bottom of table: top has
counterbored holes. Place table bottom side
up on solid surfaces. Hammer three tee nuts
into leveling holes. (These holes are not
counterbored from the top.)
Drill 5/16" Holes Through
Sheet Metal Base
Reposition U-Clip to
New Hole Location
Reposition U-Clip to
New Hole Location
3"
Drill 5/16"
Hole
Mounting
Tee Nut
Leveling Hole
Front Table-Upside Down
Leveling Hole
Holes
Mounting
Holes
Screw Hole
Screw Hole
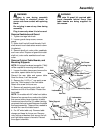
Assembly