


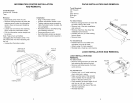


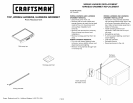

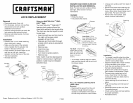

ACTUATORROD BRACKET
INSTALLATION AND REMOVAL
Removal
• Disconnect power from unit.
• For roll-aways, remove work surface.
(See drawer and work surface
installation and removal.
• Remove enough drawers to reach the
top back inside of the unit. (See
Drawer and Work surface installation
and removal.)
• Remove top from unit. (See top
installation and removal for your unit.)
• Pull actuator rod bracket forward. Lift
out to remove.
Installation
• insert actuator rod bracket into hole in
back corner of unit. Ensure actuator
rod bracket snaps into place. Note:
The flexible tab should be in front.
• Reinstall top in unit.
• insert back of actuator rod into
actuator rod holder in top back of unit.
• Push actuator rod toward back of unit
and line up with lock. Insert actuator
rod into back of lock.
• Test lock operation.
• Reinstall drawers.
• Reconnect power to the unit.
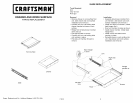
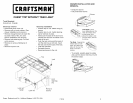
LOCK BAR INSTALLATION AND
REMOVAL
Removal
• Disconnect power from the unit.
• For roll-aways, remove work surface.
(See drawer and work surface
installation and removal.
• Remove all drawers.
• Remove actuator rod and actuator
channel. (See actuator rod and
actuator channel installation and
removal.)
• Remove top from unit.
• See top removal for your unit.
• Lift lock bar out through hole in top of
unit.
Removal
• Insert lock bar through hole in top of
unit.
• Slide lock bar down through lock bar
guide.
• Reinstall top on unit.
• Reinstall actuator channel and
actuator rod.
• Test lock operation.
• Reinstall drawers.
• Reconnect power to the unit.
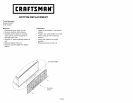
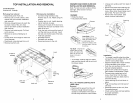
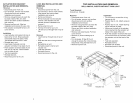
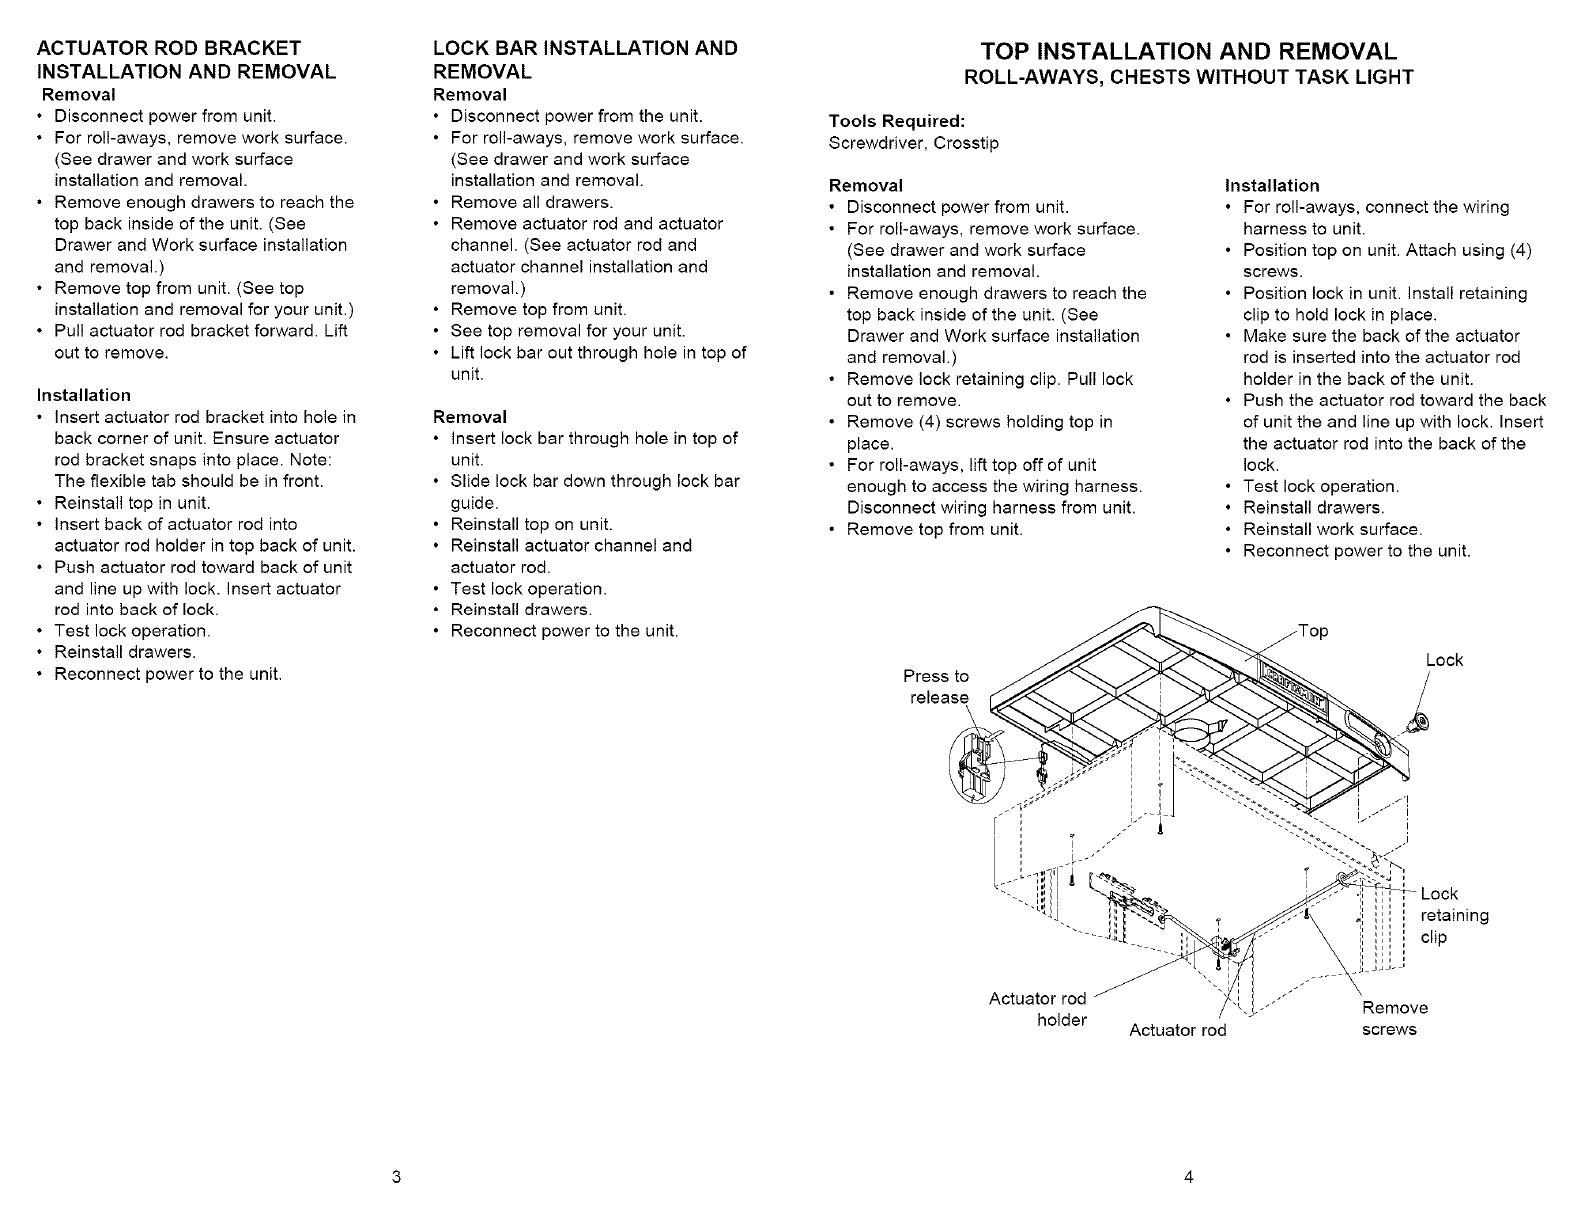
TOP INSTALLATION AND REMOVAL
ROLL-AWAYS, CHESTS WITHOUT TASK LIGHT
Tools Required:
Screwdriver, Crosstip
Removal
• Disconnect power from unit.
• For roll-aways, remove work surface.
(See drawer and work surface
installation and removal.
• Remove enough drawers to reach the
top back inside of the unit. (See
Drawer and Work surface installation
and removal.)
• Remove lock retaining clip. Pull lock
out to remove.
• Remove (4) screws holding top in
place.
• For roll-aways, lift top off of unit
enough to access the wiring harness.
Disconnect wiring harness from unit.
• Remove top from unit.
Installation
• For roll-aways, connect the wiring
harness to unit.
• Position top on unit. Attach using (4)
screws.
• Position lock in unit. install retaining
clip to hold lock in place.
• Make sure the back of the actuator
rod is inserted into the actuator rod
holder in the back of the unit.
• Push the actuator rod toward the back
of unit the and line up with lock. Insert
the actuator rod into the back of the
lock.
• Test lock operation.
• Reinstall drawers.
• Reinstall work surface.
• Reconnect power to the unit.
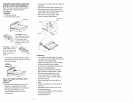
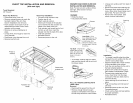
Press to
release
Lock
Actuator rod
holder
Actuator rod
retaining
clip
•JL;
Remove
screws
3 4