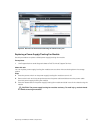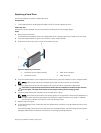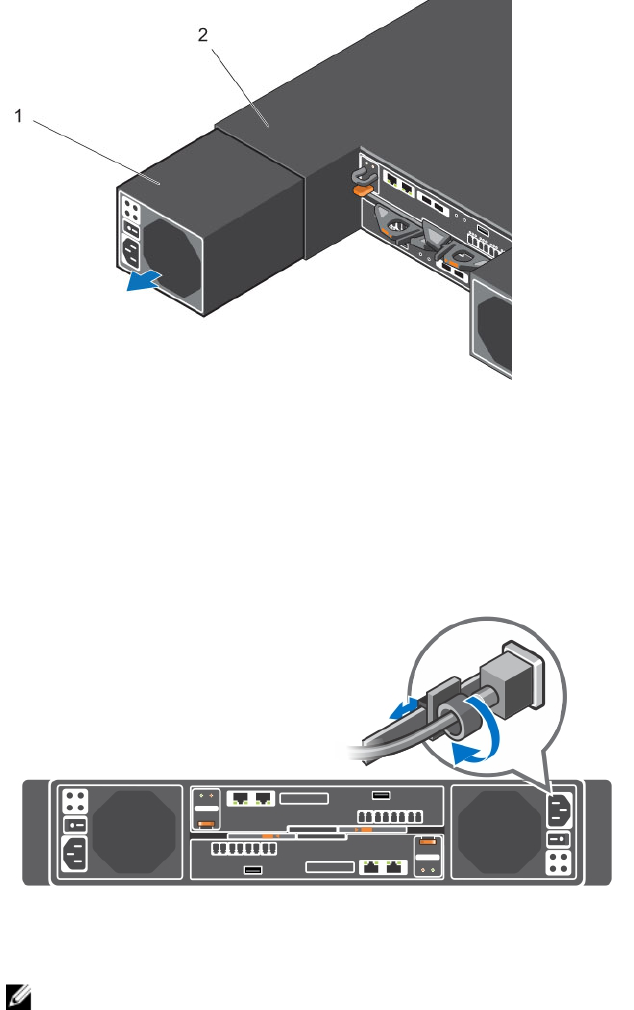
Figure 14. Removing a Power Supply/Cooling Fan Module
1. Power supply/cooling fan module 2. Storage system chassis
4. Slide the replacement power supply/cooling fan module into the chassis until it is fully seated and
the release tab clicks into place.
5. Connect the power cable to the power supply/cooling fan module and make sure that the cable is
plugged into a power outlet.
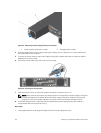
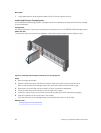
6. Secure the power cable using the hook-and-loop strap.
Figure 15. Securing the Power Cable
7. Press the power switch on the power supply/cooling fan module to turn it on.
NOTE: Allow several seconds for the storage system to recognize the power supply/cooling fan
module and determine its status. When the power supply/cooling fan module is functioning
properly, the AC power status indicator turns green and the three fault indicators are off.
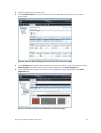
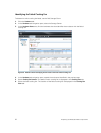
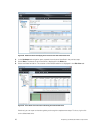
8. In the Dell Storage Client, make sure that the replacement power supply/cooling fan module is
recognized and shown as up and running.
Next steps
1. Use SupportAssist to send diagnostic data to Dell Technical Support Services.
24
Replacing SCv2000/SCv2020 Components


