


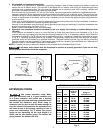
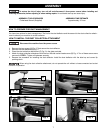
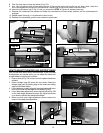

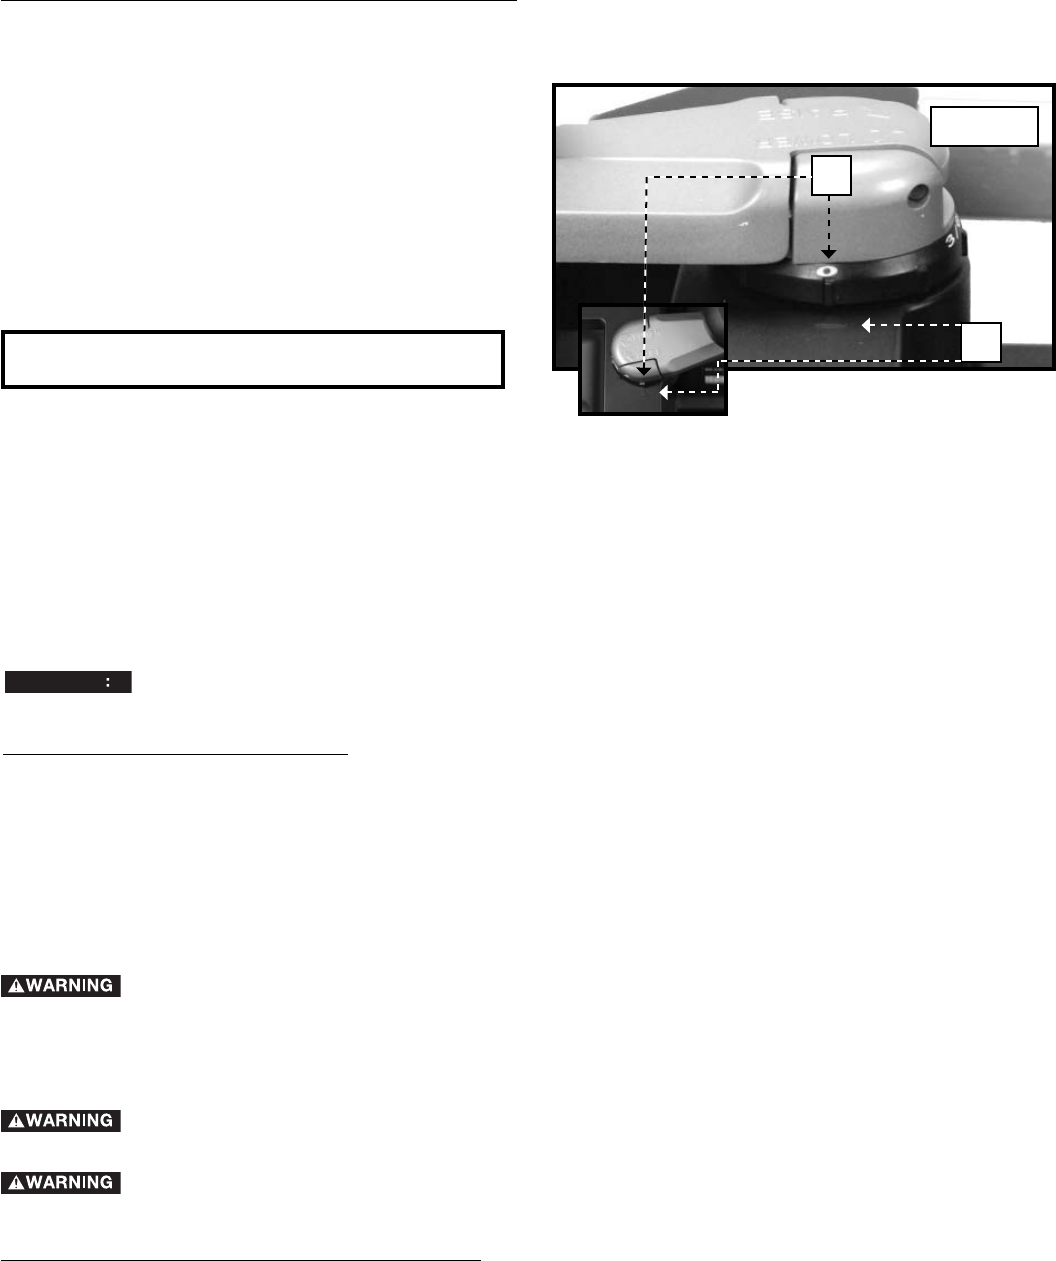
1. Measure the thickness of a planed board.
2. Set the zero position of the ring (A) Fig. 18 to align with
the arrow (B).
3. Rotate the handle to the desired depth of cut, as
indicated on the ring. Each indicator on the ring is
equivalent to 1/128" (.2 mm) for making minute cuts.
4. Plane the workpiece.
HOW TO USE THE ADJUSTABLE INDEXING RING
Follow these few steps to achieve the best results.
1. True One Face – Feed one face of the board over a jointer, making thin cuts with each pass, until the entire surface
is flat.
2. Plane to Thickness – Place the side you just surfaced in STEP 1 face down and feed the board through the planer,
plane until this side is flat. Then plane both sides of the board until you are satisfied with the thickness, making
thin cuts, alternating sides with each pass. If, during the planing operation, you notice the board twisting, warping
or bowing, repeat STEP 1 and true one face.
3. When planing long stock, provide additional support to the infeed and outfeed end of the workpiece.
4. Always engage the cutterhead lock before planing. Plane with the grain only, and keep table clean. Occasionally, wax
the table surface to reduce friction.
5. Cross-cut the workpiece to its final length.
NOTICE
Feed the wood through the planer at different places on the table to help eliminate uneven wear of the
knives.
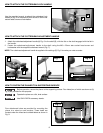
MACHINE USE
The cutterhead adjusting handle has an adjustment ring (A) Fig. 18. To use the adjustment ring to make fine adjustments:
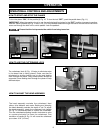
PROPER PLANING TECHNIQUES
1. Lower the carriage to the desired height for your rst pass.
2. Turn the unit on and feed the material into the feed rollers.
3. Examine the nished cut and adjust the carriage to the appropriate height for your next pass.
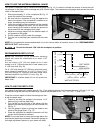
4. Feed workpieces through alternating areas of the planer for even blade wear – not just through the center of the
machine. One way to do this is to start with the workpiece on the left in one pass, in the middle on the next and on
the right side for third pass – and then repeat.
NOTE: Flip the board back and forth between each pass.
Do not turn the unit on with the workpiece inserted under carriage. Wait until the roller and cutterhead are
up to full speed before feeding your material into the machine.
For best results, plane both sides of the workpiece to reach desired thickness. For example, if you need to remove 1/8"
from your workpiece, remove 1/16" from each side. This not only allows the workpiece to dry with an even moisture
content, it also produces ner cuts.
Plane only wood that is free from foreign objects, with no loose knots and as few tight knots as possible.
Do not plane wood that is severely warped, twisted, knotted or bowed.
Do not place your body between the rear of the planer and a stationary object while material is feeding.
Serious injury could result.
MINIMUM/MAXIMUM WIDTH/HEIGHT/DEPTH
NOTE: Always plane in the direction of the grain. Support the workpiece adequately at all times. Planing material less
than 3/4" wide is not recommended. If you must plane narrow material, group several pieces together and plane them as
one wide workpiece whenever possible. The maximum depth of cut your planer can take in one pass is 1/8" (on material
less than 6” wide). Never attempt to modify your planer to take a deeper cut. Follow the recommended depth/width of
cut guidelines shown in Fig. 16 for best results.
Fig. 18
A
B
11