15
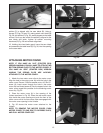
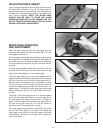
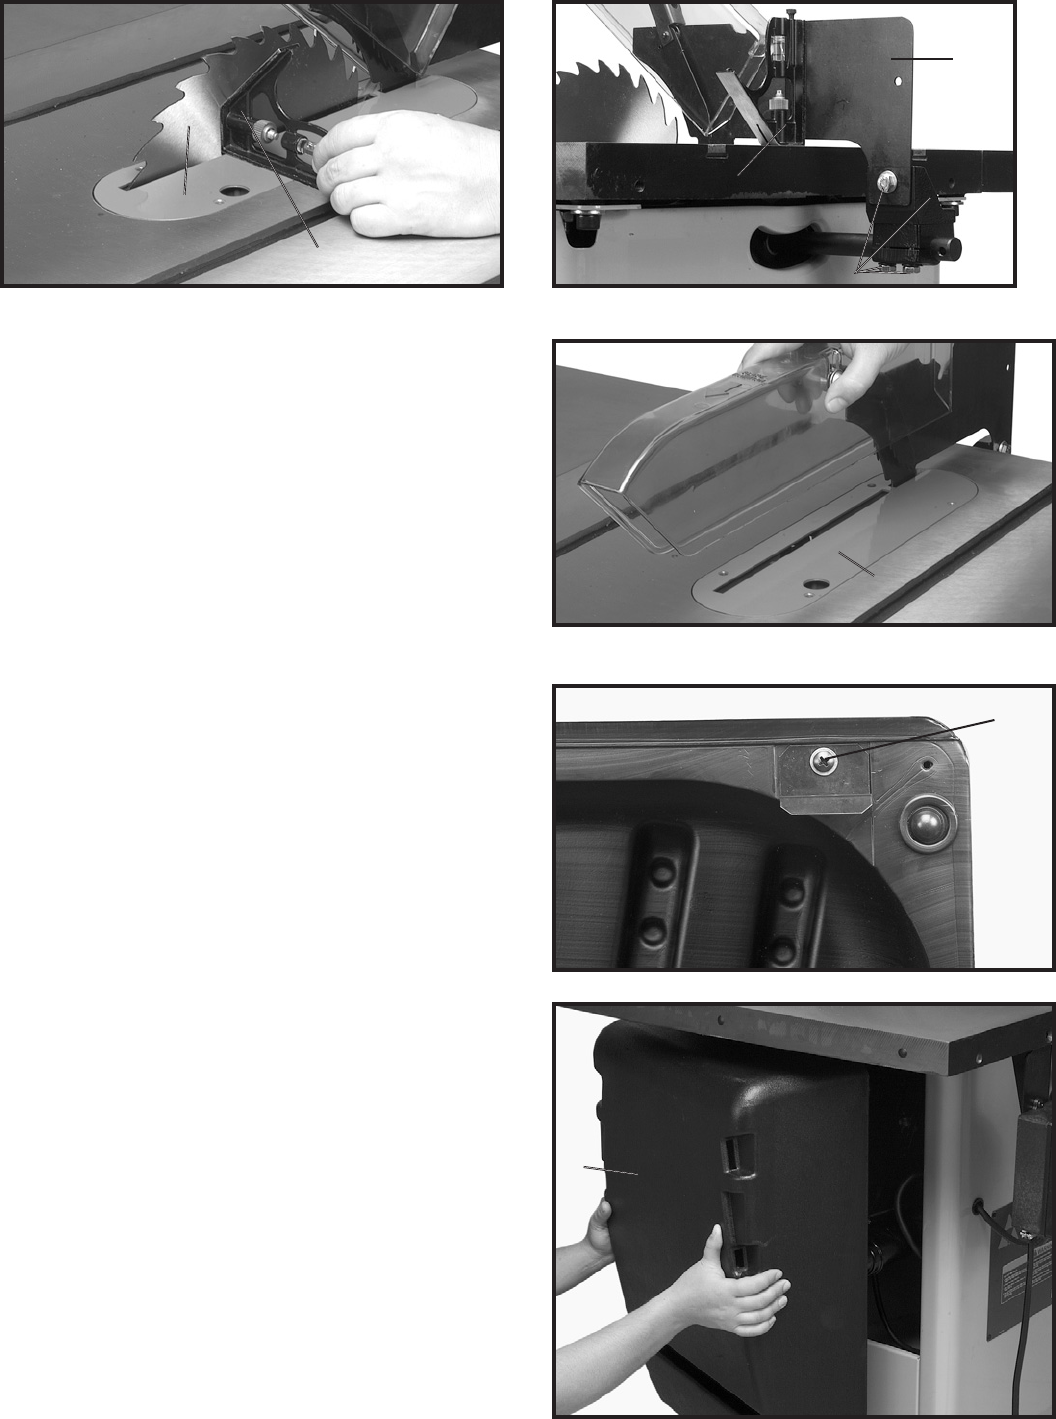
Fig. 28
Fig. 30
Fig. 29
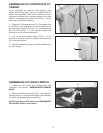
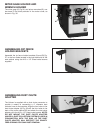
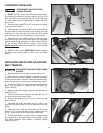
ATTACHING MOTOR COVER
NOTE: IF YOU HAVE AN “LVC” (STARTER BOX)
VERSION UNISAW, YOU WILL HAVE TO ATTACH TWO
BOTTOM SPRING CLIPS TO THE MOTOR COVER. IF
YOU HAVE AN “GPE” (STARTER BOX) VERSION
UNISAW THE SPRING CLIPS ARE ALREADY
ATTACHED TO THE MOTOR COVER.
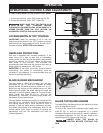
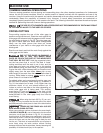
1. Attach the two motor cover clips to the motor cover.
Align the hole in the motor cover clip with the hole in the
motor cover. Place a 13/64 flat washer onto a 10-32x1/2"
screw (A), insert screw through the hole in the motor
cover clip and thread screw (A) into the tapped hole in the
motor cover, repeat this process for the remaining motor
cover clip, Fig. 32.
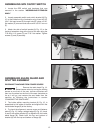
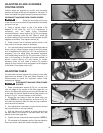
2. Place the motor cover (A) in the opening of the
Unisaw as shown in Fig. 33. Place the rear motor cover
clips inside the motor opening and push the front of the
motor cover until all 4 motor cover clips are engaged with
the motor cover opening in the Unisaw.
3. Fig. 36 shows the motor cover attached to the
Unisaw.
NOTE: TO REMOVE THE MOTOR COVER, PUSH
MOTOR COVER TO ONE SIDE TO DEPRESS CLIPS,
AND PULL MOTOR COVER OFF.
Fig. 32
Fig. 33
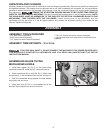
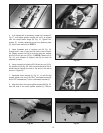
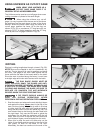
splitter (P) is aligned with the saw blade (B). Using a
square (C) Figs. 28 and 29, make certain saw blade (B)
Fig. 28, and splitter (P) Fig. 29, are 90 degrees to the table
surface. Once you are certain the splitter is aligned to the
saw blade and table, tighten all splitter mounting
hardware (D) Fig. 29 and recheck alignment.
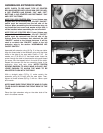
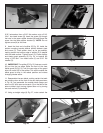
13. Holding the clear blade guard, lower the saw blade
and assemble the table insert (E) Fig. 30, into the opening
on the saw table.
A
C
B
P
C
D
E
A


