


7
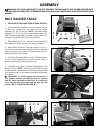
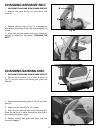
ABRASIVE TO SANDING
DISC
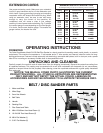
1. DISCONNECT MACHINE FROM POWER SOURCE.
2. Remove one-half of the abrasive backing (A) Fig. 7,
to expose the adhesive.
3. Attach the lower section of the abrasive to the
sanding disc (B), making sure that the abrasive edges
fit the sanding disc edges exactly.
4. Remove the other half of the abrasive backing.
5. Attach the upper edge of the abrasive backing to the
sanding disc. Press the entire abrasive to be certain that
it is attached solidly to the sanding disc.
Fig. 7
A
B
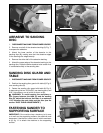
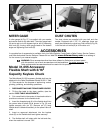
SANDING DISC GUARD AND
TABLE
1. DISCONNECT MACHINE FROM POWER SOURCE.
2. Position the sanding disc guard with table (A) Fig. 8,
over sanding disc (B).
3. Fasten the sanding disc guard with table (A) Fig. 9,
to base using the two 10-24x3/8" pan head screws, and
3/16" flat washers, one of which is shown at (B).
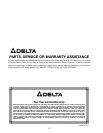
WARNING: To avoid trapping the workpiece or
your fingers between the table (A) and the sanding
disc (B), adjust the table so that there is a maximum
1/16" between the work table and the disc (see the
section “DISC TABLE ADJUSTMENTS”).
Fig. 8
A
B
Fig. 9
A
B
Fig. 10
A
B
C
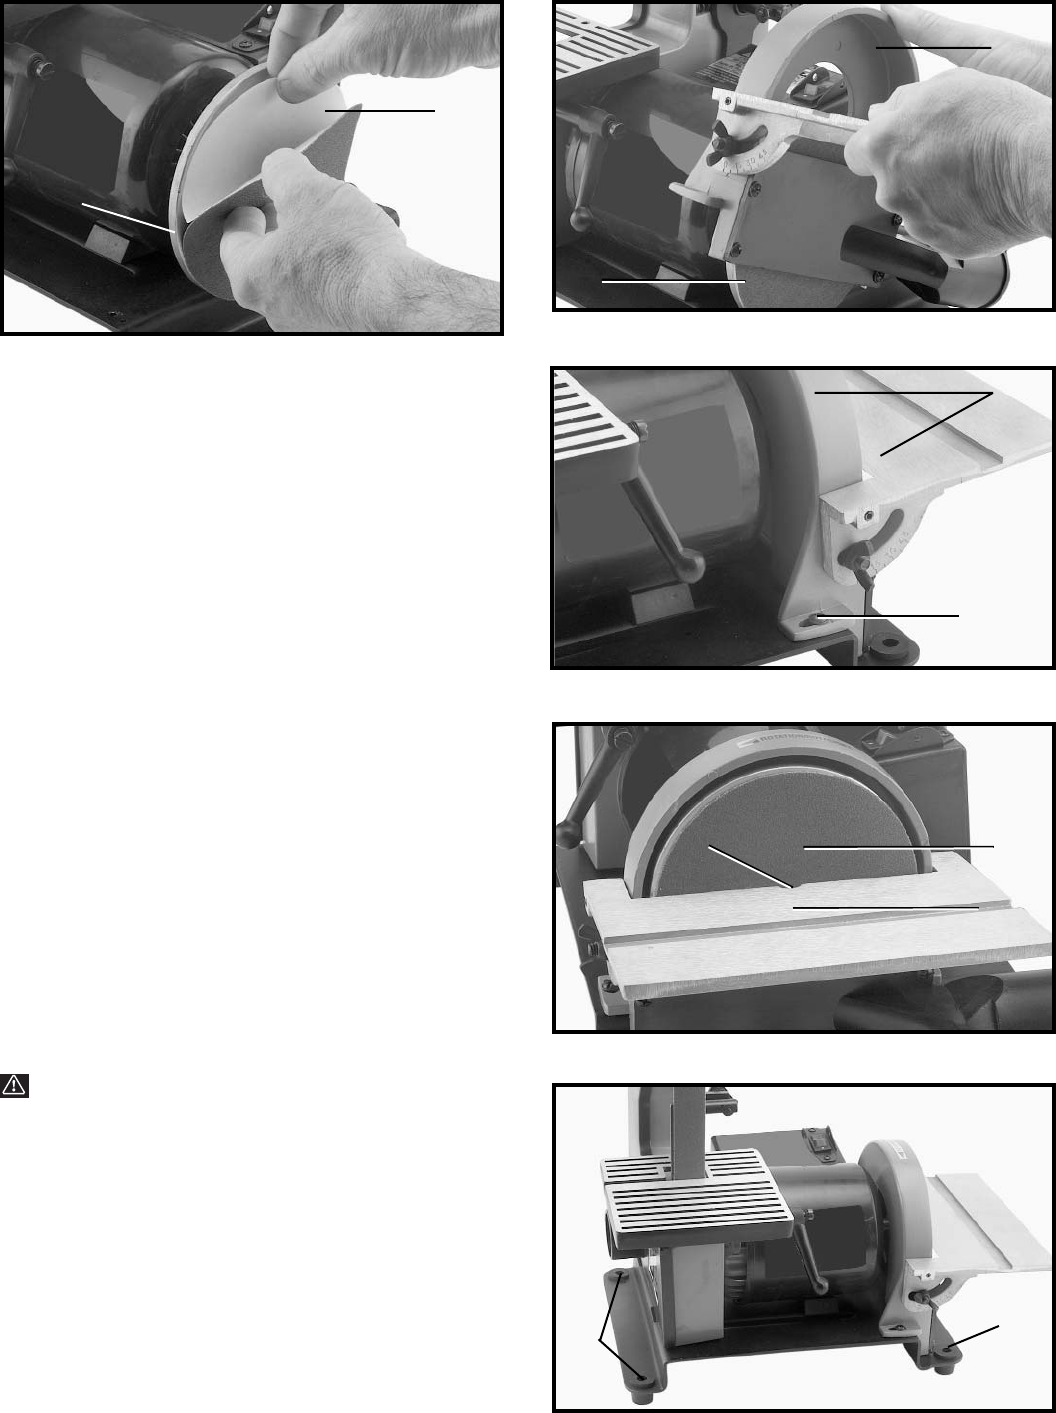
Fig. 11
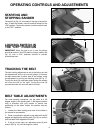
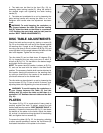
FASTENING SANDER TO
SUPPORTING SURFACE
IMPORTANT: If the machine has a tendency to tip over
or to walk on the supporting surface, the machine must
be secured. Use the four holes, three of which are shown
at (A) fig. 11 to attach the machine to the supporting
surface.
A
A