6
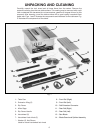
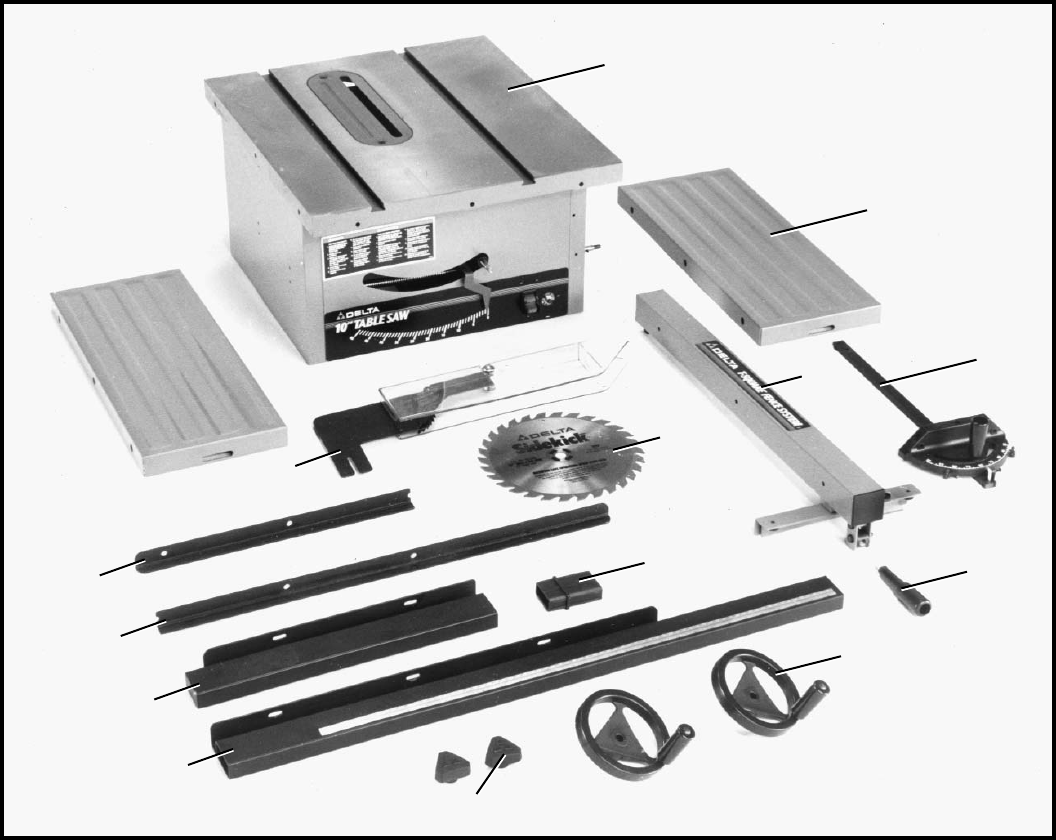
1 - Table Saw
2 - Extension Wing (2)
3 - Rip Fence
4 - Miter Gage
5 - Rip Fence Handle
6 - Handwheel (2)
7 - Handwheel Lock Knob (2)
* - Washer (2), Not Shown
Used to mount handwheel lock knob
Fig. 1
UNPACKING AND CLEANING
Carefully unpack the tool, stand and all loose items from the carton. Remove the
protective coating from the saw table surface. This coating may be removed with a soft
cloth moistened with kerosene (do not use acetone, gasoline or lacquer thinner for this
purpose). After cleaning, cover the table surface with a good quality household floor
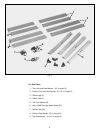
paste wax. Figs. 1 and 2 illustrate the components and hardware for the table saw. Fig.
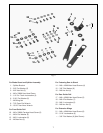
3 illustrates the components of the stand.
8 - Front Rail (Right)
9 - Front Rail (Left)
10 - Rail Extension Connector
11 - Rear Rail (Right)
12 - Rear Rail (Left)
13 - Saw Blade
14 - Blade Guard and Splitter Assembly
1
2
4
5
6
10
13
7
8
9
11
12
14
3


