


English
6
• Do not operate charger if it has received a sharp blow, been
dropped, or otherwise damaged in any way. Take it to an
authorized service center.
• Do not disassemble charger; take it to an authorized
service center when service or repair is required. Incorrect
reassembly may result in a risk of electric shock, electrocution
or fire.
• Disconnect the charger from the outlet before attempting
any cleaning. This will reduce the risk of electric shock.
Removing the battery pack will not reduce this risk.
• NEVER attempt to connect 2 chargers together.
• The charger is designed to operate on standard 120V
household electrical power. Do not attempt to use it on any
other voltage. This does not apply to the vehicular charger.
Using Automatic Tune-Up™ Mode
The Automatic Tune-Up™ Mode equalizes or balances the
individual cells in the battery pack allowing it to function at
peak capacity. Battery packs should be tuned up weekly or after
10 charge/discharge cycles or whenever the pack no longer
delivers the same amount of work. To use the Automatic Tune-
Up™, place the battery pack in the charger and leave it for at least
8 hours. The charger will cycle through the following modes.
1. The red light will blink continuously indicating that the 1-hour
charge cycle has started.
2. When the 1-hour charge cycle is complete, the light will stay
on continuously and will no longer blink. This indicates that the
pack is fully charged and can be used at this time.
3. If the pack is left in the charger after the initial 1-hour charge,
the charger will begin the Automatic Tune-Up™ mode. This
mode continues up to 8 hours or until the individual cells in the
battery pack are equalized. The battery pack is ready for use
and can be removed at any time during the Automatic Tune-
Up™ mode.
4. Once the Automatic Tune Up™ mode is complete, the charger
will begin a maintenance charge; the red indicator will remain
lit.
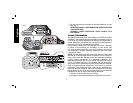
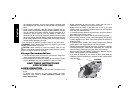
Chargers
Your tool uses a DEWALT 9.6, 12, 14.4, 18 Volt charger. Be sure to
read all safety instructions before using your charger. Consult the
chart at the end of this manual for compatibility of chargers and
battery packs.
Charging Procedure
DANGER: Electrocution hazard. 120 volts present at charging
terminals. Do not probe with conductive objects. Danger of electric
shock or electrocution.
1. Plug the charger into an appropriate outlet before inserting
battery pack.
2. Insert the battery pack into the charger, making sure the pack
is fully seated. The red (charging) light will blink continuously
indicating that the charging process has started.
3. The completion of charge will be indicated by the red light
remaining ON continuously. The pack is fully charged and may
be used at this time or left in the charger.
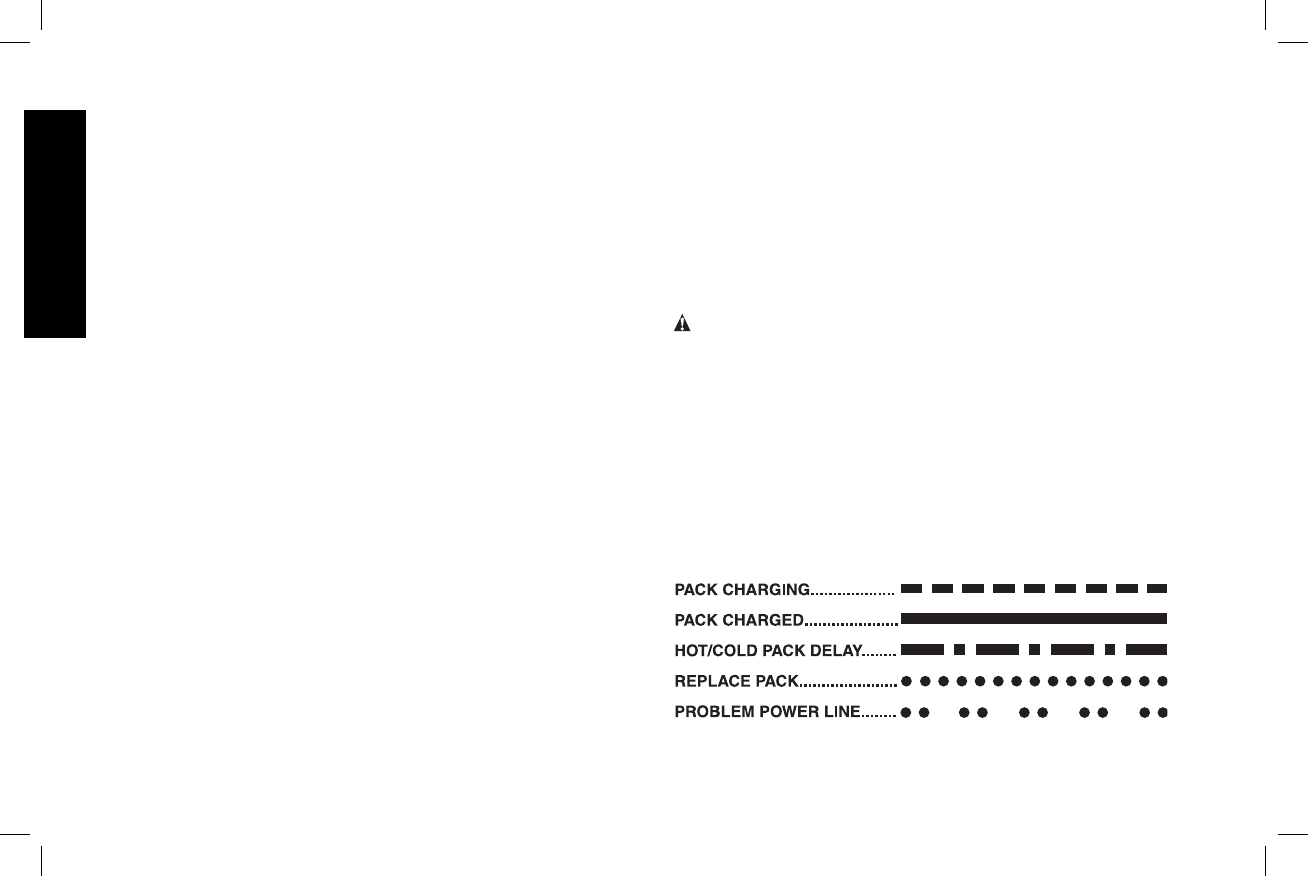
Indicator Light Operation