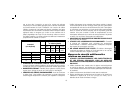
Model Bench Grinder Arbor RPM
DW756 6" (152mm) 1/2" (13mm) 3450
DW758 8" (200mm) 5/8" (16mm) 3600
ASSEMBLY AND ADJUSTMENTS
WARNING: To reduce the risk of injury, turn unit off
and disconnect it from power source before installing and
removing accessories, before adjusting or when making
repairs. An accidental start-up can cause injury.
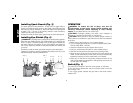
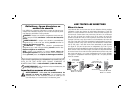
Bench Mounting
1. The grinder should be unplugged.
2. Remove the drilling template from this manual (page 36) and
place it in position of the bench. Check for the availability of power
for the grinder. Tape the template to the bench.
3. Using a center punch, transfer the hole centers for drilling.
4. Drill appropriate sized holes.
5. Insert M8 hex head bolts through washers and the holes. You
may want to use washers on the underside of the bench as well.
6. Tighten the nuts. Do not overtighten. Allow the rubber feet to
absorb the vibration when the grinder is running.
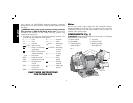
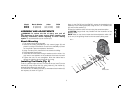
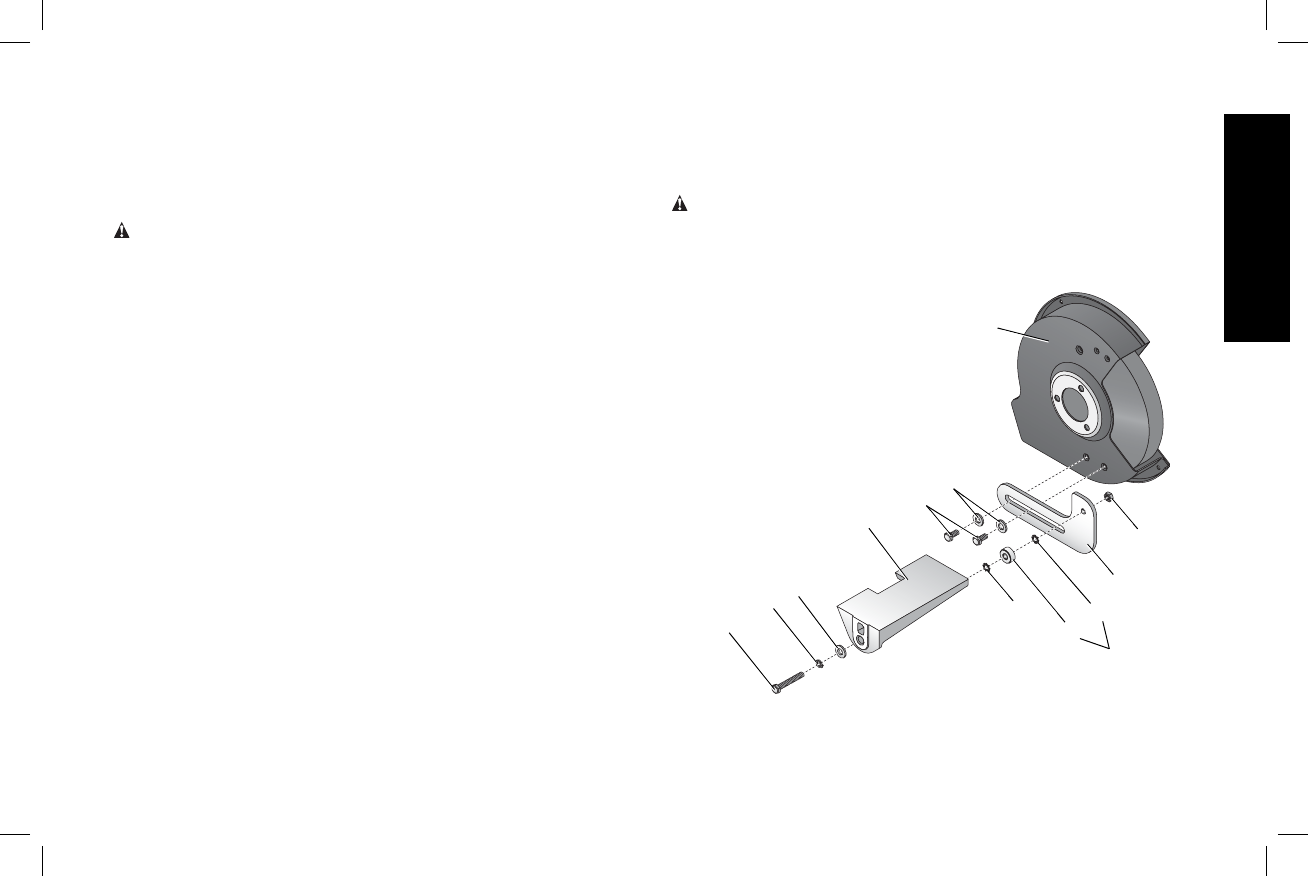
Installing Tool Rests (Fig. 2)
There is a left and right tool rest. First secure the tool rest (D) to the
bracket (G) using the hex bolt (H), spring washer (I), flat washer (J),
external tooth washer (K) and nut (M).
For the DW756, an additional spacer (L) and external tooth washer (K)
are required, as shown in Figure 2.
Next, for the DW756 and the DW758, secure the bracket/tool rest
assembly to the wheel guard (BB) using the two 1/4"-20UNC bolts
(N), and two flat washers (J).
Proceed to install the other tool rest using the same description.
CAUTION: Longer bolts may interfere with the movement of the
grinding wheel.
NOTE: When in use, the tool rests should be adjusted to within 1/8"
(3.18mm) of the grinding wheel or other accessory being used.
H
J
I
K
K
L
G
M
N
J
D
FIG. 2
DW756 ONLY
BB
English
5


