4
UNPACKING
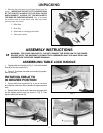
1. Remove the miter saw and all loose items from the
carton. IMPORTANT: DO NOT LIFT THE MITER SAW
BY THE SWITCH HANDLE AS THIS MAY CAUSE
MISALIGNMENT. ALWAYS LIFT THE MACHINE BY
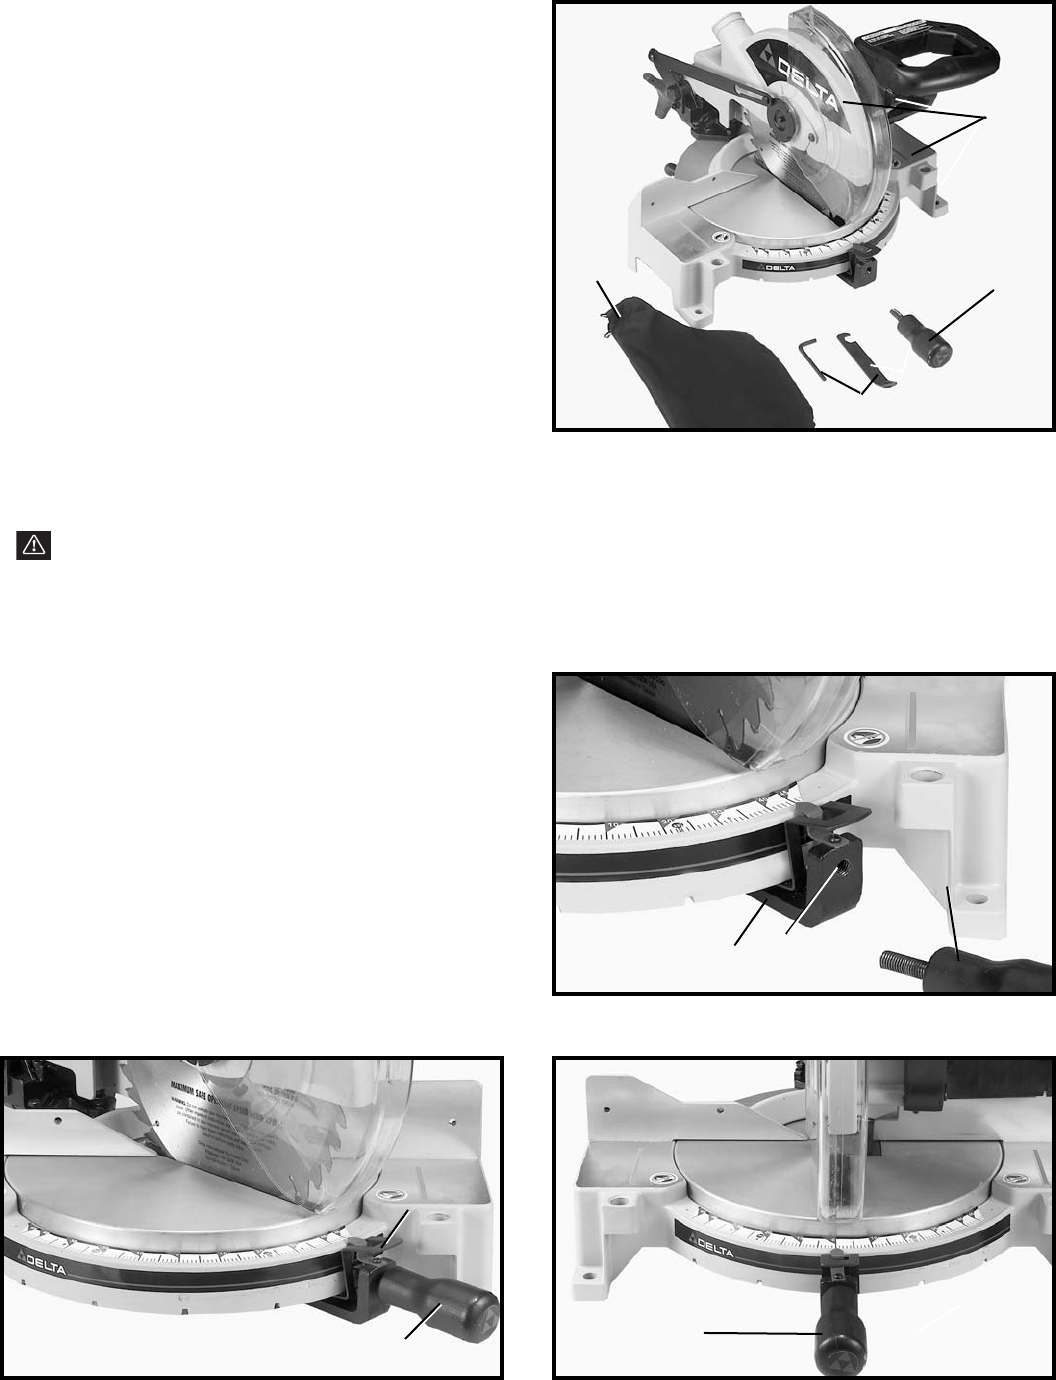
THE BASE OR CARRYING HANDLE. Fig. 2 illustrates
the machine and all loose items after they have been
removed from the carton.
1 - Miter Saw
2 - Dust Bag
3 - Wrenches for changing the blade
4 - Table lock handle
Fig. 2
2
4
3
1
ASSEMBLY INSTRUCTIONS
WARNING: FOR YOUR OWN SAFETY, DO NOT CONNECT THE MITER SAW TO THE POWER
SOURCE UNTIL THE MACHINE IS COMPLETELY ASSEMBLED AND YOU HAVE READ AND
UNDERSTOOD THE ENTIRE OWNER’S MANUAL.
ASSEMBLING TABLE LOCK HANDLE
Fig. 3
Fig. 5Fig. 4
1. Thread table lock handle (A) Fig. 3, into the threaded
hole (B) of the arm bracket (C).
2. Figure 4, illustrates the table lock handle (A) assem-
bled to the saw.
ROTATING TABLE TO
90 DEGREE POSITION
1. Loosen table lock handle (A) Fig. 4, one or two turns
and depress index lever (B) to release 45 degree positive
stop.
2. Rotate table to the left until index stop engages with
the 90 degree positive stop as shown in Fig. 5. Then
tighten table lock handle (A).
A
B
C
B
A
A


