


11
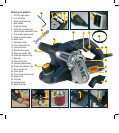
3. Press in the drum spindle lock
button and rotate the barrel
(10) until the barrel is locked
into place. Hold in the lock in
button until the new barrel has
been completely removed.
Note: The blade barrel has two
lock out positions.
Installing a sanding barrel
Note. Sanding drum not supplied.
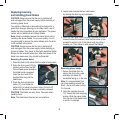
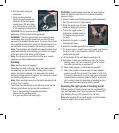
1. Place the planer on its side.
2. Raise the drum guard.
3. Slide a sanding barrel back
into the housing; lining up the
sanding barrel with the spindle.
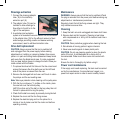
4. Press on the drum spindle lock
(21) and rotate the barrel (10)
until the barrel is locked into
place. Continue to hold in the
lock in button until the new
barrel has been tightly secured.
Note: The drum spindle lock
has two lock out positions.
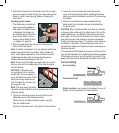
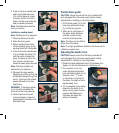
5. Re-insert the large washer,
adjusting its position so that the
spindle end passes through the
centre. Now insert the smaller
washer followed by the hex
head screw.
WARNING. If the larger washer
is not correctly orientated the
drum cannot be firmly secured.
6. Hand screw the hex head
screw clockwise to close the
gap between the washers and
hex head screw.
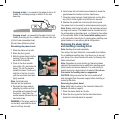
Parallel fence guide
CAUTION. Always ensure that the tool is switched off
and unplugged from the power supply before making
adjustments or installing or removing blades.
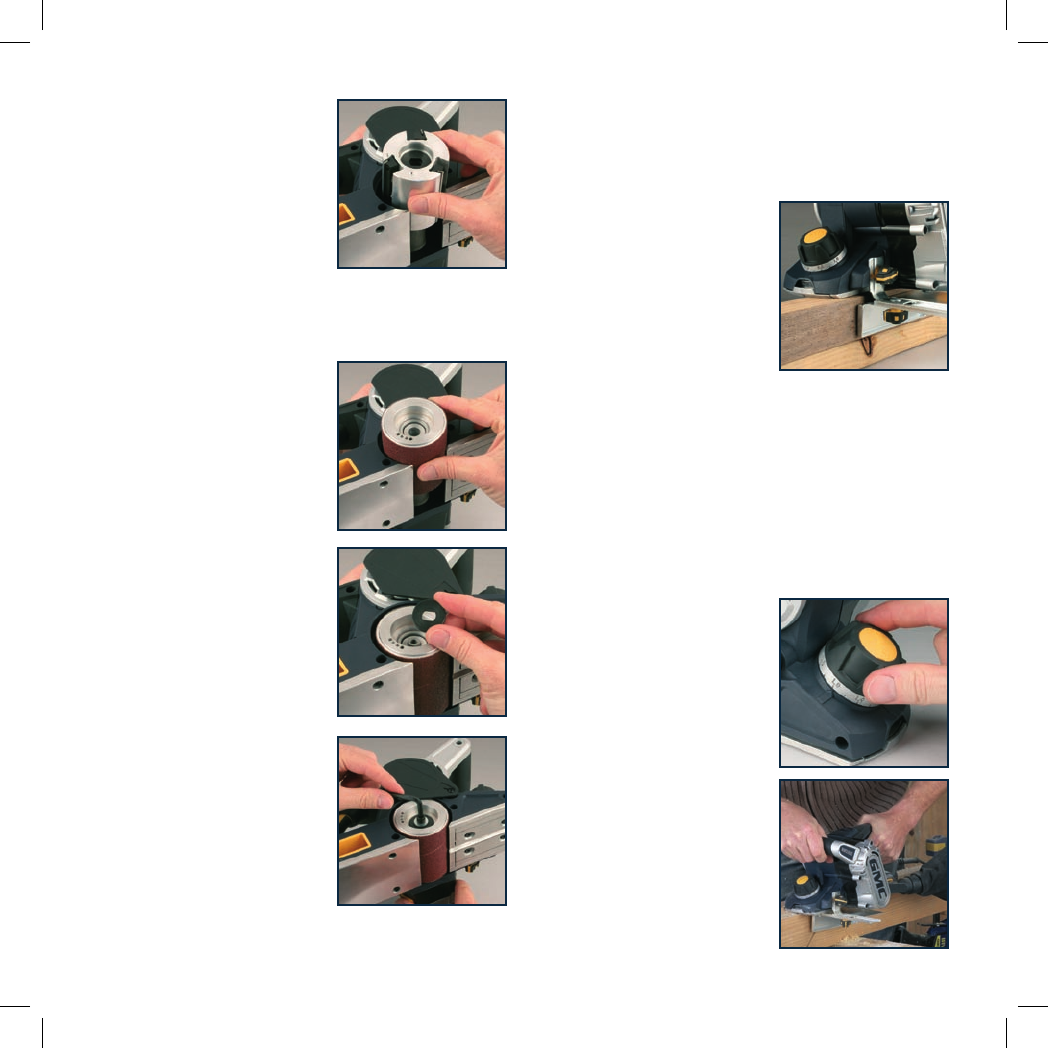
1. Fit the fence guide (14) to the
base by screwing the knobs
(7) into the fixing points.
2. When set at right angles to
the planer base, the fence
provides a guide to help
control the planing action.
Note. The fence can be fitted to
either side of the base.
Note. The angle graduations marked on the fence are for
indicative purposes only.
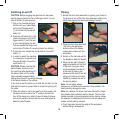
Adjusting the depth of cut
CAUTION. Always ensure that the tool is switched off
and unplugged from the power supply before making
adjustments or installing or removing blades.
1. Rotate the depth adjustment knob (3) clockwise for a
deeper cut and anti-clockwise for a shallower cut.
2. The numbers on the ring
under the depth adjustment
knob indicate the depth of cut.
Example, when “1” is next
to the pointer on the front of
the planer, the depth of cut is
approximately 1mm.
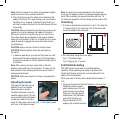
3. If it is necessary to accurately
determine the depth of cut,
plane a scrap piece of wood,
measure the difference in
thickness and adjust the
setting if necessary.