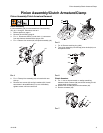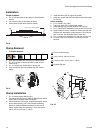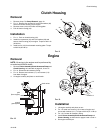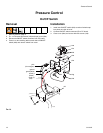
Drive Housing and Connecting Rod
8 311019L
Drive Housing and Connecting Rod
Removal
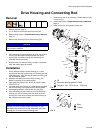
1. Relieve pressure, page 5.
2. F
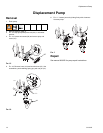
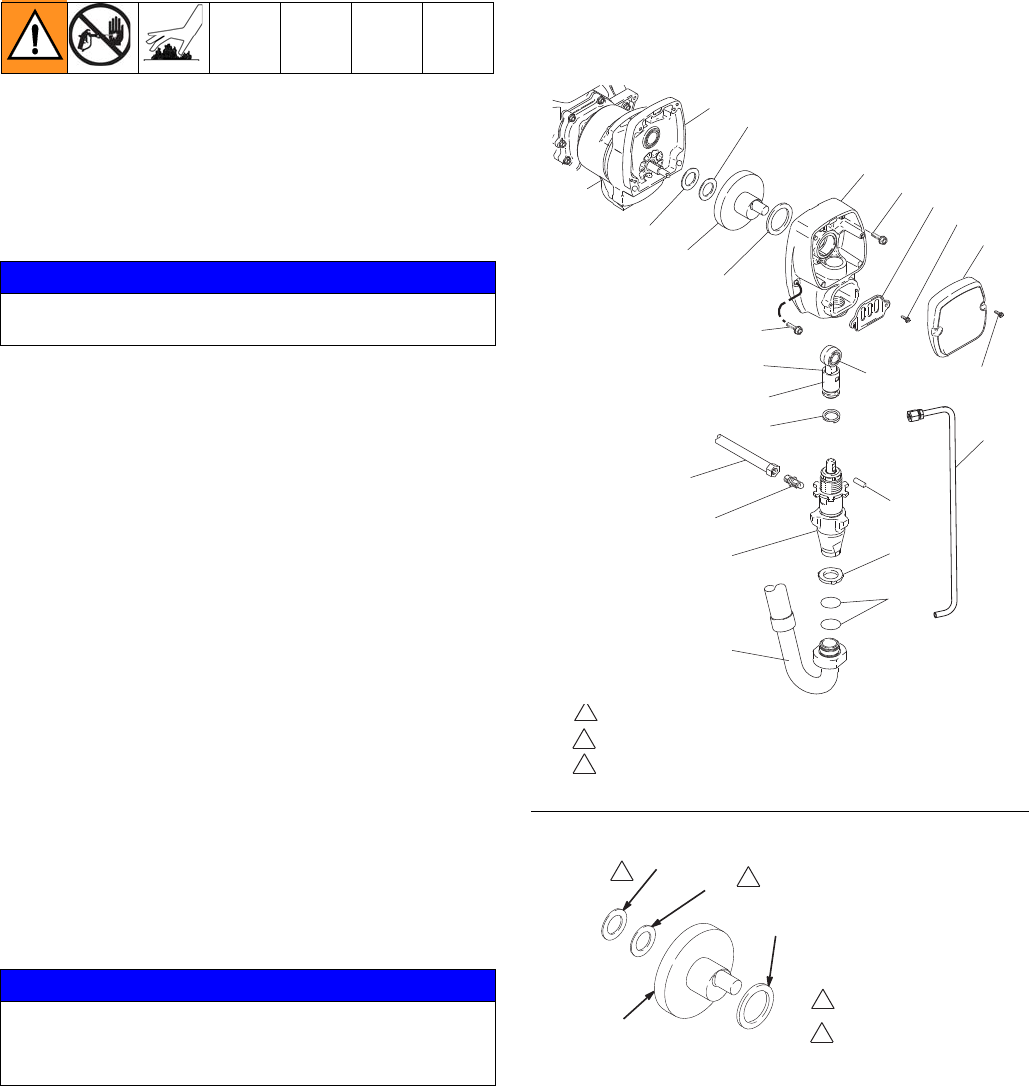
IG. 2. Remove screws (32) and front cover (52).
3. Remove pump. Refer to Displacement Pump, Removal,
page 14.
4. Remove four screws (34) from drive housing (43).
5. Pull connecting rod (29) and lightly tap lower rear of drive
housing (43) with plastic mallet to loosen from pinion
housing (44). Pull drive housing and connecting rod
assembly off pinion housing.
6. Inspect crank (47) and connecting rod (29) for excessive
wear and replace parts as needed.
Installation
1. Evenly lubricate inside of bronze bearing (C) in drive
housing (43) with high-quality motor oil. Liberally pack top
roller bearing (E), lower bearing (D) inside connecting rod
(29) with bearing grease.
2. Assemble connecting rod (29) to drive housing (43).
Rotate connecting rod to lowest position.
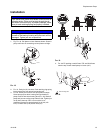
3. Apply grease to washers 46, 49 and 48. Install in order
shown in F
IG. 3.
4. Lubricate gears with 0.26 pint of 110293 grease (supplied
with drive housing). Pack grease evenly around gears.
5. Clean mating surfaces of pinion and drive housings.
6. Align connecting rod with crank (47) and carefully align
locating pins in drive housing (43) with holes in pinion
housing (44). Push drive housing onto pinion housing or
tap into place with plastic mallet.
7. Install screws (34) in drive housing. Torque evenly to note
3 value in Fig. 1.
8. Install pump. Refer to Displacement Pump, Installation,
page 14
9. Install front cover (52) with two screws (32).
FIG. 3
NOTICE
Thrust washers may stick to grease inside of drive housing.
Do not lose or misplace.
NOTICE
DO NOT use drive housing screws (34) to align or seat
bearing housing with drive housing. Align these parts with
locating pins, to avoid premature bearing wear.
FIG. 2
1
2
3
ti24871a
140
32
52
32
44
49
47
48
29
28
136
141
118
31
33
57
27
46
43
34
107
34
E
D
Oil
Pack with bearing grease 110293
Torque to 130 - 150 in-lb (14 - 16.9 N.m)
ti5990a
1
2
Steel
1
2
46
49
48
47
Copper


