


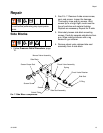


Repair
20 311322K
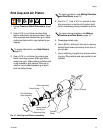
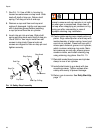
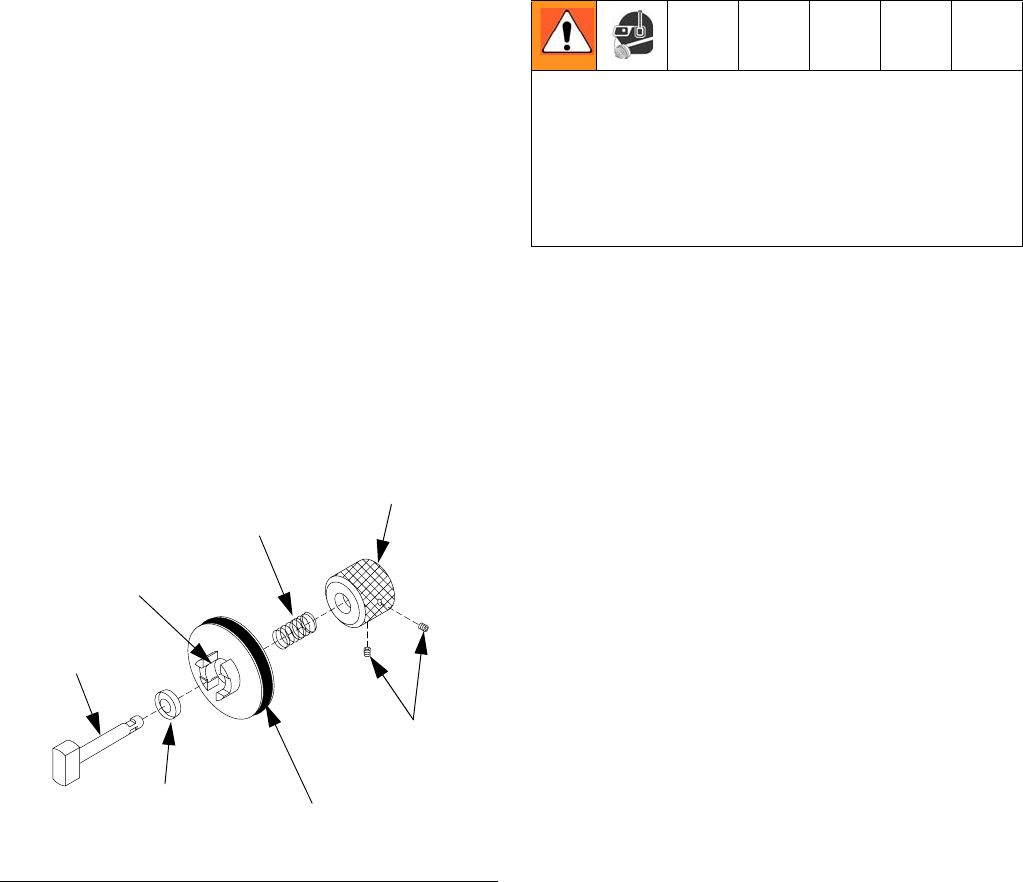
7. See FIG. 14. Use a 5/64 in. hex key to
loosen two setscrews on stop knob. Slide
knob off shaft of stop pin. Retain shaft
spring. Pull stop pin out of end cap.
8. Remove u-cup seal from end cap and
replace if damaged. Lightly coat new seal
with Lubriplate grease before installing;
u-cup lips must face the air cylinder.
9. Insert stop pin into end cap. Slide shaft
spring and stop knob onto shaft of stop pin.
Use a 5/64 in. hex key to install two set
screws in stop knob. Ensure knob set
screws are aligned to flats on stop pin and
tighten securely.
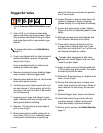
10.Center piston spring over raised portion of
piston. Align raised portion of end cap with
inside diameter of piston spring. Insert end
cap into air cylinder. Press end cap until it
moves past undercut groove in air cylinder,
which is where retaining ring nests. Main-
tain pressure on end cap, ensure groove
remains visible, and install retaining ring
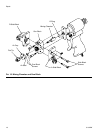
using retaining ring pliers. See FIG. 13.
11.Reinstall socket head screw and cylinder
clamp in rear of air cylinder.
12.Install side blocks to gun body with two
mounting screws. Tighten screws alter-
nately and evenly to prevent leakage.
13.Return gun to service. See Daily Start-Up,
page 11.
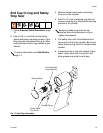
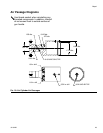
FIG. 14. Safety Stop Assembly
Stop Pin
Cup Seal
End Cap O-Ring
Set Screws
Stop Knob
Stop Spring
End Cap
Be sure to insert retaining ring completely into
groove to ensure end cap remains in air cylin-
der when gun is pressurized. Keep clear of
end cap when reapplying air pressure or trig-
gering gun after reassembly in case of
improper retaining ring installation