


Operation
332245E 9
Operation
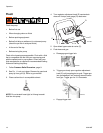
Pressure Relief Procedure
Follow the Pressure Relief Procedure whenever
you see this symbol.
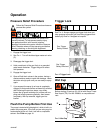
1. Engage the trigger lock.
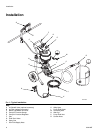
2. See F
IG
. 1. Turn off the bleed-type master air valve
(C).
3. Disengage the trigger lock.
4. Hold a metal part of the gun firmly to a grounded
metal waste container. Trigger the gun to relieve
fluid pressure.
5. Engage the trigger lock.
6. Open all fluid drain valves in the system, having a
waste container ready to catch the drainage. Leave
the drain valve(s) open until you are ready to spray
again.
7. If you suspect the spray tip or hose is completely
clogged, or that pressure has not been fully relieved
after following the previous steps, very slowly
loosen the tip guard retaining nut or hose end cou-
pling and relieve pressure gradually; then loosen
completely. With tip removed, trigger gun into
bucket.
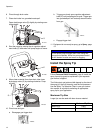
Flush the Pump Before First Use
The pump is tested with lightweight oil, which is left in to
protect the pump parts. If the fluid you are using may be
contaminated by the oil, flush it out with a compatible
solvent. See Flush on page 10.
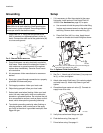
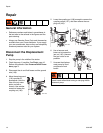
Trigger Lock
See F
IG
. 4. Always engage gun trigger lock when you
stop spraying to prevent gun from being triggered acci-
dentally by hand or if dropped or bumped.
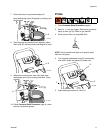
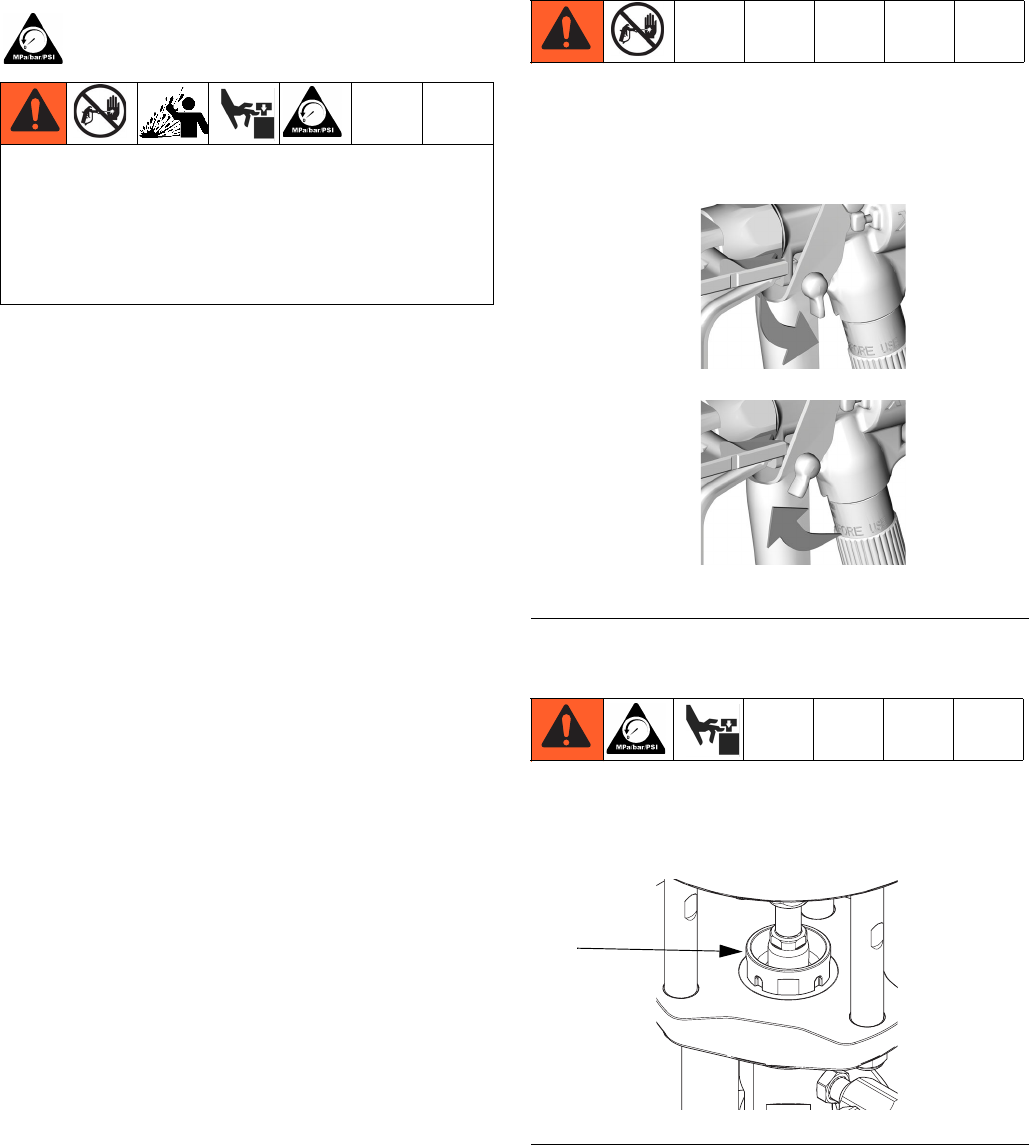
Wet Cup
Before starting, fill wet cup (N) 1/2 full with Graco Throat
Seal Liquid (TSL) Part No. 206994, or compatible sol-
vent.
This equipment stays pressurized until pressure is
manually relieved. To help prevent serious injury
from pressurized fluid, such as skin injection,
splashing fluid and moving parts, follow the Pressure
Relief Procedure when you stop spraying and before
cleaning, checking, or servicing the equipment.
F
IG
. 4. Trigger Lock
F
IG
. 5. Wet Cup
TI5049a
TI5048a
Gun Trigger
Safety Locked
Gun Trigger
Safety Unlocked
N