G0444/G0444Z 10" Table Saw -45-
Worm Gears
The worm gears on the blade tilt and height hand-
wheel shafts can be adjusted to reduce “play”
between the worm gear and the trunnion teeth.
To adjust the blade tilt worm gear:
1. Disconnect the machine from the power
source!
2. Remove the dust port from the bottom of the
saw.
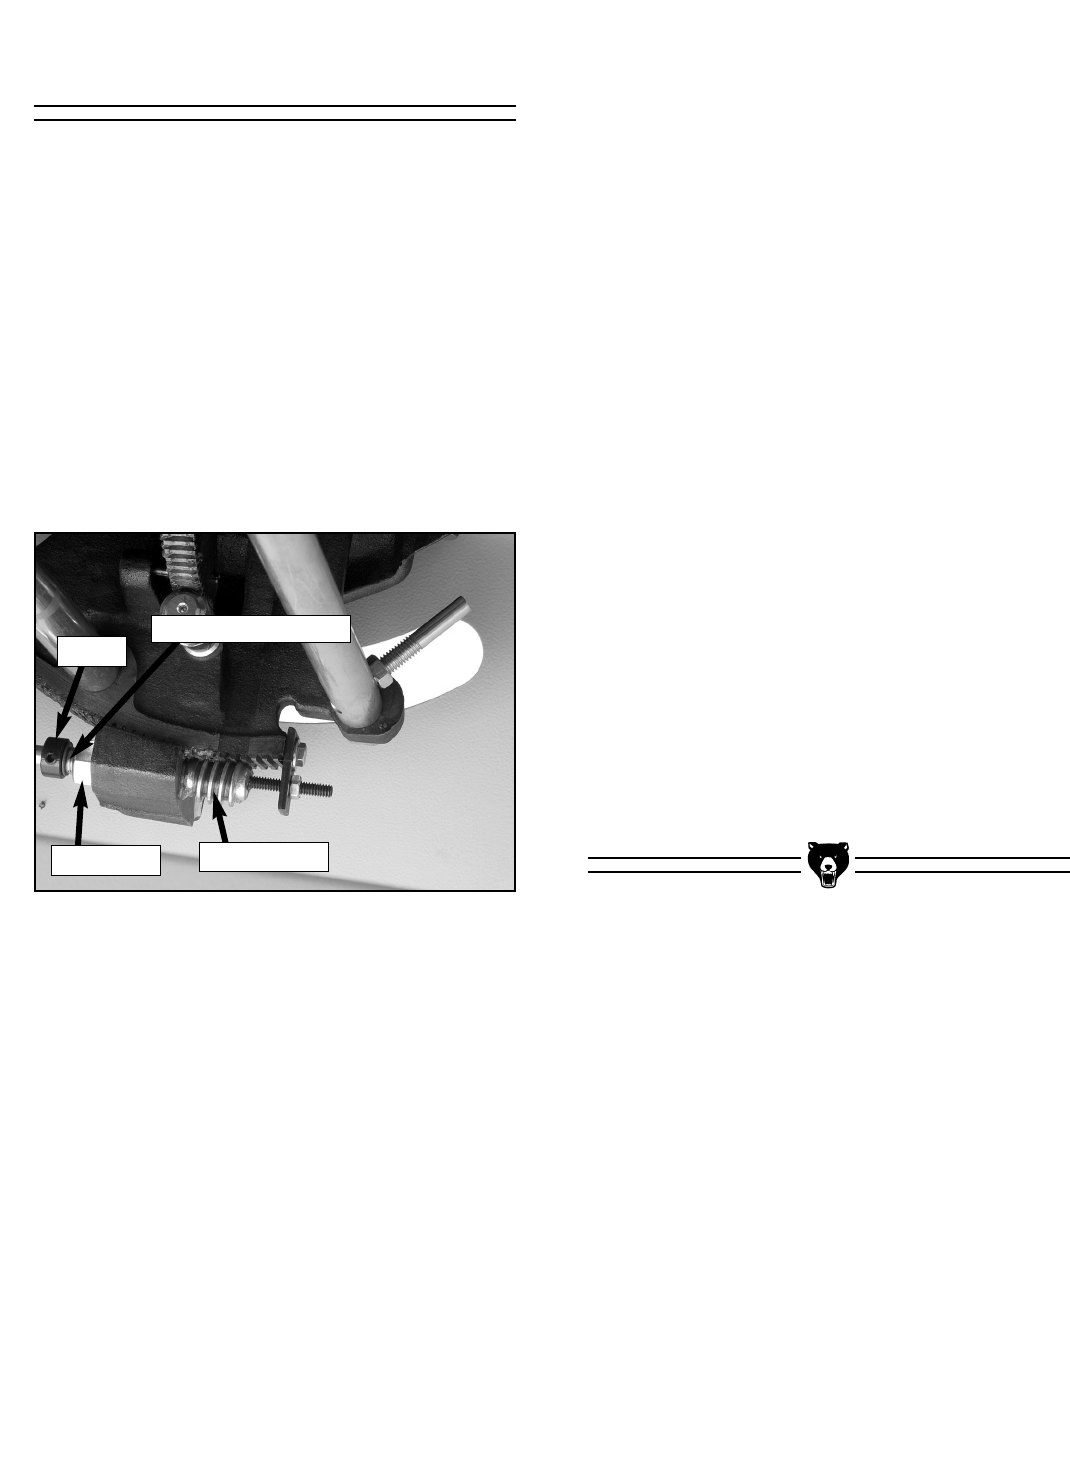
3. Loosen the collar setscrew and slide the col-
lar away from the check nut (Figure 60).
To adjust the blade height worm gear:
1. Disconnect the machine from the power
source!
2. Remove the blade height handwheel.
3. Remove the roll pin that is inserted in the
handwheel shaft.
4. Slide the various washers and accessories
off the shaft to reveal the “flats” of the thread-
ed bushing.
5. Loosen the check nut and thread it back from
the trunnion casting.
6. Place a wrench on the “flats” of the threaded
bushing and adjust the worm gear up or
down by turning the wrench. Note—The
worm gear and trunnion teeth should mesh
with almost no “play.”
7. Carefully thread the check nut back onto the
bushing, being careful not to move the bush-
ing.
8. Tighten the check nut against the casting
while using a wrench to hold the threaded
bushing stationary.
4. Loosen the check nut and thread it com-
pletely off of the threaded bushing (Figure
60).
5. Place a wrench on the “flats” of the threaded
bushing and adjust the worm gear up or
down by turning the wrench. Note—The
worm gear and trunnion teeth should mesh
with almost no “play.”
6. Carefully thread the check nut back onto the
bushing, being careful not to move the bush-
ing.
7. Tighten the check nut against the casting
while using a wrench to hold the threaded
bushing stationary.
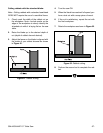
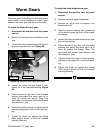
Figure 60. Blade tilt worm gear assembly.
Collar
Check Nut
Worm Gear
Threaded Bushing


