18" & 20" Super Heavy-Duty Bandsaws -19-
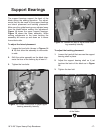
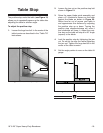
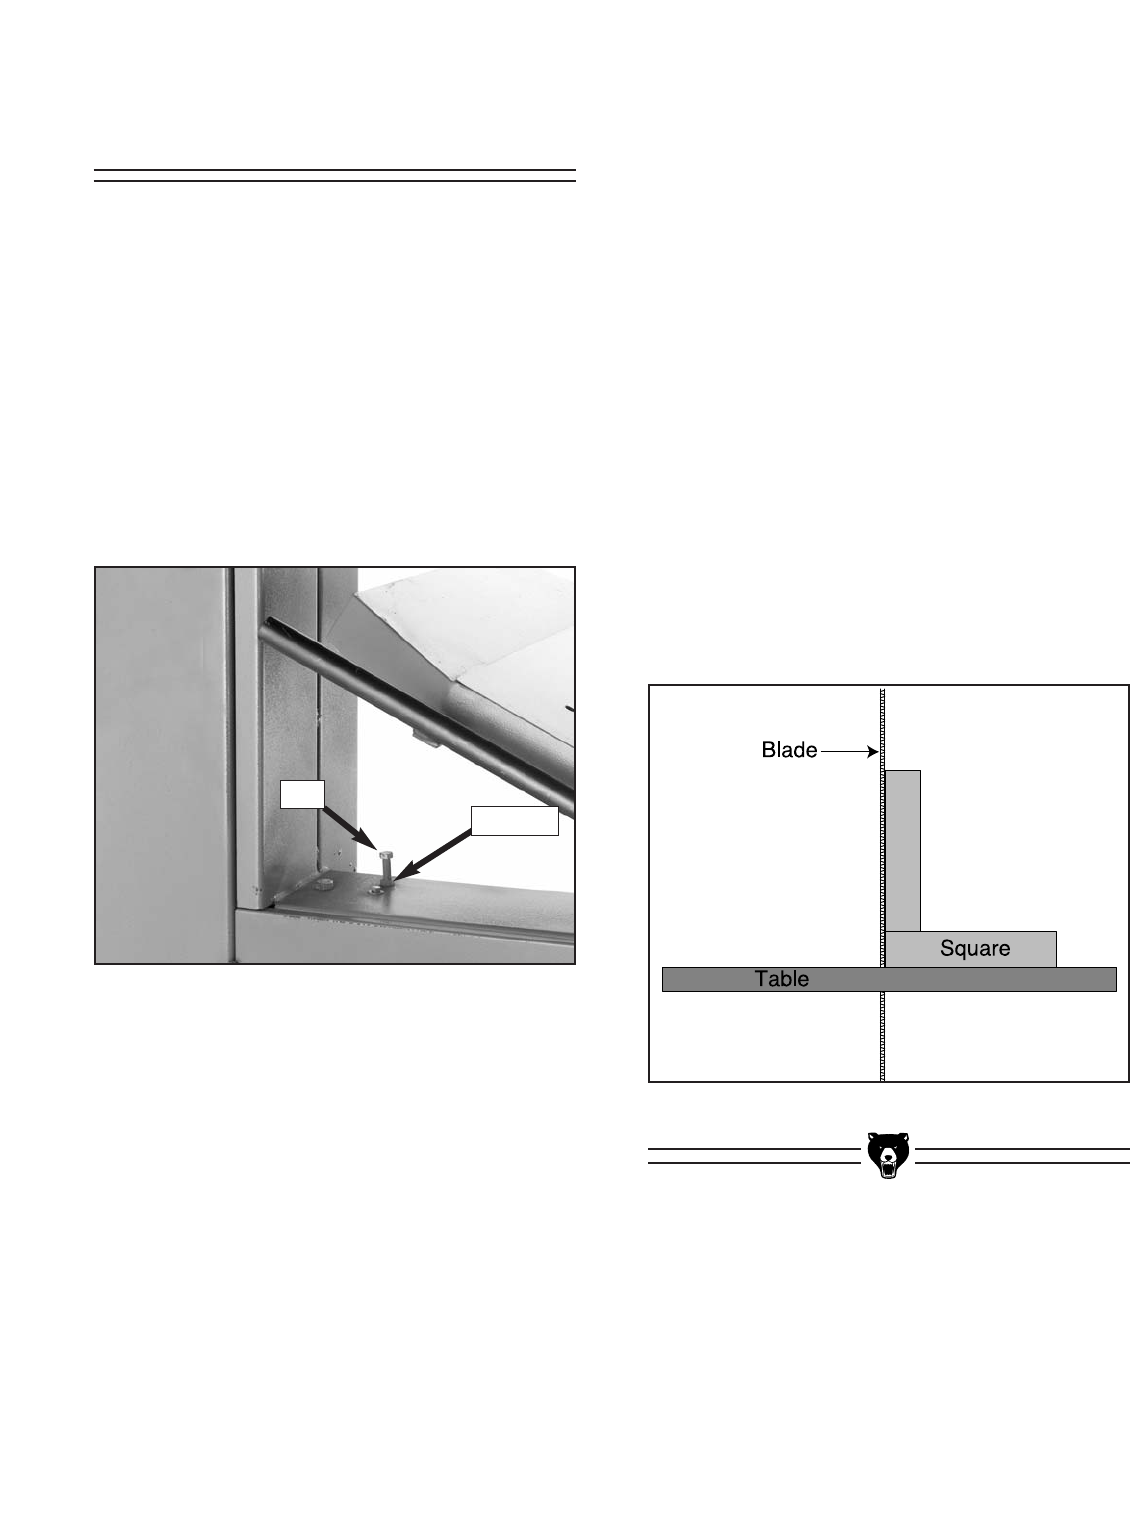
Figure 19. Positive stop and jam nut.
Table Stop
The positive stop under the table (see Figure 19)
allows you to repeatedly square up the table after
adjusting the table to another angle.
To adjust the positive stop:
1. Loosen the large hex bolt in the center of the
table trunnion as described in the “Table Tilt”
instructions.
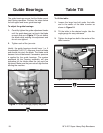
Figure 20. Squaring table to blade.
2. Loosen the jam nut on the positive stop bolt
shown in
Figure 19.
3. Raise the upper blade guide assembly and
place a 6" machinist’s square on the table
against the blade as shown in Figure 20.
Notice how far out of square your table is
and approximate this distance by adjusting
the positive stop up or down. Turning the
positive stop counterclockwise will raise it
and clockwise will lower it. Adjust the posi-
tive stop so the table will stop at a 90° angle
(square) to the blade.
4. Lock the positive stop by tightening the jam
nut. Do not let the stop turn while tightening
the jam nut. Tighten the large hex bolt in the
center of the table trunnion.
5. Set the angle pointer to zero on the table tilt
gauge.
Bolt
Jam nut


