


-24-
G7947/G7948 12 Speed Floor Drill Press
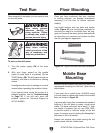
Test Run
Wear safety glasses
whenever starting or
using machine. Failure
to comply may result in
serious personal injury.
Keep loose clothing
rolled up and out of the
way of machinery and
keep hair pulled back.
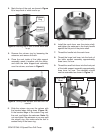
Once assembly is complete, you are ready to test
run the drill press.
To test run the drill press:
1. Turn the power supply ON at the main
panel.
2. With your finger poised on the paddle
switch (in case there is a problem), flip the
START button
ON. The drill press should run
smoothly, with little or no vibration or rubbing
noises.
Investigate and correct for strange or unusual
noises before operating the machine further.
If you cannot easily locate the source of a
potential problem, refer to
Troubleshooting
on Page 35. If you still can't solve the
problem, contact our Technical Support at
(570) 546-9663.
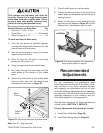
Floor Mounting
Once you have confirmed that your machine
is running properly, we strongly recommend
mounting it to the floor to ensure optimum
stability.
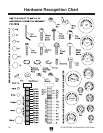
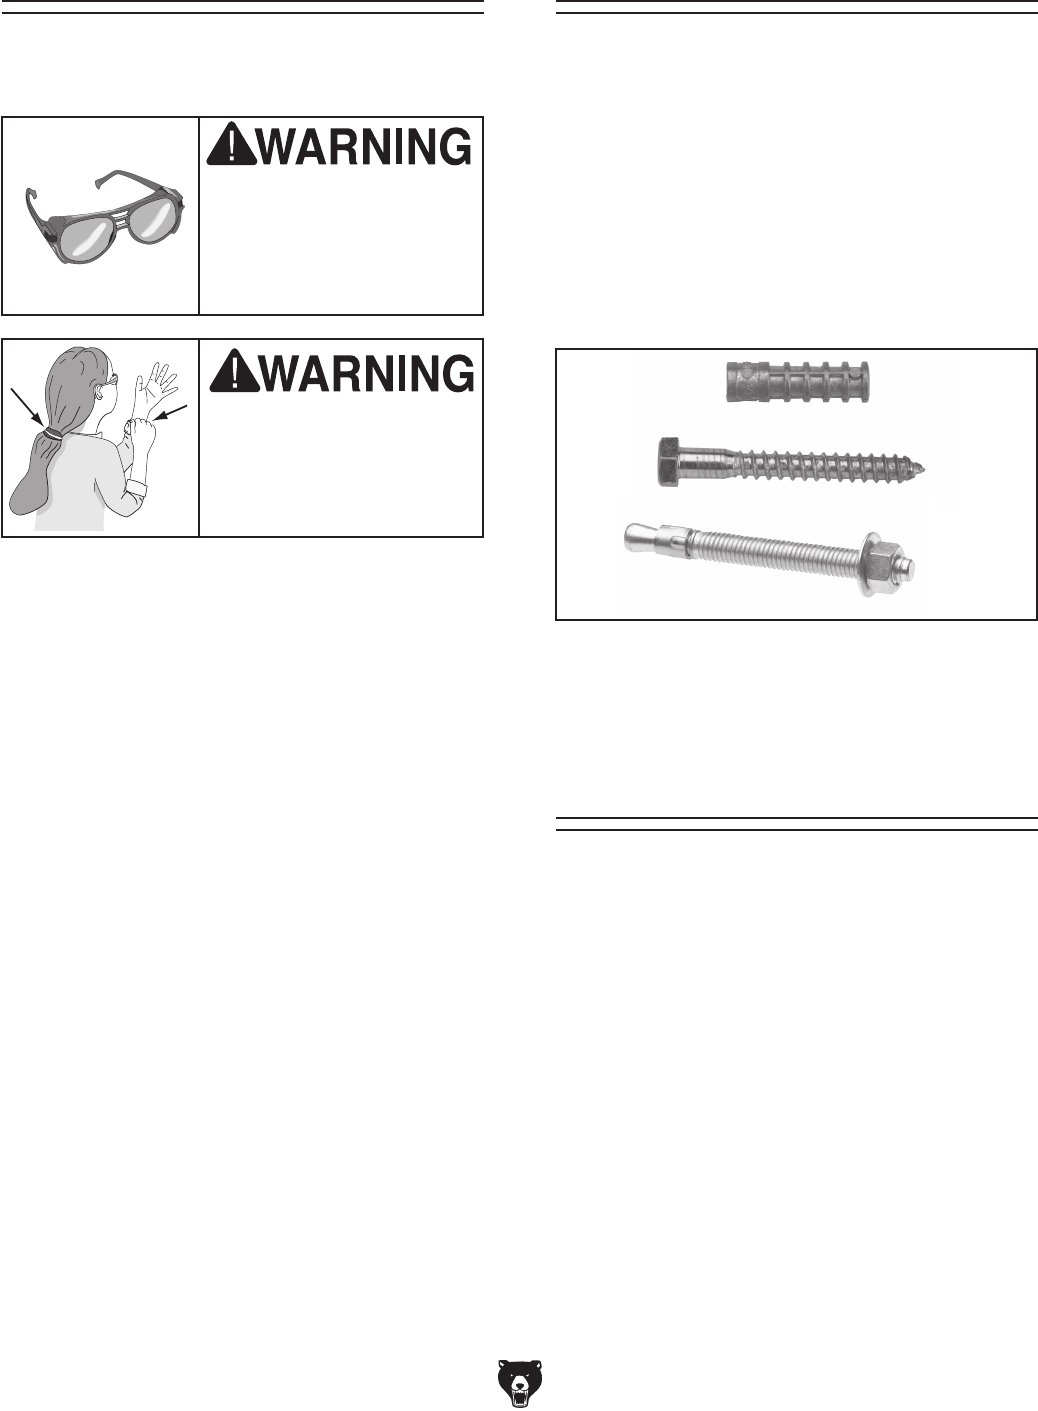
Lag shield anchors with lag bolts and anchor
studs (Figure
22) are two popular methods for
anchoring an object to a concrete floor. We sug
-
gest you research the many options and methods
for mounting your machine and choose the best
that fits your specific application.
Figure 22. Typical concrete mounting hardware.
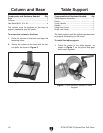
Mobile Base
Mounting
Because the drill press is top-heavy by nature, we
recommend mounting it to the floor, rather than a
mobile base.
If you must use a mobile base, ALWAYS mount
your drill press to a base plate inside of the mobile
base, as shown in Figure 24.
A good quality base plate increases the standard
footprint of the drill press to make it much more
stable. The base plate must be at least 1
1
⁄2" thick
and made of plywood (do not use OSB, MDF,
or particle board) to hold the weight of the drill
press. A common way for making the baseplate is
described in this sub-section.
Always use extreme care when moving the drill
press around with the mobile base!