


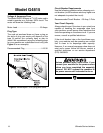

-16- Ultimate Series Jointers
NOTICE
The fence can easily scratch the table sur-
face of the jointer. Use extreme care when
making adjustments to the fence assembly
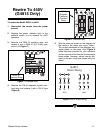
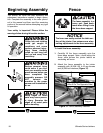
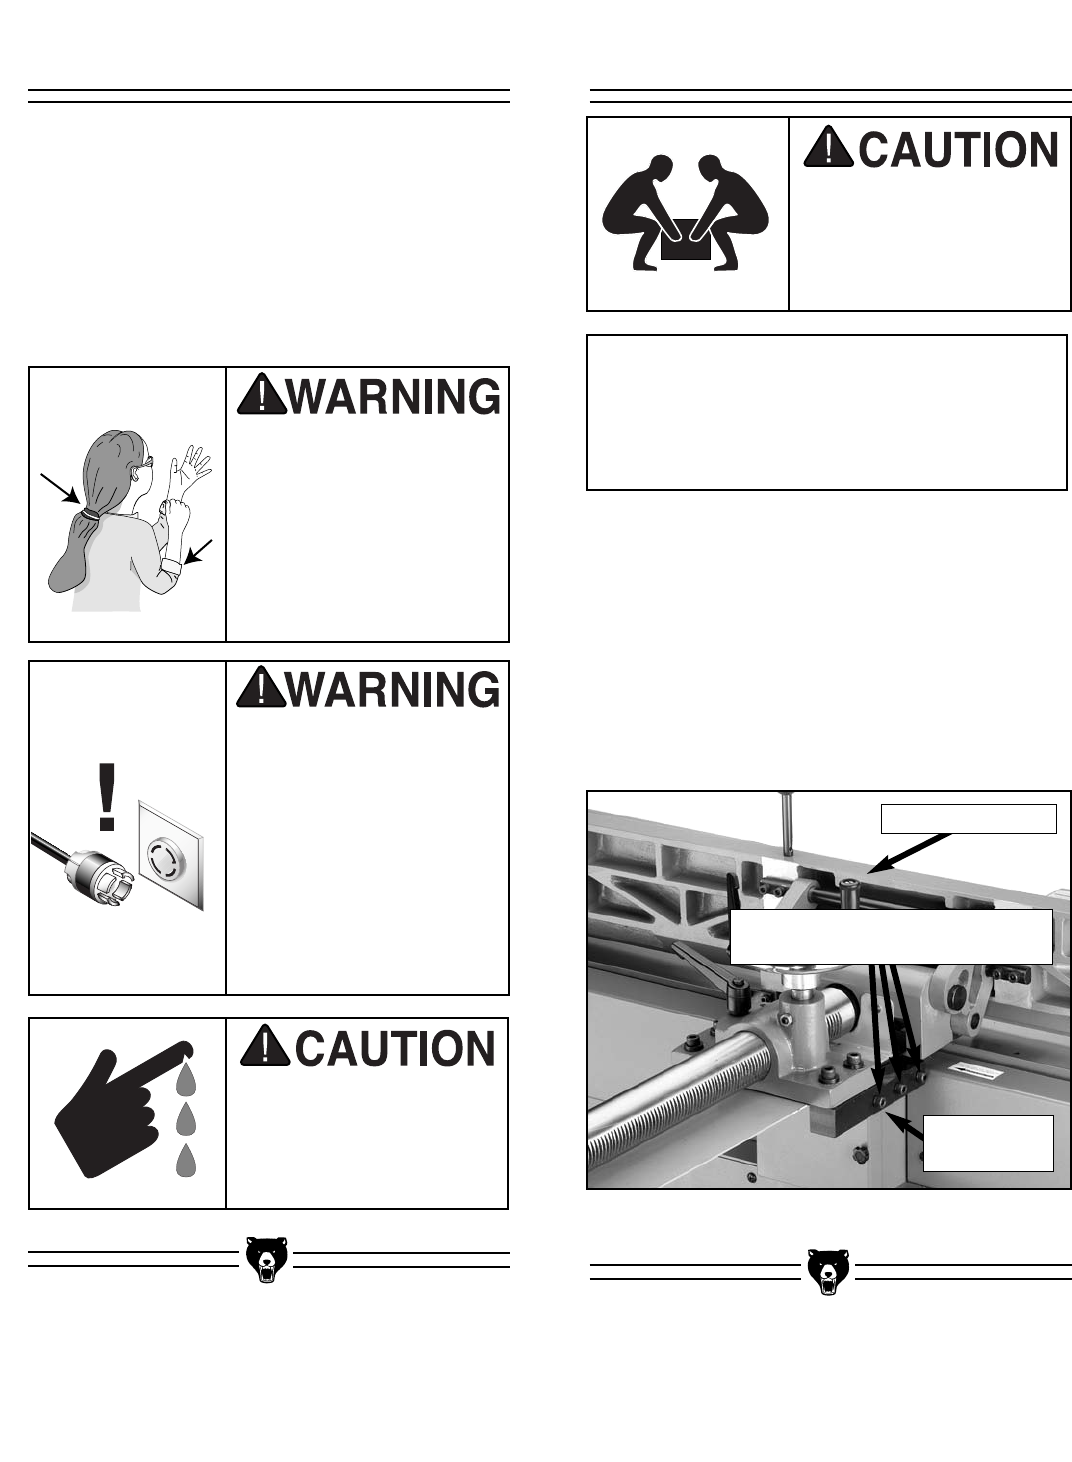
To install the fence assembly:
1. Carefully lift the fence assembly onto the
fence base support. Note—Avoid letting the
fence slide across the jointer tables as
scratching will occur.
2. Attach the fence assembly to the jointer
assembly with (6) M8-1.25 x 45 cap screws
and (6) M8 lock washers (Figure 12).
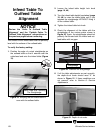
Figure 12. Fence assembly installed.
Cap Screws and Lock Washers
(Also 3 On The Opposite Side)
Fence Assembly
Fence Base
Support
Beginning Assembly Fence
Loose hair and clothing
could get caught in
machinery and cause
serious personal injury.
Keep loose clothing
rolled up and long hair
tied up and away from
machinery.
Sharp edges on metal
parts may cause person-
al injury. Examine the
edges of all metal parts
before handling.
This section will cover the basic assembly and
adjustment instructions needed to begin opera-
tion. Complete the assembly in the order provid-
ed in this manual and then read the remaining
portion of the manual before attempting any type
of operation.
Your safety is important! Please follow the
warnings below during this entire section:
Serious personal injury
could occur if you con-
nect your machine to the
power source before you
have completed the
assembly process. DO
NOT connect the
machine to the power
source until instructed to
do so.
The fence assembly is a
heavy part. Seek assis-
tance when lifting it onto
the fence base support.