


-22- G5959/G9957 12" Table Saw
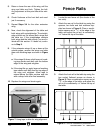
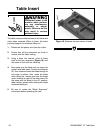
Rip Fence
The rip fence included with your Model
G5959/9957 12" Table Saw is designed to pro-
vide excellent ripping accuracy when properly
adjusted. There are three main adjustments to
concern yourself with: square, parallelism and
clamping pressure.
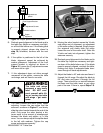
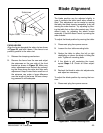
SQUARE
Place a machinist’s square against the side of the
fence. If the square does not remain flush against
both the fence and the table, adjust the nylon
screws (Figure 27) on top of the bracket at the
front of the fence until square.
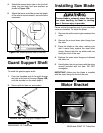
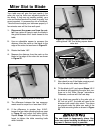
Miter Gauge
To adjust the miter gauge so it is perpendicular to
the saw blade:
1. Loosen the lock knob on the miter gauge and
place a square against the face of the miter
body and the blade.
2. Adjust the miter body until there is no space
between the square and the blade. Tighten
the lock knob.
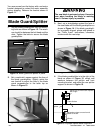
3. With the stop link in the up position, loosen
the jam nut (Figure 26) and adjust the stop
screw until it is seated against the stop link.
4. Now loosen the setscrew on the left front
side of the miter bar, adjust the pointer to 90°
and tighten the setscrew.
5. To adjust to 45°, follow Steps 1-4 using an
adjustable square set to 45°.
6. After rotating the miter body from 45° to 90°
and back a few times, double-check your
adjustments at both angles to assure that
you have accurately set your miter gauge.
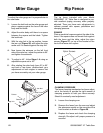
Figure 26. Miter gauge assembly.
Jam Nut
Pointer
Stop Screw
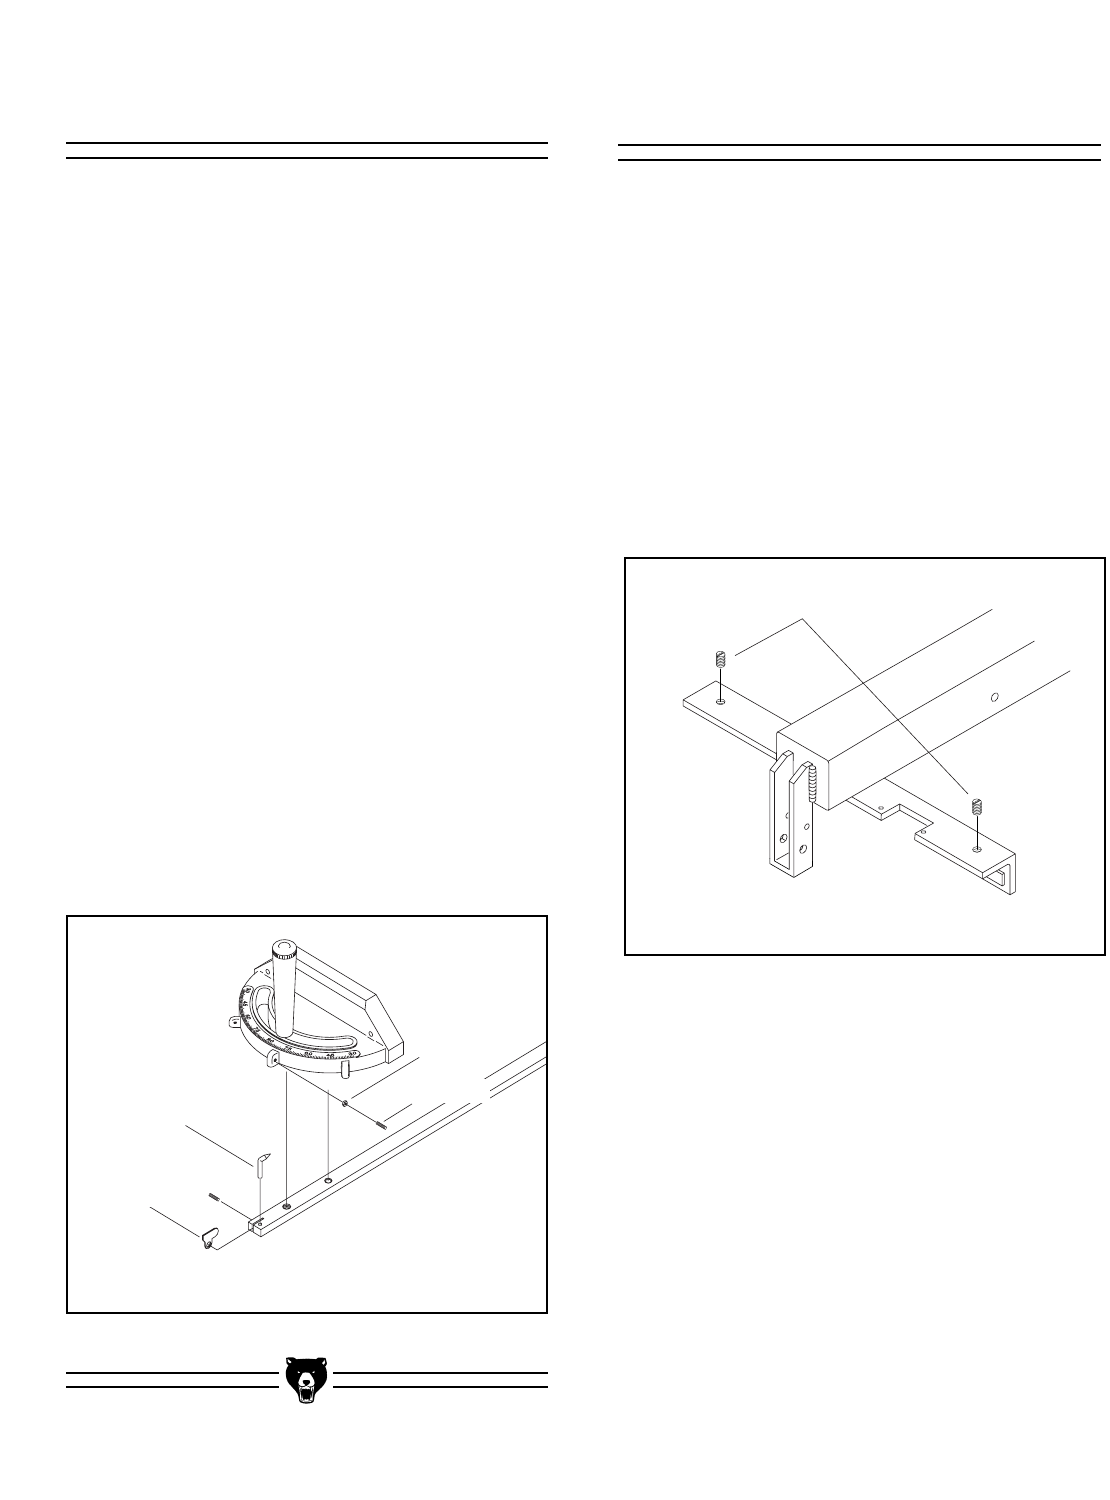
Figure 27. Nylon adjustment screws.
Nylon Screws
Setscrew
Stop Link
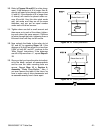
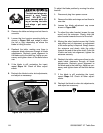
CLAMPING PRESSURE
The fence-clamping mechanism has been adjust-
ed at the factory to provide the right amount of
clamping pressure to hold your fence securely.
Should it eventually need adjustment:
1. Loosen the clamping arm.
2. Remove the fence from the saw and adjust
the setscrews equally on the rear side of the
front bracket as shown in Figure 28.
3. Replace the fence and check the clamping
strength. Re-adjust until proper pressure is
ensured.