Adjusting the Mini Lathe
1. Clean off the protective grease on the Mini Lathe.
2. Check to see that the three set screws on the chuck are tight.
3. Turn the chuck by hand and check that it rotates freely.
4. Move the Feeding Direction Selector (located on the back of lathe) to the middle.
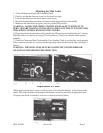
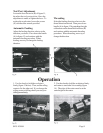
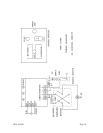
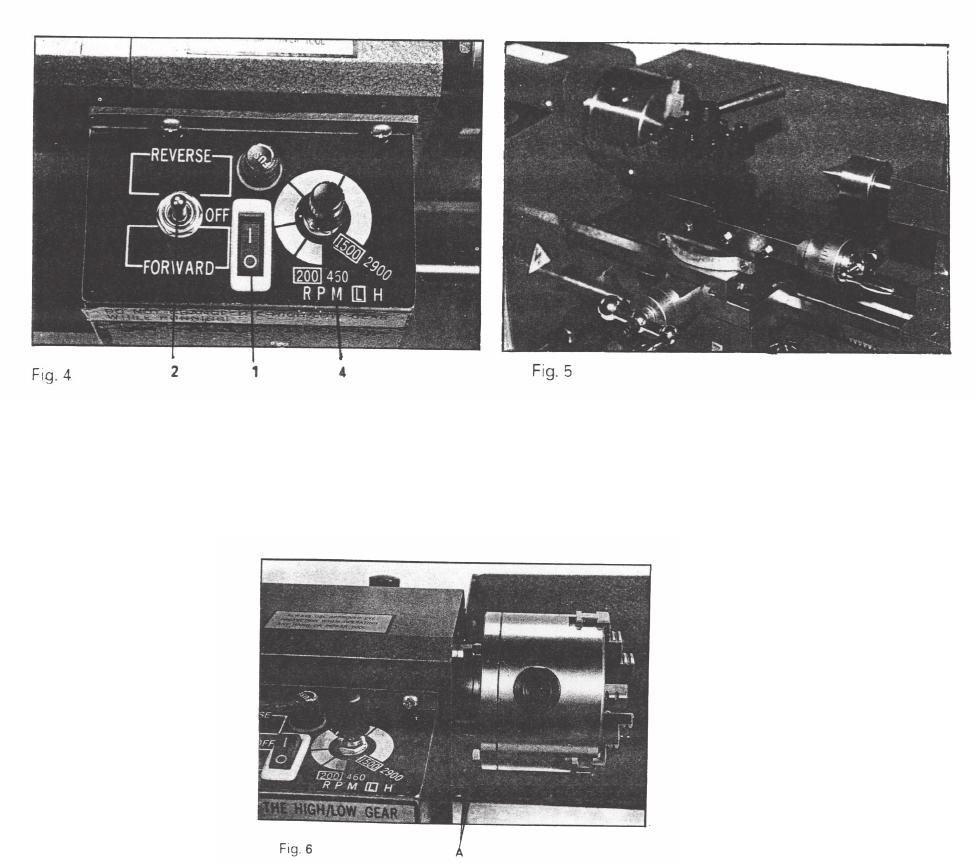
5. Make sure the Switch (#1 in figure 4 below) is at the OFF position.
WARNING: ADJUST THE SPEED CONTROL KNOB (#4) BY TURNING IT TO
ZERO. BEFORE TURNING ON THE MINI LATHE EACH TIME IT IS TO BE USED,
THIS SPEED CONTROL KNOB MUST BE AT ZERO.
6. Plug in the electrical cord and turn the Switch to the ON position and run the lathe for 3 minutes.
When the lathe is on, the Power Lamp (#2) will remain on. Check to see that the lathe operates
normally.
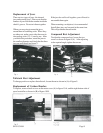
7. Check the Compound Rest Crank and the Cross Feeding Crank to see that they work properly.
If the cranks are too tight or too loose, turn the adjusting screws located at both sides (see figure 5
below).
WARNING: THE MINI LATHE MUST BE COMPLETELY STOPPED BEFORE
CHANGING FORWARD/REVERSE DIRECTION.
Replacement of Chuck
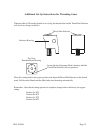
When replaceing the chuck, place a cloth or a piece of wood on the bedway at the bottom of the
chuck. This step will help avoid damage to the bedway caused by carelessly dropping the chuck.
To replace the chuck, loosed the 3 set screws as shown in figure 6 below.
Rev 01/99SKU #33684 Page 7


