


SKU 66902 For technical questions, please call 1-800-444-3353. Page 5
SYMBOLS AND
SPECIFIC SAFETY
INSTRUCTIONS
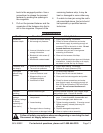
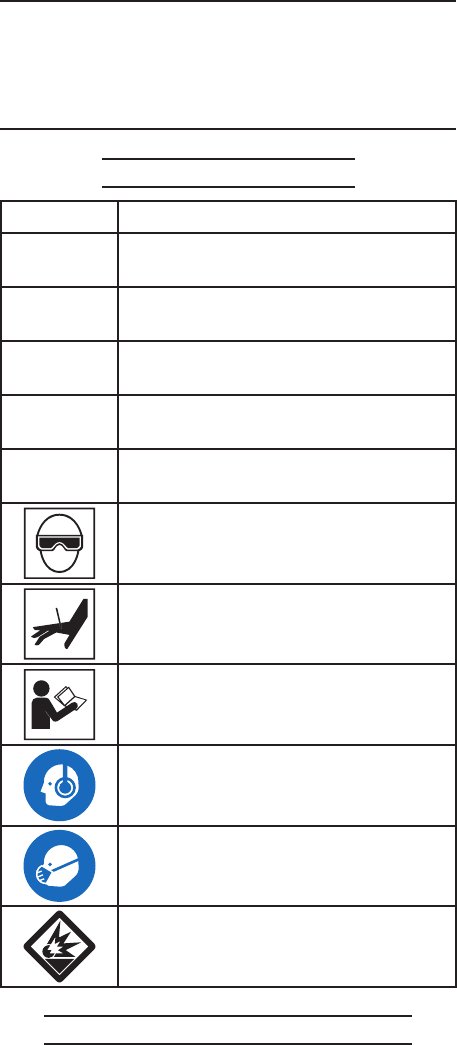
Symbol Denitions
Symbol Property or statement
PSI
Pounds per square inch of pressure
CFM
Cubic Feet per Minute ow
SCFM
Cubic Feet per Minute ow at
standard conditions
NPT
National pipe thread, tapered
NPS
National pipe thread, straight
WARNING marking concerning Risk
of Eye Injury. Wear ANSI-approved
eye protection.
Warning marking concerning Risk of
Puncture Injury. Wear heavy-duty
work gloves.
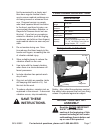
Read the manual before set-up and/
or use.
WARNING marking concerning Risk
of Hearing Loss. Wear hearing
protection.
WARNING marking concerning Risk
of Respiratory Injury. Wear NIOSH-
approved dust mask/respirator.
WARNING marking concerning Risk
of Explosion.
Specic Safety Instructions
Operators and others in work area 1.
MUST wear ANSI-approved safety
goggles with side shields during
use. The employer is responsible to
enforce use of eye protection by the
operator and others in the work area.
Keep ngers away from Trigger 2.
when not driving fasteners to
avoid accidental ring.
Always assume the tool contains 3.
fasteners.
Do not point the tool toward yourself 4.
or anyone whether it contains fasten-
ers or not.
Do not actuate the tool unless the 5.
tool is placed rmly against the work-
piece.
Respect tool as a working implement.6.
No horseplay. This tool is not a toy 7.
and can be deadly if misused.
Do not load the tool with fasteners 8.
when any one of the operating con-
trols is activated.
Do not remove, tamper with, or other-9.
wise cause the tool operating controls
to become inoperable.
Do not operate the tool if any portion 10.
of the tool operating controls is inop-
erable, disconnected, altered, or not
working properly.
Disconnect the tool from the power 11.
source when:
Unattended.a.
Performing any maintenance or b.
repair.
Clearing a jam.c.
Moving the tool to a new location.d.
The written approval of the tool man-12.
ufacturer must be obtained prior to
making any modications to the tool.
Refer to the tool maintenance instruc-13.
tions for detailed information on the
proper maintenance of the tool.