SKU 91938 For technical questions, please call 1-800-444-3353. Page 11
ASSEMBLY AND OPERATING INSTRUCTIONS
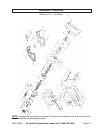
NOTE: For additional information regarding the parts listed in the following pages, refer
to the Assembly Diagram on page 16.
To Remove or Install a Cut-Off Wheel
Warning! Prior to performing any assembly procedures, make sure the
Power Cord/Plug (107) of the Cut-Off Saw is unplugged from its electrical
outlet. Make sure the Cut-Off Wheel has cooled and be sure to wear heavy
work gloves while replacing it.
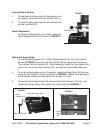
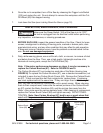
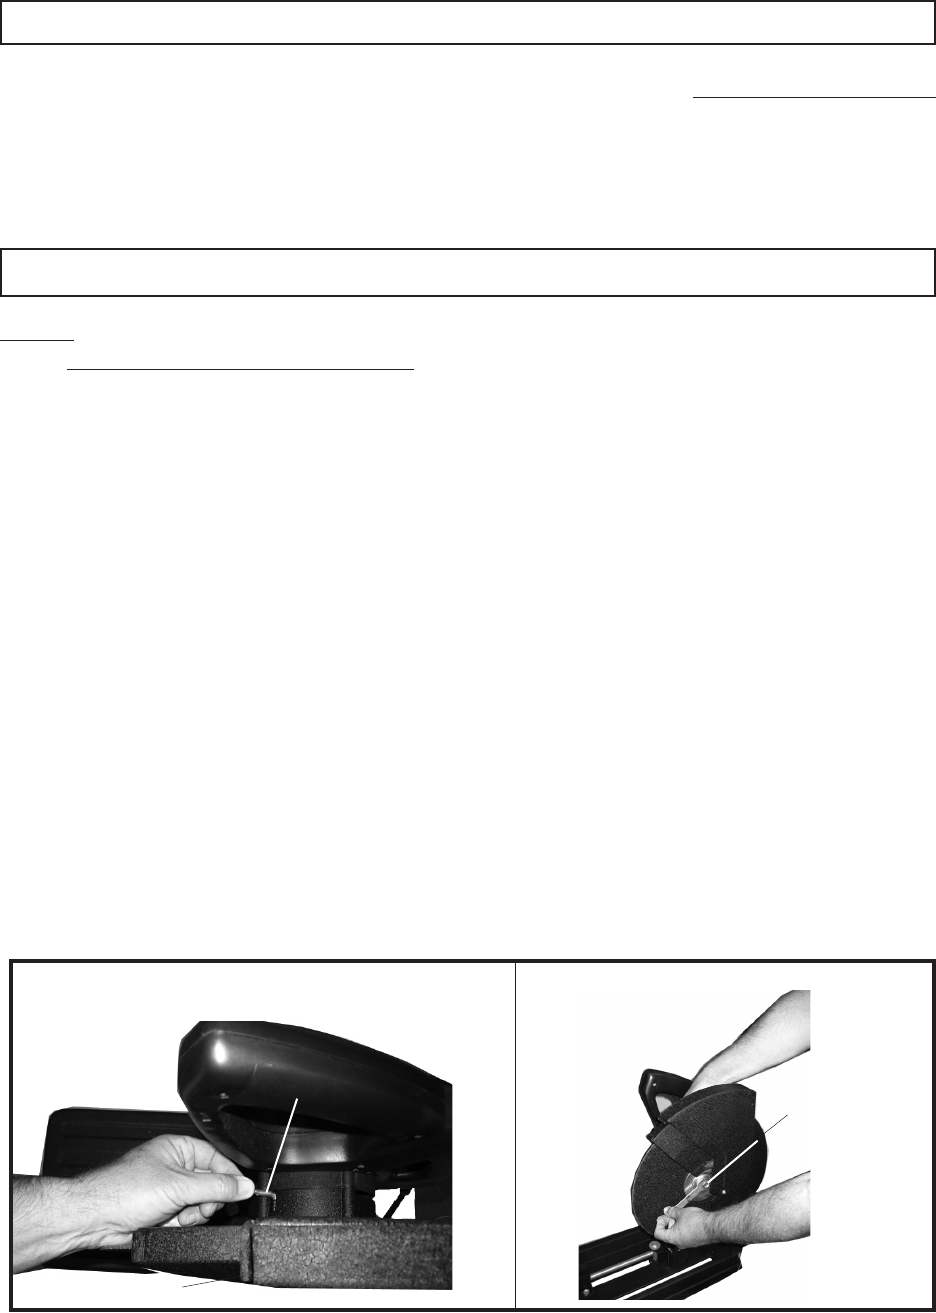
1. Push in the Lock Pin (63) as shown in FIGURE 1, and move the Swing Guard
(53) out of the way. Rotate the wheel until the Lock Pin (63) slides into place.
2. While continuing to hold down the Lock Pin (63), use the Wrench (111) to loosen
the Bolt (54). See FIGURE 2.
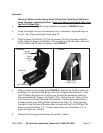
3. Remove the Bolt (54), the Flange Washer (96), the Outer Flange (55), and the
Cut-Off Wheel (56).
4. Replace with a new Cut-Off Wheel (56), and reassemble the parts listed above in
number 3. While holding the Lock Pin (63), tighten the Bolt (54) with the wrench
(not included).
UNPACKING
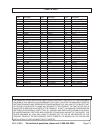
When unpacking, check to make sure all the parts shown on the Parts List on page 15
are included. If any parts are missing or broken, please call Harbor Freight Tools at the
number shown on the cover of this manual as soon as possible.
FIGURE 2FIGURE 1
Lock Pin (63)
Bolt (54)
Swing Guard (53)


