SKU 92386 For technical questions, please call 1-800-444-3353. Page 15
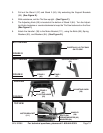
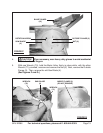
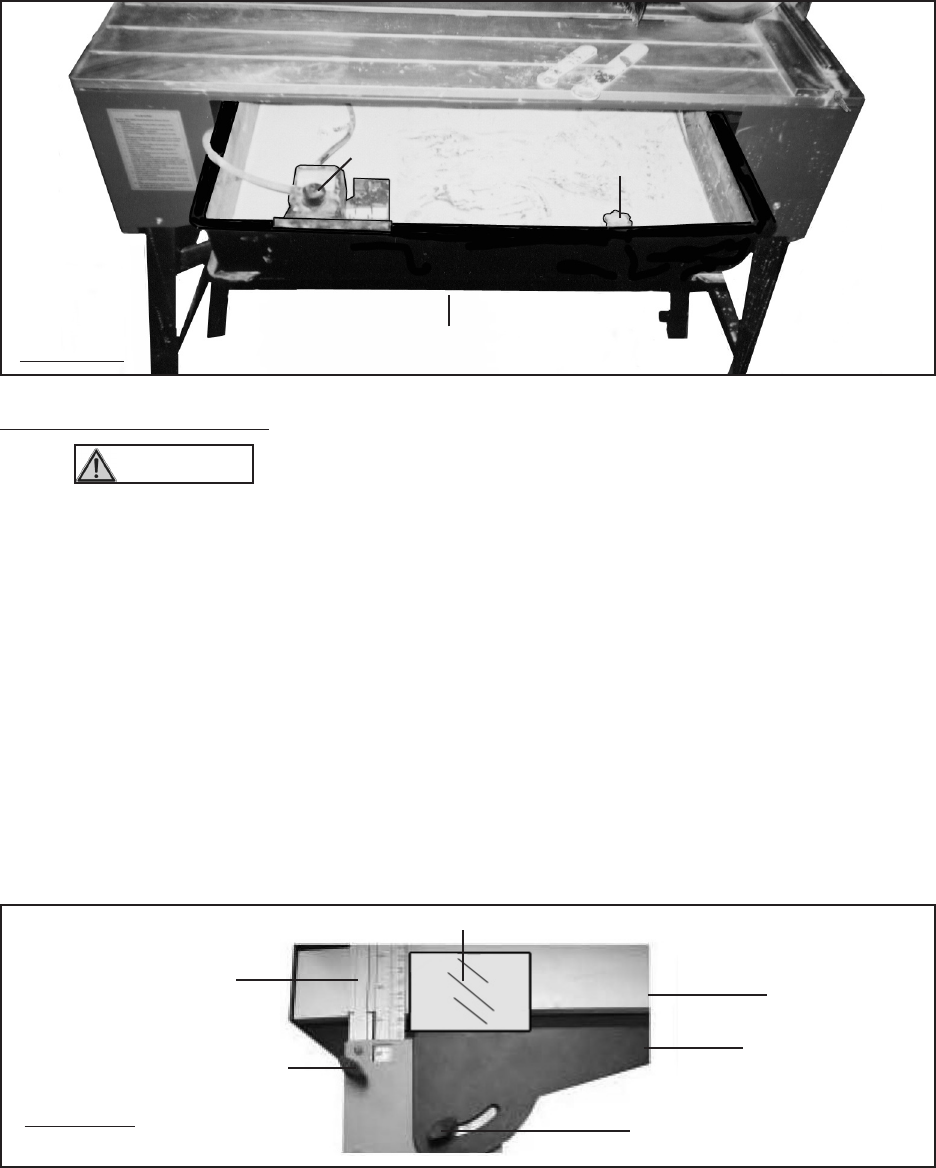
WATER TRAY
(67)
DRAIN PLUG
(69)
FIGURE I
WARNING! Use safety equipment. Always wear eye protection. Wear
ANSI approved safety glasses under an ANSI approved full face safety shield and
non-skid safety shoes. Hearing and breathing protection must be used for appro-
priate conditions.
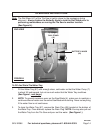
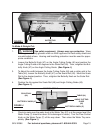
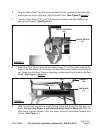
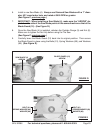
Loosen the Butterfly Knob (47) on the Angle Cutting Guide (46) and position the
Angle Cutting Guide at 90 degrees to the Scale Rail (49). Then, retighten the But-
terfly Knob (47) on the Angle Cutting Guide. (See Figure J.)
To Adjust the width between the Angle Cutting Guide (46) and a cutting slot in the
Table (44), loosen the Butterfly Knob (47) on the Scale Rail (49). Move the Scale
Rail to the desired position. Then, retighten the Butterfly Knob on the Scale Rail.
(See Figure J.)
Position the tile against the Scale Rail (49) and Angle Cutting Guide (46).
(See Figure J.)
SCALE RAIL
(49)
ANGLE CUTTING
GUIDE
(46)
BUTTERFLY KNOB (47)
BUTTERFLY KNOB (47)
FIGURE J
TABLE (44)
POSITION OF TILE
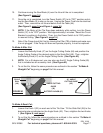
Check to make sure the water level in the Water Tray (67) is at the proper level (the
Water Pump (7) should be about 3/4 submerged in water). Turn the Flow Control
Knob on the Water Pump (7) all the way down. Then close the Water Tray com-
pletely. (See Figure I.)
1.
2.
3.
4.
5.
To Make A Straight Cut:
WATER PUMP
FLOW CONTROL KNOB (7)


