


SKU 95386 For technical questions, please call 1-800-444-3353. Page 13
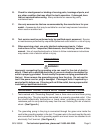
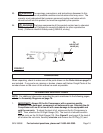
PSI of the tool on the Output Pressure Gauge (60), push in the knob to set the
output pressure. (See Figure H.)
7. As long as the “On/Off” Pressure Switch (55) is in its ON position the operation of
the Compressor is automatic, controlled by an internal pressure switch. The
Compressor will turn on automatically when the air pressure drops to 80 PSI as
indicated on the Pressure Gauge (54), and will turn off automatically when the air
pressure reaches 115 PSI as indicated. IMPORTANT: The internal pressure
switch is not user adjustable, never make changes to the air pressure levels.
Any change to the automatic pressure levels may cause excess pressure to
accumulate, causing a hazardous situation.
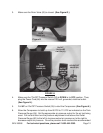
8. NOTE: If it is necessary to quickly
depressurize
the Compressor, turn off the Air
Compressor by pushing DOWN on the “On/Off” Pressure Switch (55). Then, pull
OUT on the ring on the Safety Valve (56) to quickly release stored air pressure.
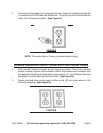
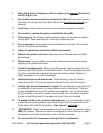
9. When finished using the Air Compressor, turn it off by pushing DOWN on the
”On/Off” Pressure Switch (55). Unplug the Power Cord (64) from its electrical
outlet. Squeeze the trigger on the air tool being used to release all stored air
pressure from the system, and disconnect the air hose and air tool from the Air
Compressor. Then, open the Drain Valve (65) to release all remaining
compressed air from the Tank (1). Note: Accumulated mositure will also be
discharged. (See Figure G.)
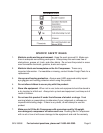
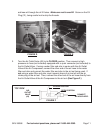
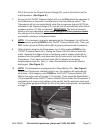
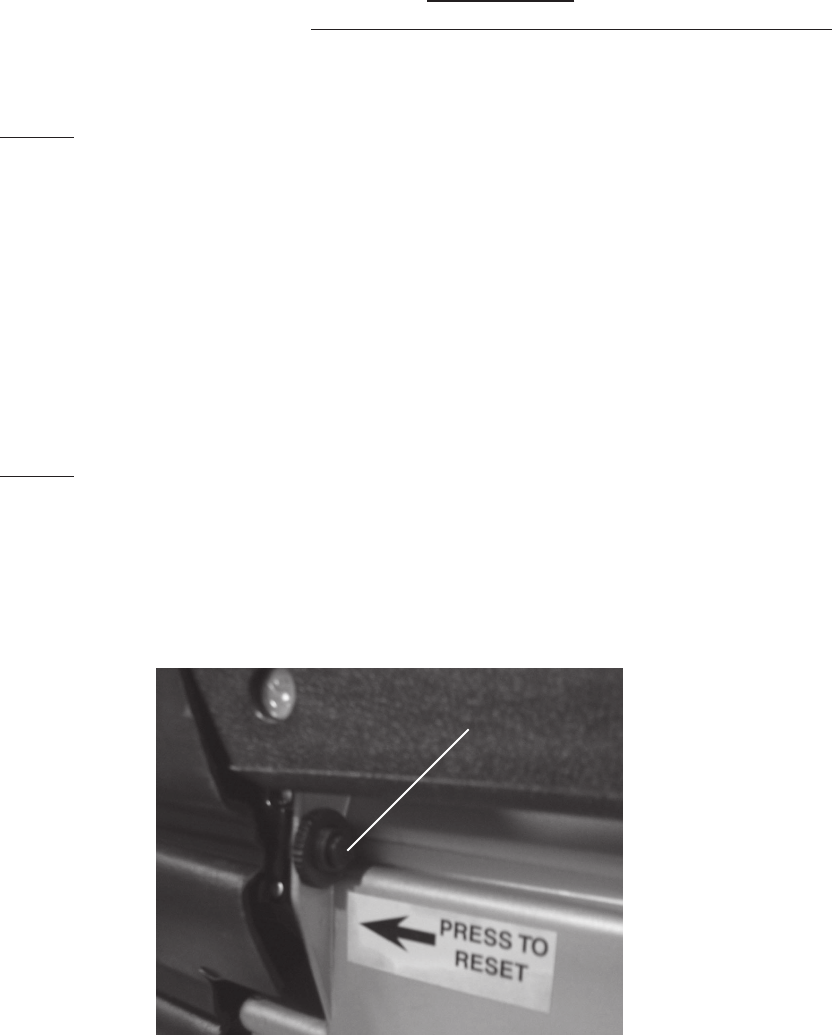
10. NOTE: The Compressor is equipped with a Reset Button (19). (See Figure I.)
Should the Compressor overheat while in use, the machine will automatically
shut down. If this happens, push DOWN on the “On/Off” Pressure Switch (55).
Wait for the unit to cool off (usually 5-10 minutes). Then, press the Reset Button
(19) and pull UP on the “On/Off” Pressure Switch (55) to restart the Compressor. If
overheating is a reoccurring problem, make certain that the extension cord used
is of the proper gauge and length for this unit’s power requirements - as explained
on page 7.
Figure I
RESET
BUTTON (19)