SKU 94481 For technical questions, please call 1-800-444-3353 PAGE 9
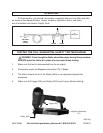
Anytime any maintenance or repairs are done (including clearing jams), FIRST:
1. Disconnect the Nailer from its air supply.
2. Empty the Magazine Assembly (70) completely.
3. Attempt to re the Nailer into a piece of scrap wood to ensure that it is
disconected and is incapable of ring any Brads.
CLEARING JAMS
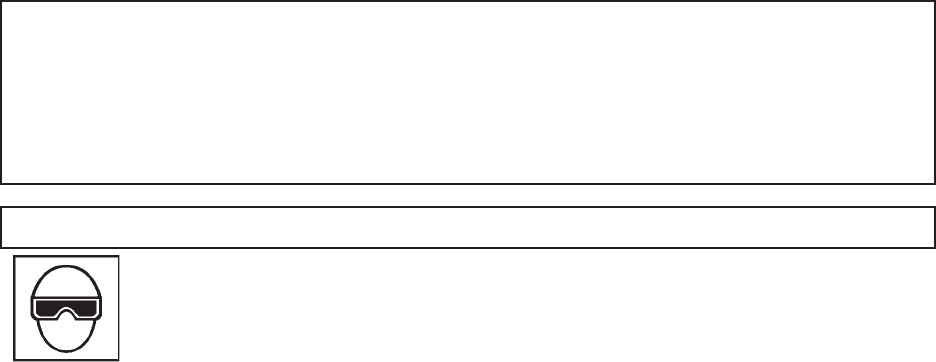
Use eye and ear protection when clearing jams. Always wear ANSI
approved impact safety goggles and appropriate hearing protection.
1. Occasionally, a Brad may become jammed in the ring mechanism of the
Nailer, making the tool inoperable.
2. To remove a jammed Brad, disconnect the Nailer from its air supply.
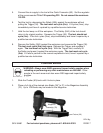
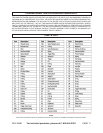
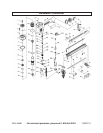
3. Slide the Pusher (63) back until it locks in place. Then, lean the Nailer back.
4. Remove all Brads from the Magazine Assembly (70).
5. While holding the Pusher (63) in place, press the Release (74) and slide the
Pusher forward all the way.
6. Attempt to re the Nailer into a piece of scrap wood to ensure it is disconnected
and is incapable of ring any Brads.
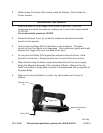
7. With the Driver Guide Cover (52A) facing away from you, push the Locker Spring
(92) and remove Driver Guide Cover.
8. Remove the jammed Brad.
9. Close the Driver Guide Cover (52A), making sure it locks in place.
10. Reload the Nailer with Brads. Then, reconnect the air supply hose to the tool.
11. Press the Safety (50A) against a piece of scrap wood, and test re the Nailer
several times while checking for proper operation. If the Nailer is properly ring,
you may continue using the tool. If the tool fails to perform properly, immediately
discontinue use and have the tool repaired by a qualied service technician.
12. When nished working, disconnect the air supply. Remove the Brads. Then,
store the Nailer in a clean, dry, safe location out of reach of children.


