


Unpacking and Clean-Up
1. Finish removing the shipping crate.
2. Remove the skid from under the press.
3. Remove the protective coating from all rust
protected surfaces with a soft cloth moistened
with kerosene or a mild solvent. Do not use
acetone, gasoline, or paint thinner. These will
damage painted surfaces.
4. To prevent rust, apply a thin coat of paste wax to
the table.
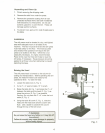
Installation
The drill press must be located in a dry, well lighted
area with adequate room on all sides of the
machine. The floor must be level and the drill press
must rest solidly on the floor. The most accurate
and vibration free operation will require the drill
press to be bolted to the floor. While this is not
absolutely necessary, it is highly recommended.
Place shims near the three bolt holes to level the
drill press, if necessary. Equal pressure should be
applied to all three nutswhen tightening to prevent
distorting the base.
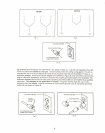
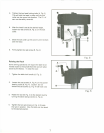
Raising the Head
The drill press head is lowered on the column for
crating and transportation. Before operating the drill
press, the head will need to be raised to the
operational level. To raise the head:
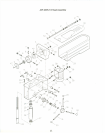
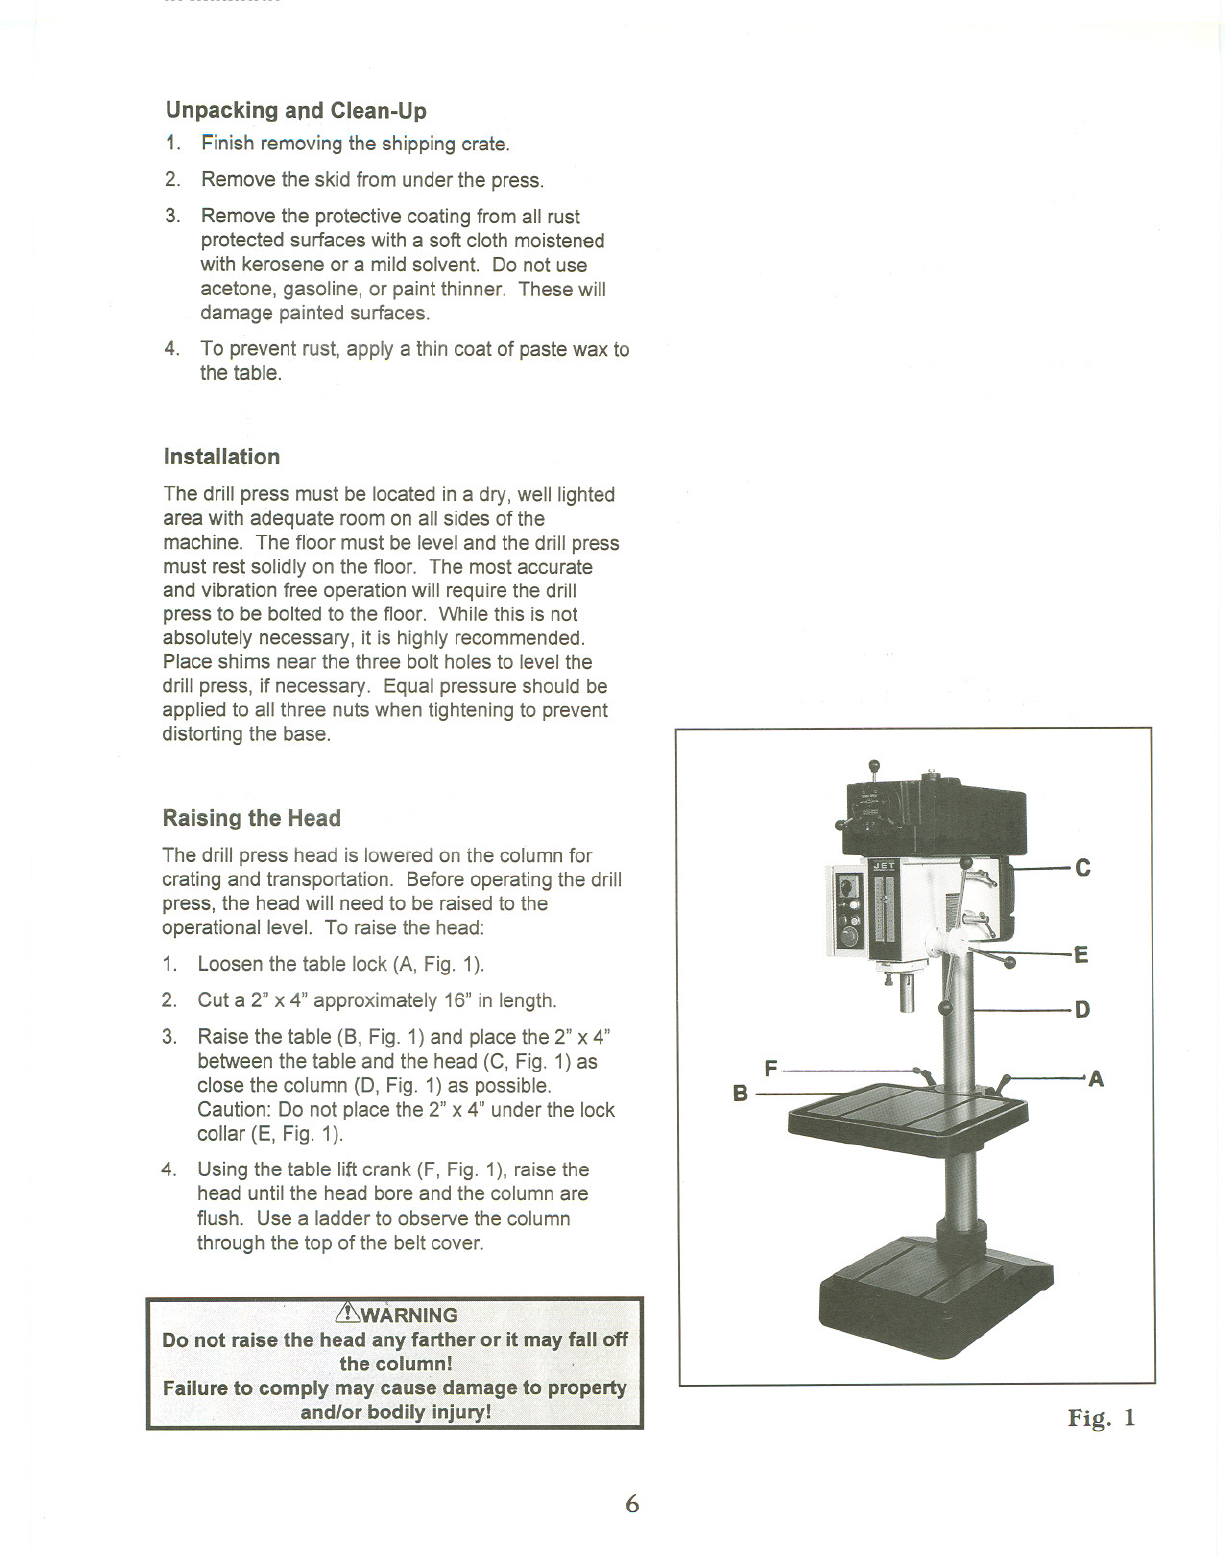
1. Loosen the table lock (A, Fig. 1).
2. Cut a 2" x 4" approximately 16" in length.
3. Raise the table (B, Fig. 1) and place the 2" x 4"
between the table and the head (C, Fig. 1) as
close the column (D, Fig. 1)as possible.
Caution: Do not place the 2" x 4" under the lock
collar (E, Fig. 1).
4. Using the table lift crank (F, Fig. 1), raisethe
head until the head bore and the column are
flush. Use a ladder to observe the column
through the top of the belt cover.
Failure to co
6
B
F
A
c
E
D
Fig. 1