12
5. The quick release function can also be used
to back off the movable jaw when the cut is
finished.
Miter Cuts
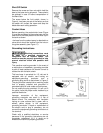
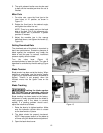
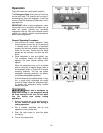
1. For miter cuts, move the fixed jaw to the
inner holes, or “A” position, as shown in
Figure 10.
2. Rotate the fixed jaw to the desired angle,
and tighten the center hex nut.
NOTE: There is an angle scale on the back
side of the bed. This is for reference only.
Check angles with a protractor if greater
precision is needed.
3. Adjust the movable jaw in the manner
described above, and tighten the handle (C,
Figure 10).
Setting Downfeed Rate
The downfeed rate of the blade is important to
band saw performance. Excessive pressure of
blade against the workpiece may break the
blade or stall the saw. In contrast, insufficient
pressure rapidly dulls the blade.
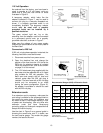
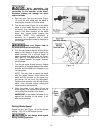
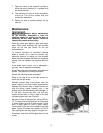
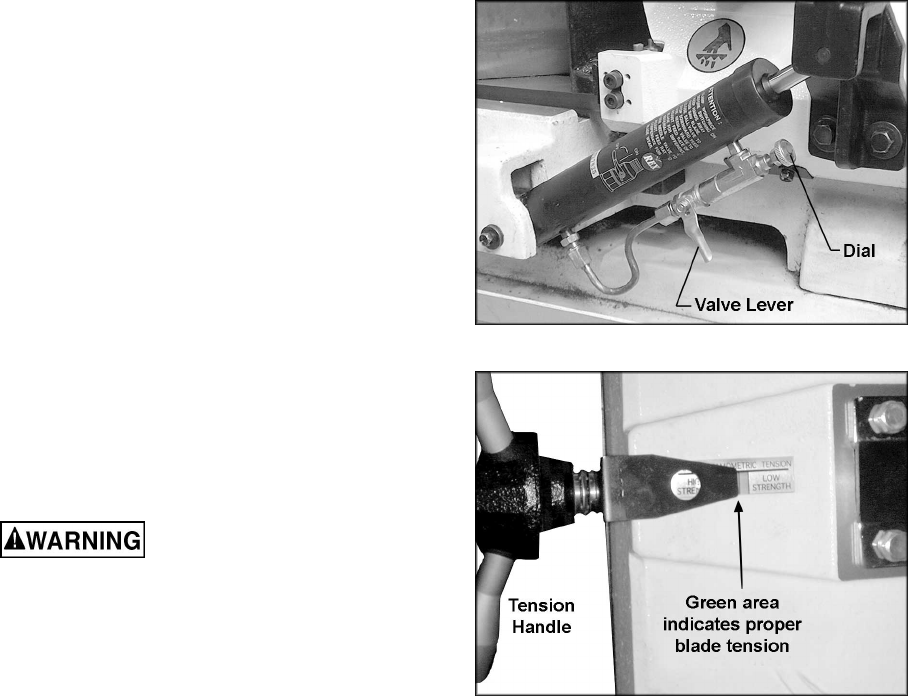
Turn the valve lever (Figure 12)
counterclockwise to lower the bow. The rate of
downfeed is controlled by the dial setting (Figure
12).
Blade Tension
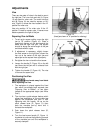
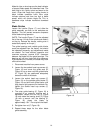
Blade tension has been set at the factory. When
installing a new blade, use the tension handle
(Figure 13) to adjust blade tension (clockwise to
tighten). Tension is set properly when the
indicator moves into the “green” area on the
scale.
Blade Tracking
Tracking the blade requires
that the band saw be operating while the
back cover is removed. Use extreme caution.
Blade tracking has been tested at the factory.
Adjustment is rarely required when the blade is
used properly and if the blade is correctly
welded. If a tracking problem should occur,
adjust the machine as follows:
1. Raise the bow to its highest position. Make
sure the hydraulic cylinder valve is closed
so the bow remains in place.
2. The blade should be properly tensioned.
NOTE: Keep proper tension on the blade at
all times using the blade tension adjustment.
3. Open the back wheel cover.
Figure 12
Figure 13


