5
Unpacking and Clean-Up
Note: Read and understand the entire manual
before attempting setup or operation.
1. Remove all contents form the shipping
carton.
2. Inspect contents for shipping damage and
report any damage to your distributor.
3. Wipe bed and vise assembly with clean
cloth to remove excess oil used to prevent
rust.
4. Do not discard any packing material until
saw has been assembled and is running
properly.
Tools Supplied for Assembly
1. Wrench 12/14mm
Tools Required for Assembly
• #2 Cross Point Screwdriver
• 6-8" Adjustable Wrench or Wrench Set
• Pliers - Regular or Needle Nose
• 4mm Angle Hex Wrench
• Ratchet and Sockets will Speed Assembly
Assembly
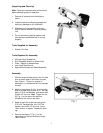
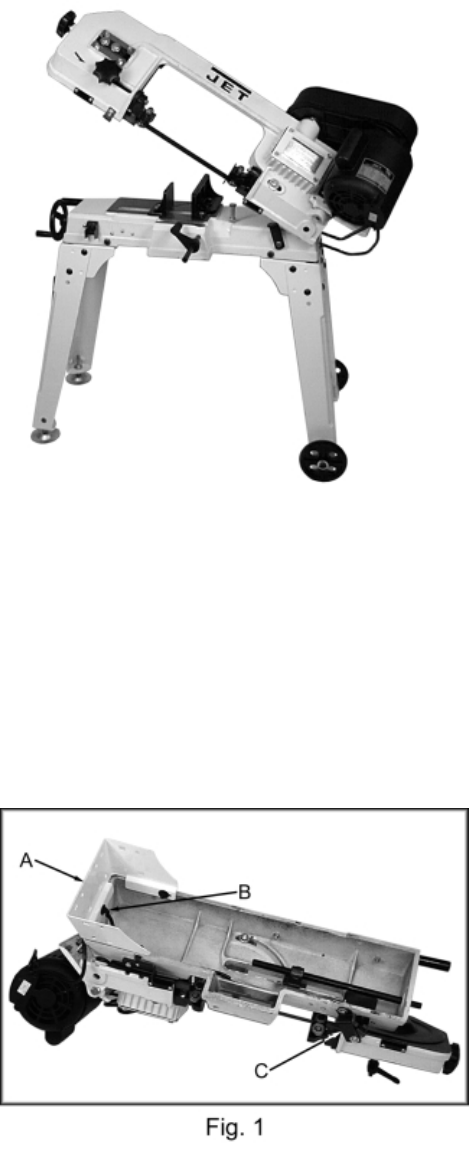
1. With the help of another person turn the saw
over so that it rests on the motor and saw
bow, Figure 1. Place it on a piece of
cardboard, or a surface that will not damage
the saw.
2. Attach a cross brace (A, Fig. 1) to the motor
side of the bed using three 5/16”x1” hex cap
bolts, six 5/16” flat washers, and secure with
three 5/16” hex nuts. Hint: Tighten the nut
(B, Fig. 1) on the end of the bed first
followed by the nuts on the sides.
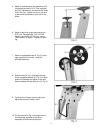
3. Attach a leg to the cross brace using four
5/16”x3/4” carriage bolts, four 5/16” flat
washers and four 5/16” hex nuts. Use a
12mm wrench to tighten. Repeat for other
leg.
4. Remove the brace (C, Fig. 1) on the
opposite end of the bed and bow using a
10mm wrench.


