


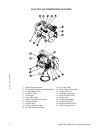

12 Hand Carry Electric Air Compressor Manual
INITIAL SET-UP:
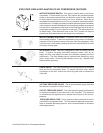
1. Remove the air compressor from the carton.
2. Read safety warnings before setting-up air compressor.
3. If your unit contains oil, remove the oil travel plug and insert the oil
dipstick. Ensure the oil level in the air compressor pump is adequate.
If low, add SAE non-detergent oil as recommended below:
Ambient Temperature SAE Viscosity
0-32°F SAE 10W
32-80°F SAE 20W
60-103°F SAE 30W
LOCATION:
1. In order to avoid damaging the air compressor, do not incline the air
compressor transversely or longitudinally more than 10°.
2. Place air compressor at least 12 inches away from obstacles that may
prevent proper ventilation. Do not place air compressor in an area:
-where there is evidence of oil or gas leaks.
-where flammable gas vapors or materials may be present.
-where air temperatures fall below 32°F or exceed 104°F.
-where extremely dirty air or water could be drawn into the air
compressor.
ELECTRICAL:
1. USE OF AN EXTENSION CORD IS NOT RECOMMENDED because
it could cause the compressor motor to overheat. It's preferable to use
additional air hose instead of an extension cord.
2. If use of an extension cord is unavoidable, be sure to use one heavy
enough to carry the current your compressor will draw. Minimum cord
sizes is as follows:
3. Use only a 3-wire extension cord that has a 3-blade grounding plug and
a 3-slot receptacle that will accept the plug on the compressor.
4. Examine cords before using. Do not use the compressor if its cord is
damages. Do not use a damaged extension cord.
5. Keep cords away from heat and sharp edges. Do not pull on a cord to
disconnect a plug -- grasp the plug.
6. Always shut off the compressor Pressure Switch before unplugging the
compressor.
PRE-START CHECKLIST:
1. Check oil level. Add if necessary.
2. Remove any moisture in the air compressor air tank.
NEVER attempt
to open the Air Tank Drain Valve when more than 10 PSI of air
pressure is in the air tank! Remove excessive pressure with an air
tool, then open the Air Tank Drain Valve in the bottom of the air tank.
Close tightly when drained.
3. Make sure the Motor/Pressure Switch is in the "OFF" position.
4. Make sure the Safety Relief Valve is working correctly.
5. Make sure all guards and covers are in place and securely mounted.
PREPARATION INSTRUCTIONS
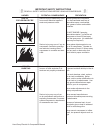
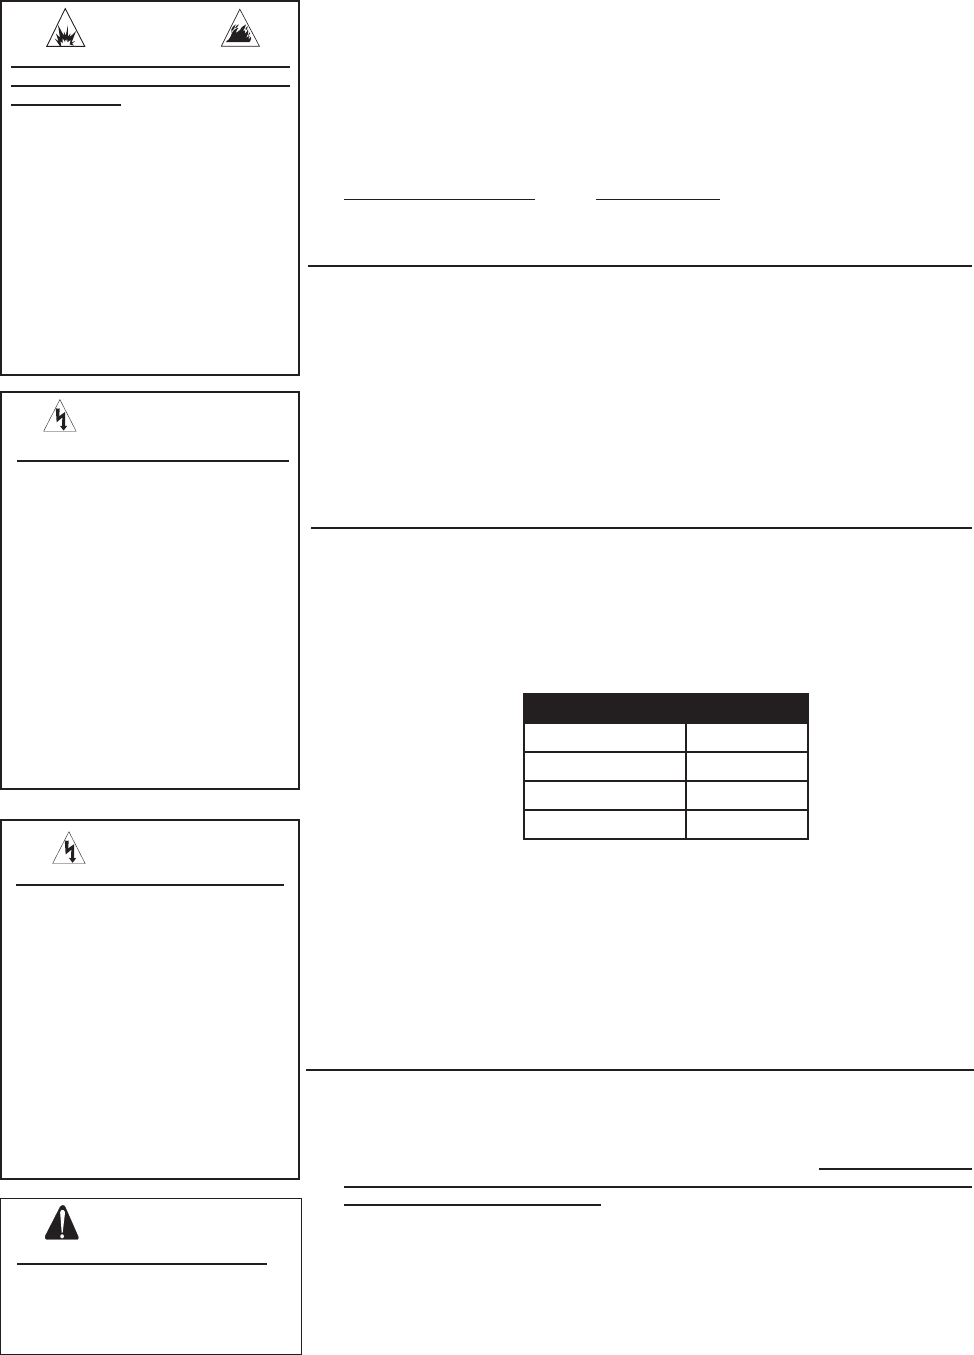
WARNING
RISK OF EXPLOSION OR FIRE
CAUSING SERIOUS INJURY
OR DEATH!
Do not allow the motor or Motor/
Pressure Switch to come in
contact with flammable vapors,
combustible dust, gases or other
combustible materials. An electric
spark may cause an explosion
or fire.
When using the air compressor
for spray painting, place the air
compressor as far away from the
work area as possible, using extra
air hoses instead of extension
cords.
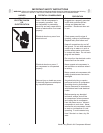
DANGER
RISK OF ELECTROCUTION!
Improper connection of the
equipment-grounding conductor
can result in a risk of shock or
electrocution. Check with a
qualified electrician or service
personnel if you are in doubt as
to whether the outlet is properly
grounded. Do not use any type
of adapter with this product. If
repair or replacement of the
cord or plug is necessary, do
not connect the grounding wire
to either flat blade terminal. The
wire with insulation having an
outer surface that is green with
or without yellow stripes is the
grounding wire.
WARNING
RISK OF ELECTRICAL SHOCK!
This product must be grounded. If
there should be a malfunction or
breakdown, grounding provides
a path of least resistance for
electric current to reduce the
risk of electric shock. This
product is equipped with a cord
having an equipment-grounding
conductor and a grounding type
plug. The plug must be plugged
into an appropriate outlet that is
properly installed and grounded
in accordance with all local codes
and ordinances.
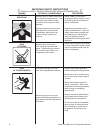
WARNING
RISK OF BODILY INJURY!
Never attempt to open the Air
Tank Drain Valve when more
than 10 PSI of air pressure is in
the air tank!
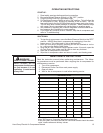
Cord Length Wire Gauge
Up to 25 Feet 12 AWG
26 to 100 Feet 10 AWG
101 to 150 Feet 8 AWG
151 to 250 Feet 6 AWG