CUTTING CURVES
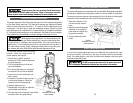
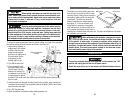
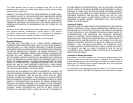
The blade on the metal cutting band saw
does not turn from side-to-side to create
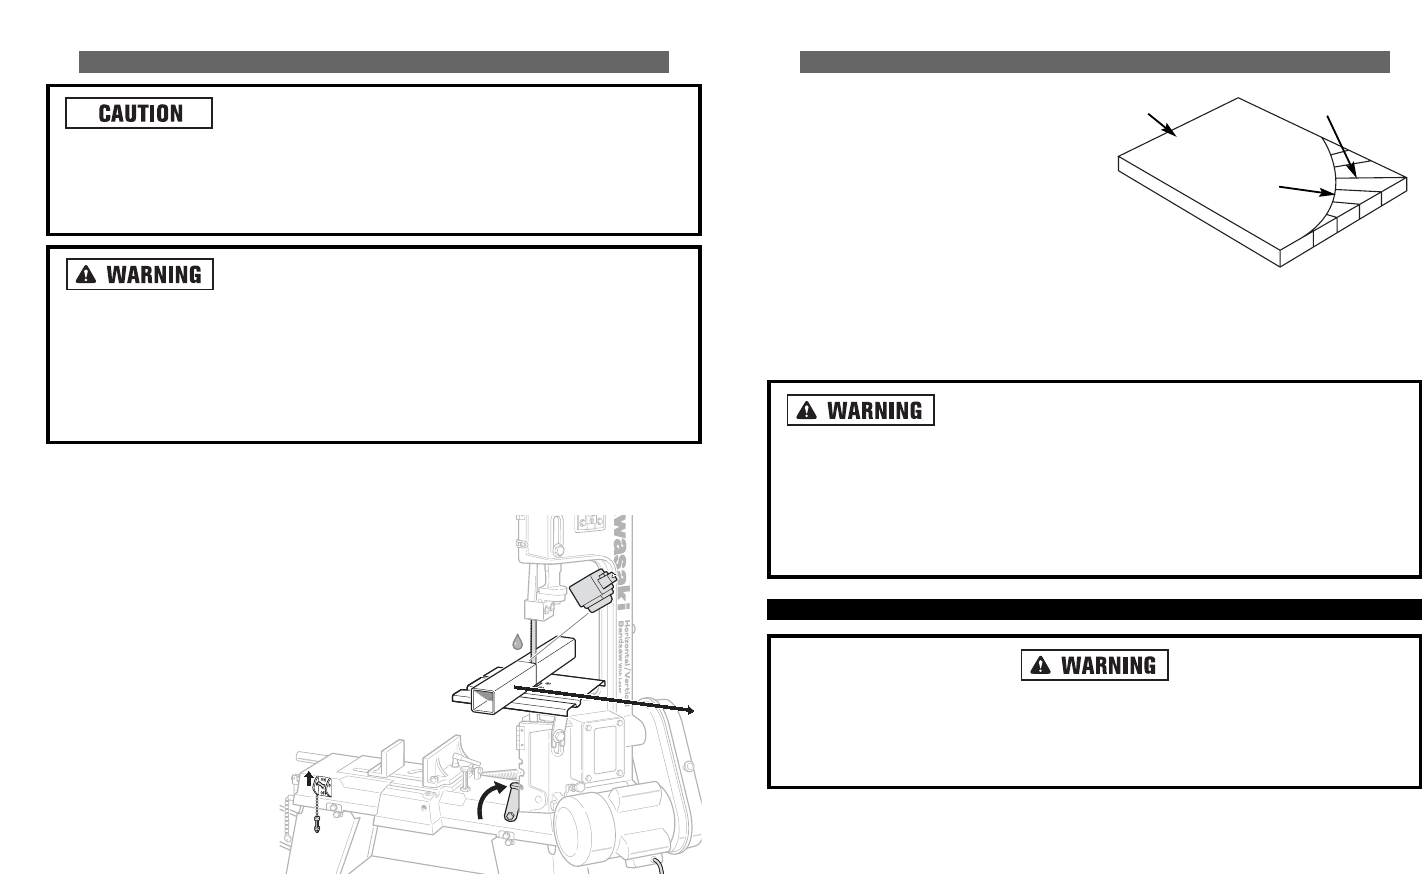
scrolling effects. Cutting curved corners is
achieved by making relief cuts along the
curved path. The relief cuts allow the
blade to make the cut without twisting.
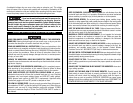
See Figure 17. If the curved path is so
sharp that it is necessary to repeatedly
stop and back up, the curve could be cut
by increasing the number of relief cuts or
changing to a different blade with more set. The more set a blade has, the easier
the workpiece can be turned.
When withdrawing the workpiece, changing the cut pat-
tern, or for any other reason, use caution and ensure the blade is not drawn
off the wheels. In most cases, it is easier to continue cutting straight out
through the scrap portion of the workpiece. Should the blade come off one of
the wheels, its speed will cause it thrash violently inside the saw head and
possibly break. This could cause severe damage to the band saw compo-
nents and possibly severe injury to the operator.
TROUBLESHOOTING
To avoid any accidental starting of the Band saw, turn the switch to the “OFF”
position and unplug the tool from the AC power source.
Should the motor fail to run, for any reason, call Alltrade Customer Service.
VERTICAL CUTTING
When cutting small pieces or ends that are close to the
blade, ALWAYS use a push stick to prevent the hands from accidentally com-
ing in contact with the moving blade. A push stick can be made from a piece
of wood that is at least 1" wide and 12" long. A notch should be in the end
that contacts the workpiece.
Using the metal cutting band saw in the vertical position
should only be used for cutting light materials, workpieces that are short
enough to be guided by hand and for cutting rounded corners on flat work-
pieces that will not fit in the vise on the saw base. Cutting heavy materials
or thick workpieces in the vertical position could result in the blade becom-
ing very hot, binding or even breaking resulting in damage to the band saw,
the workpiece and/or possibly severe injuries to the operator.
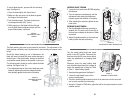
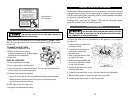
To set up the metal cutting band saw for vertical cutting, see Page 16 to assemble
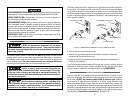
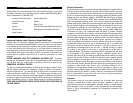
the vertical cutting table and proceed as follows. See Figure 16.
1. When making mitered or
angled cuts in the vertical
position, slide the miter
gauge into the square
groove on the right side of
the work table. Set the
miter gauge for the
desired angle of cut.
2. Turn ON the band saw.
3. Firmly grasp the work-
piece and slowly push it
into the blade. Let the
blade do the cutting. Do
not attempt to cut too fast
or apply pressure against
the blade. This could cause the blade to become hot and harden and possibly
bind or break.
4. After the blade cuts through the side closest to the operator, keep pushing the
workpiece forward until it has completely cleared the blade. Pull the two halves
away from the work table.
5. Turn OFF the band saw.
6. Allow the blade to cool before cutting making another cut.
27 28
OIL
TURN
SWITCH
TO “ON”
FIGURE 16.VERTICAL
CUTTING
RELIEF CUTS
CUTTING LINE
WORKPIECE
FIGURE 17.
CUTTING CURVES


