!"$&!
($&M%
$) $'&
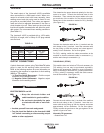
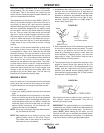
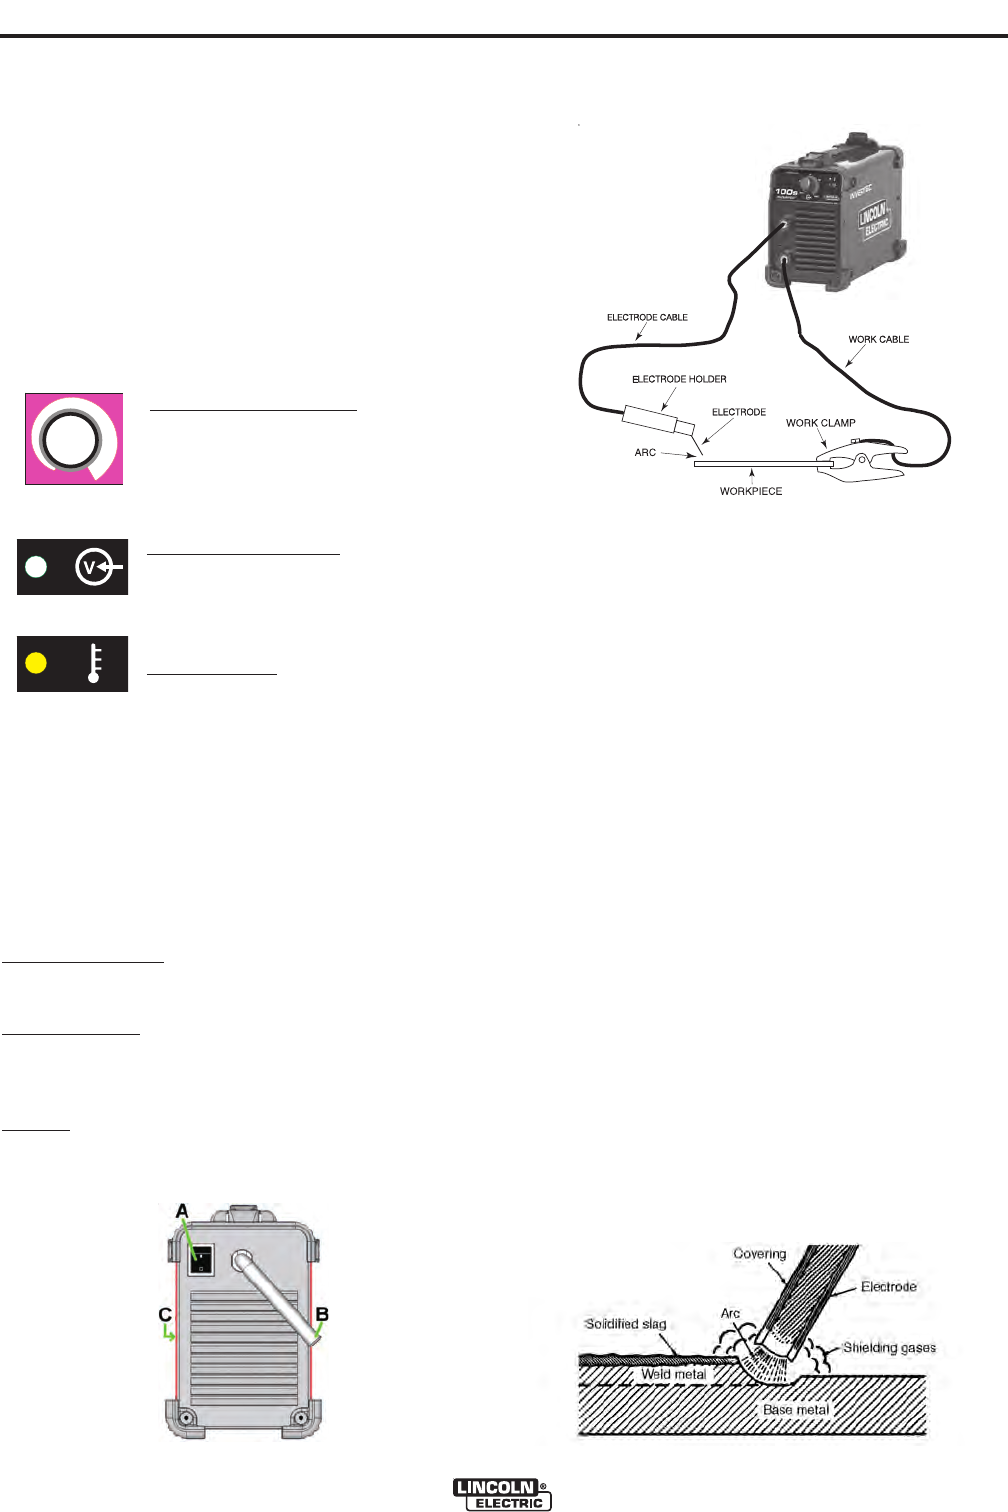
(See Figure B.3)
'$
Current flows through the electrode cable and elec-
trode holder to the electrode and across the arc. On
the work side of the arc, the current flows through the
base metal to the work cable and back to the welding
machine. The circuit must be complete for the current
to flow.
To weld, the work clamp must be tightly connected to
clean base metal. Remove paint, rust, etc. as neces-
sary to get a good connection. Connect the work
clamp as close as possible to the area you wish to
weld. Avoid allowing the welding circuit to pass
through hinges, bearings, electronic components or
similar devices that can be damaged.
An electric arc is made between the work and the end
of a small metal rod, the electrode, which is clamped
in a holder and the holder is held by the person doing
the welding. A gap is made in the welding circuit (see
Figure B.3) by holding the tip of the electrode 1/16-
1/8” away from the work or base metal being welded.
The electric arc is established in this gap and is held
and moved along the joint to be welded, melting the
metal as it is moved.
&$$
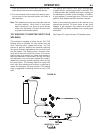
(See Figure B.4)
Action that takes place in the electric arc.
'$
! &$!% !"$&!
%&$&'"
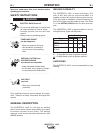
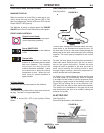
When the machine is turned ON, an auto-test is exe-
cuted; during this test only the Thermal LED is ON;
after few seconds the Thermal LED turns OFF and the
Power ON/OFF LED lights up.
The Machine is ready to operate when the "!)$
! on the Front Control Panel illuminates green.
$! &" ! &$!%
!BA=BAB??2;A;</
Potentiometer used to set the output
current used during welding.
"<D2?! !
This LED lights up when the machine
is ON.
&52?:.9
This indicator will turn on when the
machine is overheated and the output
has been disabled. This normally
occurs when the duty cycle of the
machine has been exceeded. Leave
the machine on to allow the internal
components to cool. When the indi-
cator turns off, normal operation is
again possible.
"<D2?%D6A05
It turns ON / OFF the input power to the machine.
;=BA0./92
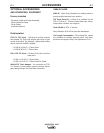
This machine is provided with an input cord and mold-
ed plug. Connect it to a grounded outlet.
.;
The fan is turned ON / OFF by the machine Power
Switch.


