


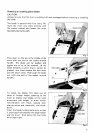
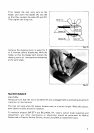
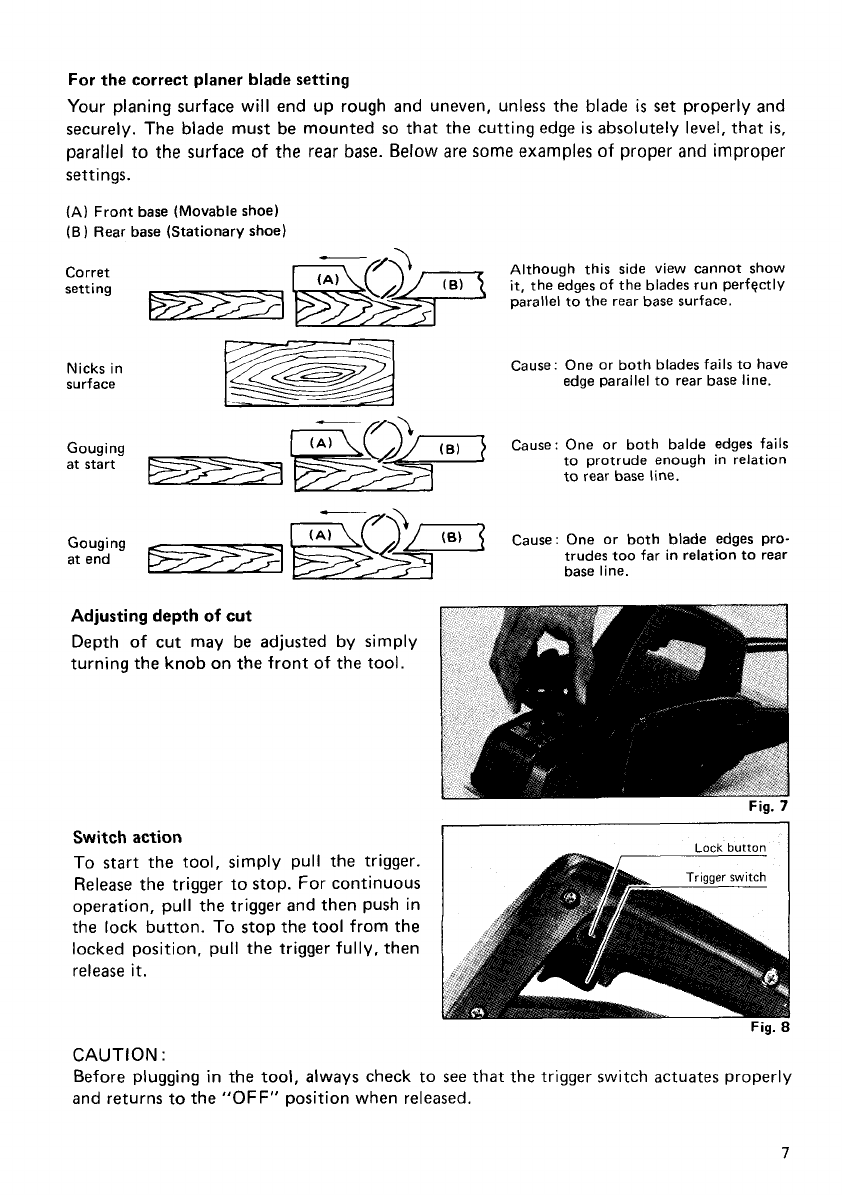
For the correct planer blade setting
Your planing surface
will
end up rough and uneven, unless the blade
is
set
properly and
securely. The blade must
be
mounted
so
that the cutting edge is absolutely level, that is,
parallel to the surface
of
the
rear
base.
Below are some examples
of
proper and improper
settings.
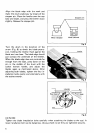
(A)
Front
base
(Movable
shoe)
(B) Rear
base (Stationary shoe)
Although this
side
view
cannot
show
it,
the
edges
of
the
blades run
perfectlv
parallel
to
the
rear
base
surface.
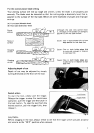
Nicks
in
surface
Cause:
One
or
both
blades
fails
to
have
edge
parallel
to
rear
base
line.
to
rear
base
line.
at
start
~~~&~~
Cause:
One
or
both blade edges pro-
trudes
too
far
in
relation
to
rear
base
line.
at
end
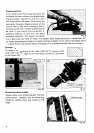
Adjusting
depth
of
cut
Depth of cut may
be
adjusted
by
simply
turning the knob on
the
front
of
the tool.
Switch action
To
start the tool, simply pull the trigger.
Release the trigger to stop. For continuous
operation, pull the trigger and then push in
the lock button.
To
stop the tool from the
locked position. pull the trigger fully, then
release
it.
Fig.
8
CAUTION
:
Before plugging in the tool, always check to
see
that the trigger switch actuates properly
and returns to the
"OFF"
position when released.
7