


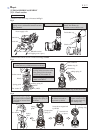
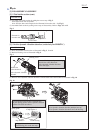

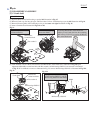
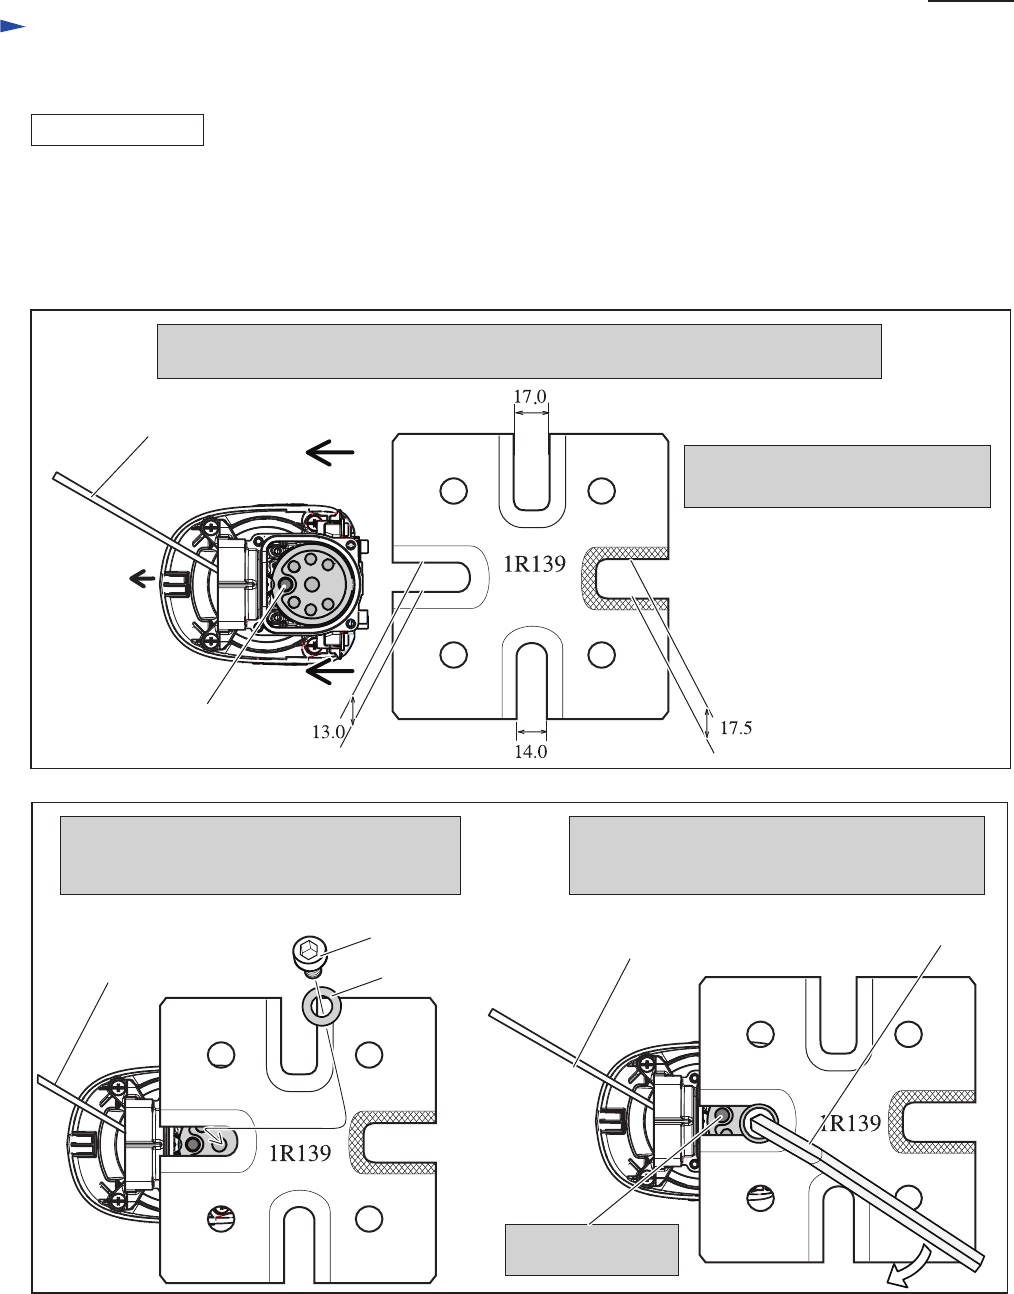
1. Keeping Crank shaft in the condition Crank pin is at the closest position to Barrel side,
hold Armature by inserting a bar into Armature fan.
P 9/ 17
Fig. 19
Fig. 20
DISASSEMBLING
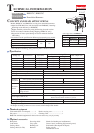
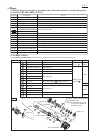
[3] DISASSEMBLY/ASSEMBLY
[3]-5 Crank shaft
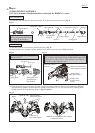
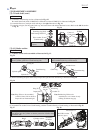
4. Tighten the M8x40 Hex socket head bolt using
Hex wrench until Crank shaft is pulled off from
Ball bearing 6203LLU in Crank housing.
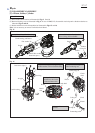
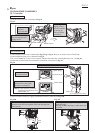
(1) Separate Barrel from Crank housing. (Fig. 15)
(2) Remove Crank cap, Seal ring, Air pipe and Flat washer 34 from Crank housing. (the left illustration in Fig. 16)
(3) Remove Piston together with Connecting rod ( the right illustrations in Fig. 16)
Note: Turn Crank shaft so that the crank pin is at the closest position to Barrel side for easy removal of Connecting rod.
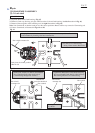
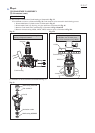
(4) remove Crank shaft as illustrated in Figs. 19 and 20.
Bar to hold Armature fan
2. Put 1R139 on Crank housing,
facing 13mm notch to Barrel side.
Crank pin at the closest position
to Barrel side
Barrel
side
Bar to hold
Armature fan
Bar to hold
Armature fan
M8x40 Hex
socket head bolt
Flat washer 8
Crank pin is locked
by 1R139.
3. Putting Flat washer 8 on 1R139, drive M8x40
Hex socket head bolt to the center hole of
Crank housing through Flat washer 8.
Hex wrench
Repair