


20
ENGLISH
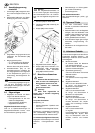
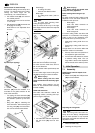
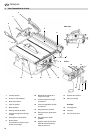
ON/OFF switch
riving knife
blade guard
feeding aids (push stick, push
block and handle).
Use personal protection gear:
dust respirator;
hearing protection;
safety goggles.
Assume proper operating position:
at the front of the saw;
in front of the saw;
to the left of the line of cut;
when working with two persons,
the other person must remain at
an adequate distance to the saw.
If the type of work requires, use the
following:
suitable workpiece supports – if
otherwise workpiece would fall
off the table after cutting;
dust collector.
Avoid typical operator mistakes:
Do not attempt to stop the saw
blade by pushing the workpiece
against its side. Risk of kickback.
Always hold the workpiece down
on the table and do not jam it.
Risk of kickback.
Never cut several workpieces at
the same time – and also no bun-
dles containing several individual
pieces. Risk of personal injury if
individual pieces are caught by
the saw blade uncontrolled.
c
Drawing-in/trapping hazard!
Never cut stock to which
ropes, cords, strings, cables or wires
are attached or which contain such
materials.
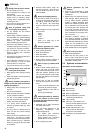
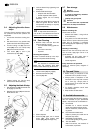
8.1 Dust collector
A
Danger!
Dust of certain timber species
(e.g. beech, oak, ash) can cause can-
cer when inhaled. Use suitable dust
collector when working in enclosed
spaces. The dust collector must meet
the following requirements:
hoses to fit outer diameter of dust
extraction ports (blade guard 38
mm; chip case 58 mm);
air flow volume
t 460 m
3
/h;
vacuum at dust extraction port of
saw t 530 Pa;
air speed at dust extraction port
of saw
t 20 m/ s.
The dust extraction ports are located at
the chip case assembly and at the saw
blade guard.
Observe the dust collector's operating
instructions as well!
Operation without a dust collector is only
possible:
outdoors;
for short-term operation
(up to a maximum of 30 minutes);
with dust respirator.
A
Danger!
By the revolving motion of the
saw blade saw dust is blown from the
chip case.
A
Caution!
The dust extraction port must
not be blocked by objects.
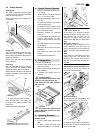
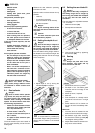
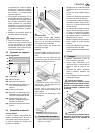
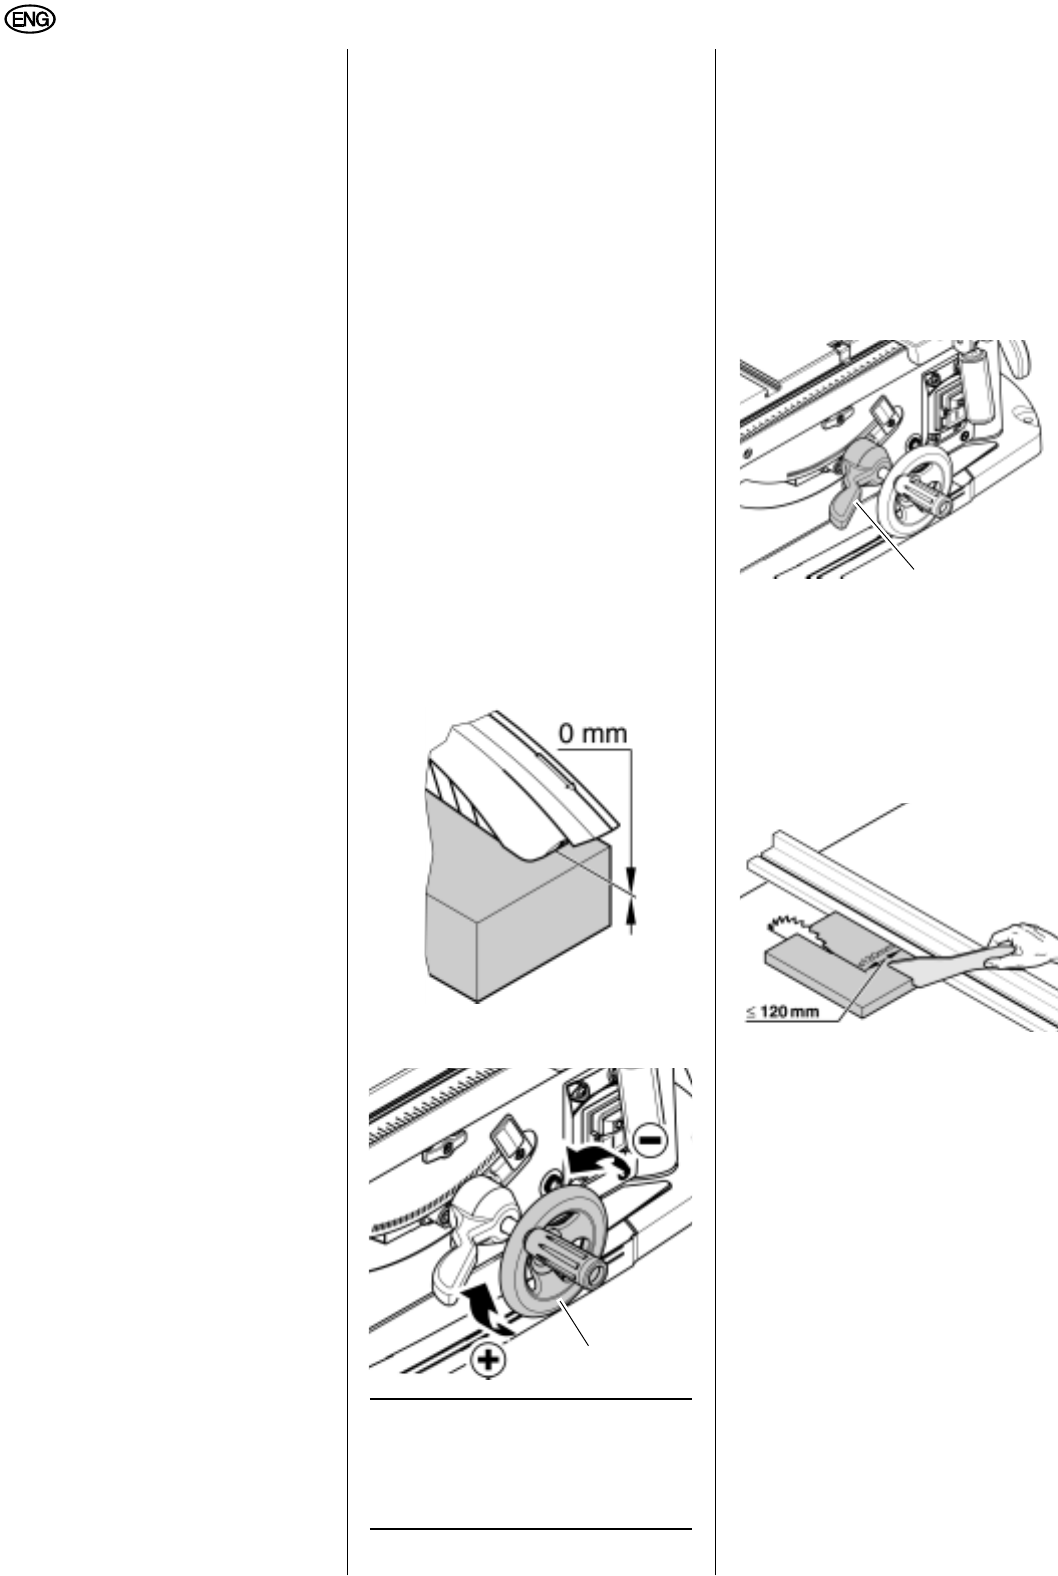
8.2 Setting the depth of cut
A
Danger!
Parts of the body or objects in
the setting range can be caught by
the running saw blade! Set depth of
cut only with saw blade at standstill!
The saw blade's cutting height needs to
be adapted to the workpiece height: the
blade guard shall rest with its front edge
on the workpiece.
x Adjust depth of cut by turning the
handwheel (58) as required.
3
Note:
To compensate for possible play
in the blade height setting mechanism,
always raise the blade to the desired
position.
8.3 Setting the saw blade tilt
A
Danger!
Parts of the body or objects in
the setting range can be caught by
the running saw blade! Set the depth
of cut only with the saw blade at
standstill!!
The saw blade tilt is adjustable between
-1.5 q and 46.5q.
1. Release lock lever (59).
2. Set required saw blade tilt.
3. Lock the set bevel tilt by tightening
the lock lever (59).
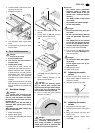
8.4 Sawing
A
Danger!
Always use push stick if dis-
tance between saw blade and rip
fence is less than 120 mm.
1. Set blade tilt and lock in position.
2. Set depth of cut. The blade guard
must rest with its front edge on the
workpiece.
3. Mount rip fence, if required.
4. Start saw.
5. Push workpiece in a steady motion
towards the rear and cut in a single
pass.
6. Switch machine off if no further cut-
ting is to be done immediately after-
wards.
Mitre cuts
1. The mitre fence is inserted into the
table slot from the table’s front edge.
2. Set desired angle after loosening
the mitre fence's locking handle (60)
and retighten locking handle.
3. Adjust lateral distance between aux-
iliary fence and saw blade:
58
59