OM-659 Page 4
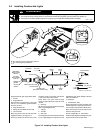
1 Connector
2 Run Wire
3 Tap Wire
Place unstripped run wire in slotted
channel.
Insert unstripped tap wire into other
channel until it hits internal stop.
4 Contact
5 9 Inch Linemans Pliers
Use pliers to push contact down
flush with top of connector.
Close top cover.
Ref. S-0448
1
2
3
4
5
Tools Needed:
Use tab connector only with insulated wires.
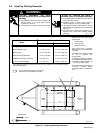
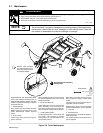
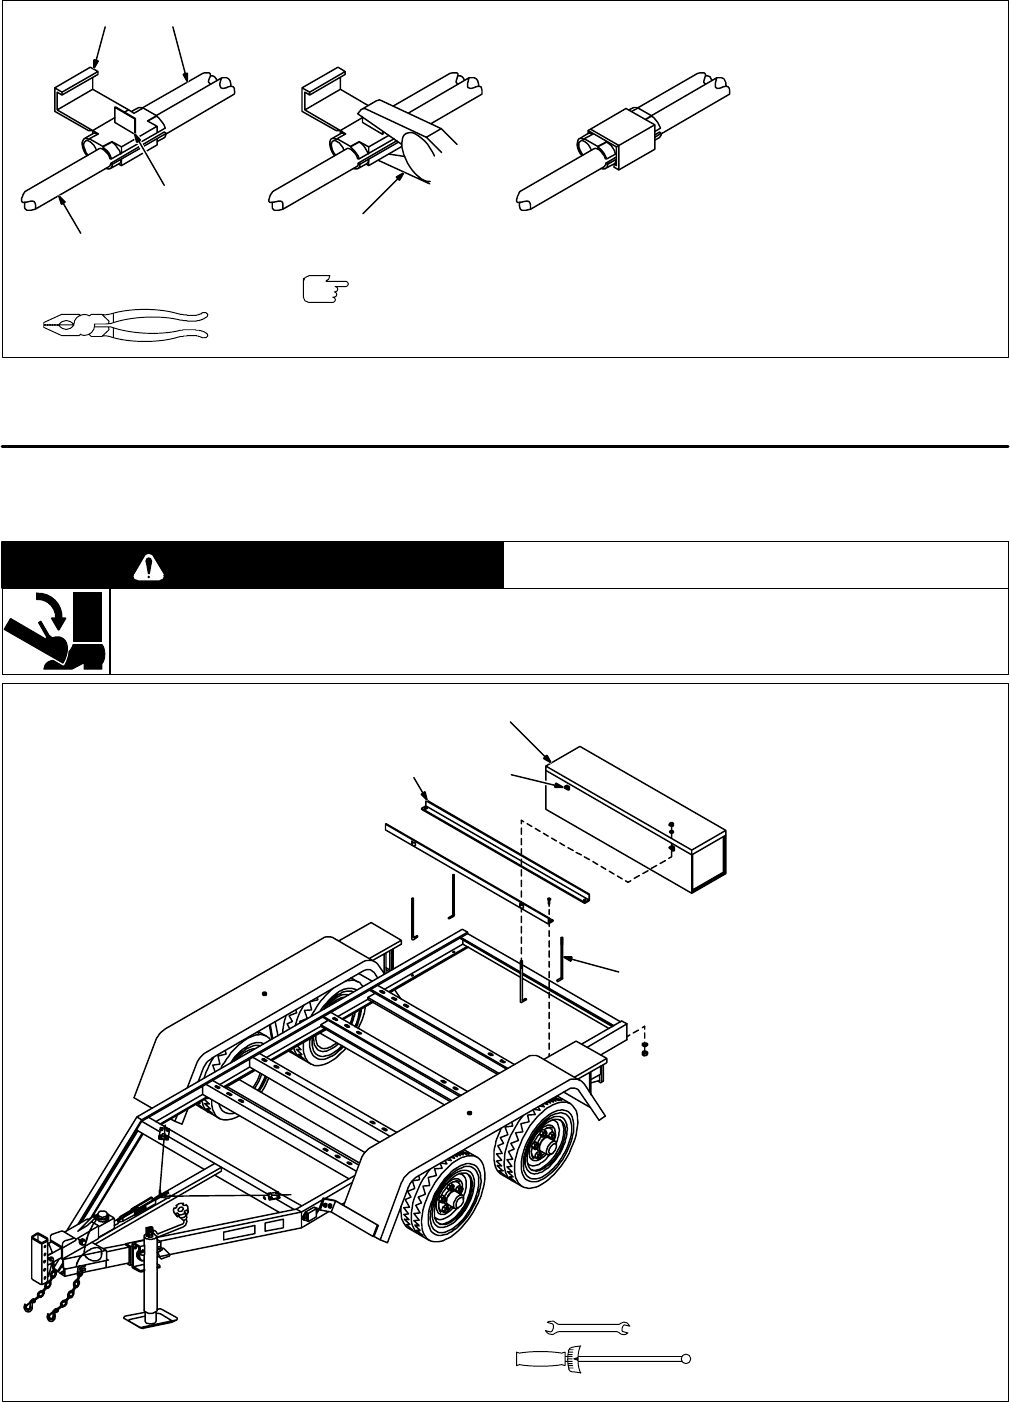
Figure 3-3. Installing Wiring Harness Connectors
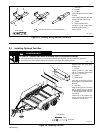
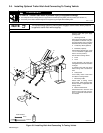
3-3. Installing Optional Tool Box
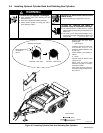
WARNING
TILTING OF TRAILER can result in personal injury or equipment damage.
• Use adequate blocks or lifting device to support hitch end while pivoting trailer jack into position (see Section 3-1).
• Use trailer jack to obtain desired height and to support tongue weight while installing tool box.
rwarn1.1* 3/93
ST-800 014
Support trailer with jack. Apply
parking brake.
1 Bracket
Attach brackets to frame using
3/8-16 x 1 hardware. Tighten hard-
ware to 31 ft lb (40 N
.
m).
2 Tool Box
3 Mounting Tab
Place box on brackets and align
mounting tabs on box with those on
brackets.
4 Hook Bolt
Slide bolt through each mounting
tab on bracket and up through
mounting tab on tool box. Be sure
“L” of bolts follows angle of mount-
ing brackets.
Install 5/16 in flat washer, lock
washer, and hex nut on hook bolt.
Tighten to 31 ft lb (40 N
.
m).
9/16 in
5/8, 9/16 in
1
2
4
3
Tools Needed:
Figure 3-4. Installing Tool Box


