


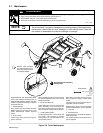
OM-659 Page 6
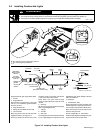
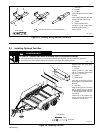
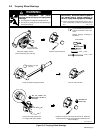
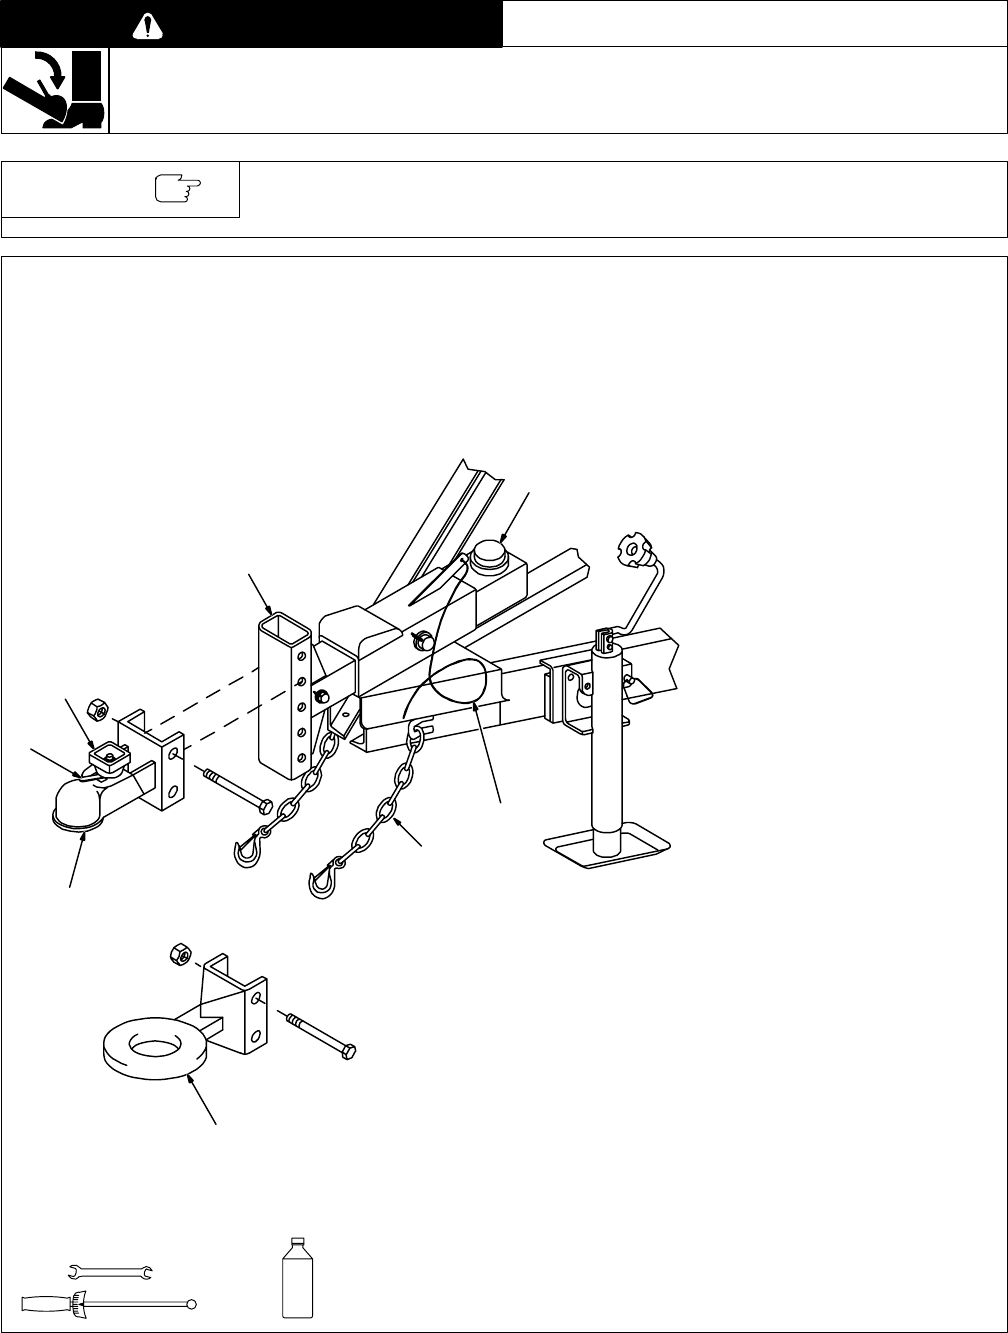
3-5. Installing Optional Trailer Hitch And Connecting To Towing Vehicle
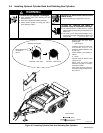
WARNING
TILTING OF TRAILER can result in personal injury or equipment damage.
• Use adequate blocks or lifting device to support hitch end while pivoting trailer jack into position (see Section 3-1).
• Use trailer jack to obtain desired height and to support tongue weight while installing hitch.
rwarn1.1* 3/93
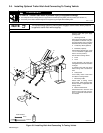
The self-actuating hydraulic brake system engages trailer brakes when pressure
is applied to trailer hitch while stopping.
NOTE
Support trailer with jack. Apply
parking brake.
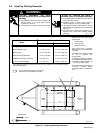
1 Mounting Channel
Hitch may be mounted in four differ-
ent positions on channel. Use posi-
tion that provides level connection
between trailer and towing vehicle.
2 Lunette Eye Hitch (Optional)
3 Ball Hitch (Optional)
Attach hitch to channel using 1/2-20
x 4-1/2 in hardware. Tighten hard-
ware to 75 ft lb (102 N
.
m).
Secure hitch to towing vehicle.
4 Knob
5 Lever
If using ball hitch, set trailer onto
towing ball and turn knob clockwise
until tight.
To release hitch, hold lever down
while turning knob counterclock-
wise.
6 Safety Chain
Cross safety chains under hitch
and attach to towing vehicle.
7 Breakaway Cable
Attach cable to towing vehicle
above hitch. Cable applies trailer
brakes if trailer is separated from
towing vehicle.
8 Brake Fluid Reservoir
Check fluid level in reservoir. Add
fluid if not up to full mark (see Sec-
tion 3-7). See brake actuator Own-
er’s Manual.
ST-800 012-A
Tools Needed:
3/4 in
13/16 in
BRAKE
FLUID
1
2
3
4
5
6
7
8
Figure 3-6. Installing Hitch And Connecting To Towing Vehicle