OM-477 Page 30
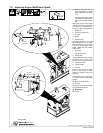
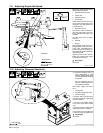
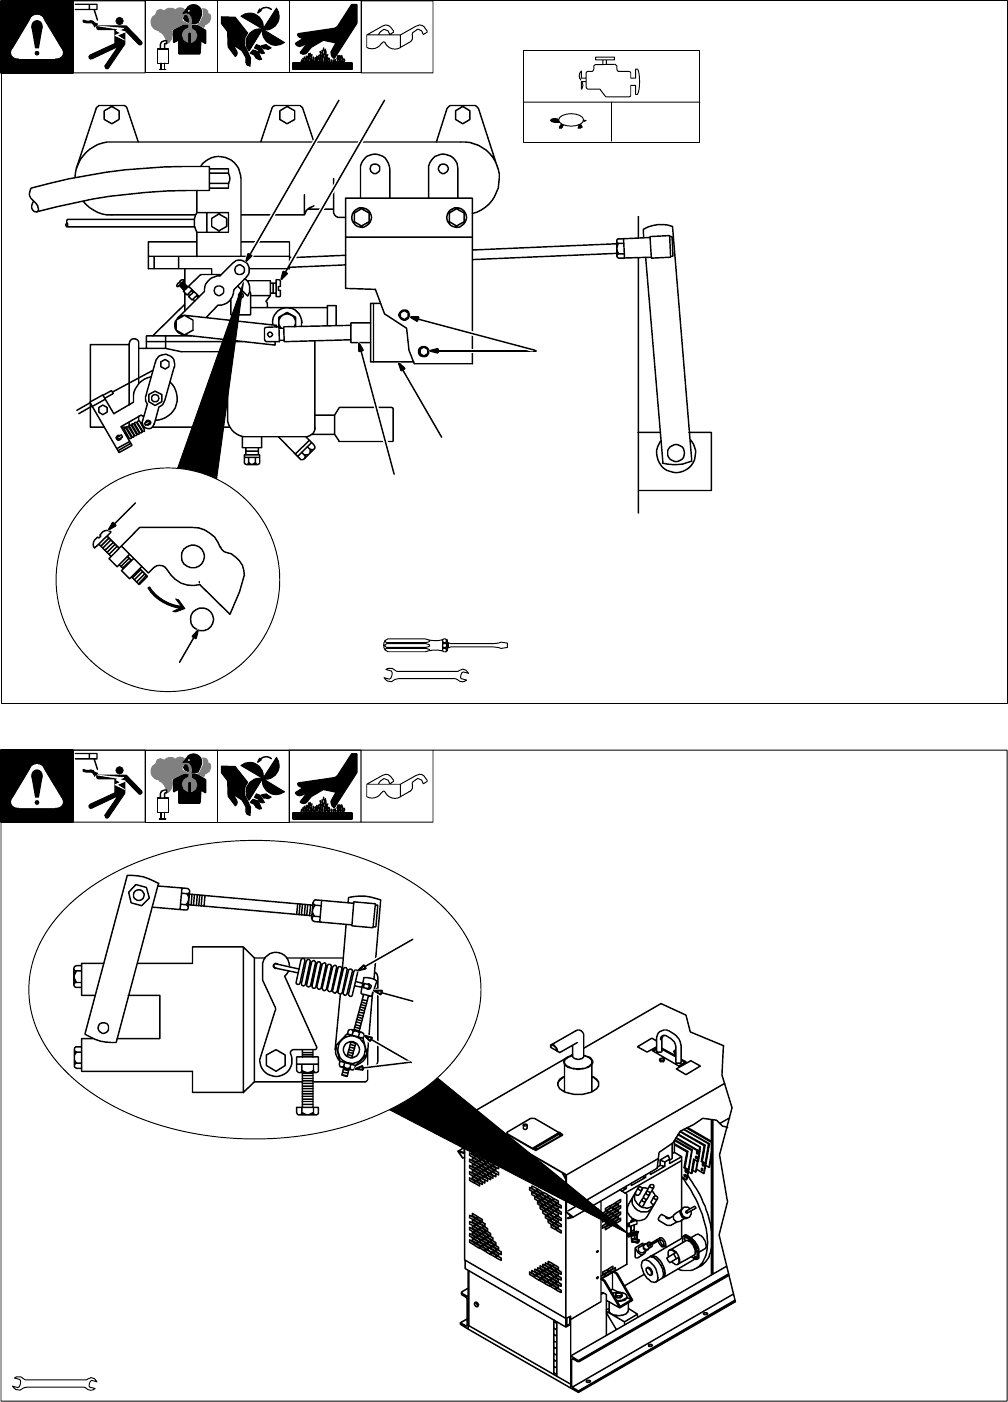
7-9. Adjusting Engine Idle Speed
Ref. ST-115 155-A
Start engine. Place Engine Control
Switch in Run/Idle position.
1 Solenoid Bracket Screws
2 Throttle Arm
3 Idle Speed Screw
4 Throttle Stop
Loosen bracket screws and move
arm so screw touches stop. Do not
release arm. Turn idle speed screw
to obtain 550 rpm.
5 Idle Mixture Screw
Turn mixture screw counterclock-
wise until engine falters, then turn
screw clockwise until engine runs
smoothly.
Turn idle speed screw to obtain
1250 rpm.
6 Solenoid
7 Plunger
Slide solenoid inside bracket so
plunger bottoms in solenoid. If nec-
essary, shim solenoid/bracket to
prevent linkage from binding. Do
not readjust idle speed screw when
adjusting solenoid.
Tighten bracket screws. Release
throttle arm. Recheck idle speed
and readjust if necessary.
Y Stop engine.
Close door.
Tools Needed:
1
2
3
4
5
6
7
Right Side
1/4 in
1250 rpm
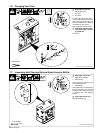
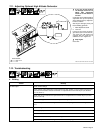
7-10. Adjusting Governor Sensitivity
Ref. ST-115 155-A / Ref. ST-159 728-A
. Governor sensitivity may re-
quire readjustment if weld
speed is adjusted. Weld speed
must be readjusted if sensitivity
is adjusted.
Be sure carburetor and link-
ages are adjusted properly be-
fore adjusting sensitivity.
Start engine. Apply and remove
load.
1 Locking Nuts
2 Sensitivity Adjustment Screw
3 Governor Spring
If engine is slow to pick up load or
rpm drops under load, adjust spring
tension as follows:
Loosen top nut and tighten bottom
nut to move screw down. Tighten
nuts.
If engine hunts with or without load,
adjust spring tension as follows:
Loosen bottom nut and tighten top
nut to move screw up. Tighten nuts.
Y Stop engine.
Close door.
Tools Needed:
1/2 in
3
2
1


