


10 11
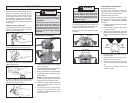
WARNING
To reduce the risk of injury, wear
safety goggles or glasses with side
shields.
Unplug the tool before changing ac-
cessories or making adjustments.
Never make adjustments while the
router is running.
DO NOT use the router if the lock-
ing lever does not hold the motor
securely in the base.
NEVER use the Plunge Base Router
models in a router table.
OPERATION
For deeper cuts:
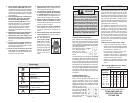
1. Align the "0" on the scale with the arrow
on the tool.
2. Rotate depth adjustment knob clockwise
to desired depth measurement.
For shallower cuts:
1. Align the desired depth measurement
with the arrow on the tool.
2. Rotate depth adjustment knob counter-
clockwise to "0."
Push in locking lever to fully closed position
when fi nished adjusting.
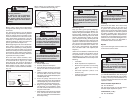
When using a socket wrench, place the
router upside down on a fl at surface and fully
open the locking lever. Insert a 3/8" socket
wrench into the hole on the base and turn to
desired depth (Fig. 12). Push in locking lever
to fully closed position.
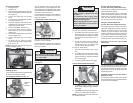
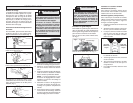
Installing the Bit
It is not necessary to remove the motor from
the base to install a collet assembly or a bit. If
removal of the base is desired, see previous
section. Always remove wood chips, dust or
other foreign materials from the collet shaft
and collet assembly before assembling.
Insert the collet assembly into the collet shaft.
Insert the bit shank into the collet as follows:
1. Unplug the tool.
2. Insert the bit shank into the collet as far
as it will go.
3. Back the bit shank out slightly to avoid
bottoming out.
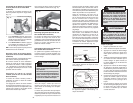
4. Be sure there is a minimum of 1/16" be-
tween the bottom of the collet assembly
and the radius to the cutting portion of
the bit (Fig. 10).
WARNING
To reduce the risk of injury, wear
safety goggles or glasses with side
shields.
Always unplug the tool before at-
taching or removing accessories or
making adjustments.
Use only specifi cally recommended
accessories. Others may be hazard-
ous.
Never use bits larger than the smallest
of the openings in the base, sub-base,
or dust collection port.
5. Be sure that the collet is not clamped
to a fl uted section on the bit shank. The
collet should be clamped to a solid part
on the bit shank to ensure a tight grip.
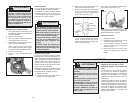
To tighten the bit in the collet assembly, use
two wrenches (Fig. 11).
Removing the Bit
1. Unplug the tool.
2. Loosen the collet nut from the collet shaft
using two wrenches.
3. Once loose, unscrew the collet nut by
hand until it feels tight again.
4. Use the wrenches again until the bit
shank can be pulled out.
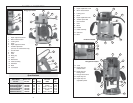
Fig. 10
Minimum
1/16"
Bit shank
Collet
Collet nut
Fig. 11
Fig. 12
Templet Guides
A 1-3/16" center hole sub-base is needed to
use a template guide.
To install a templet guide, insert the guide
into the center hole of a 1-3/16" router base
and secure according to the templet guide
instructions.
Fig. 9
WARNING
To reduce the risk of injury, do not use
the dust collection port when plunge
cutting if the bit is larger than the port
opening (1-3/8"). If a rotating router
bit contacts the dust collection port,
the port will break and fl ying debris
may cause injury.
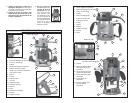
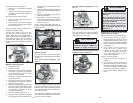
Installing the Dust Collection Port (not
available on the Production model)
1. If an edge guide has been installed, it
must be removed temporarily to install
the dust collection port.
2. Loosen the rod screws.
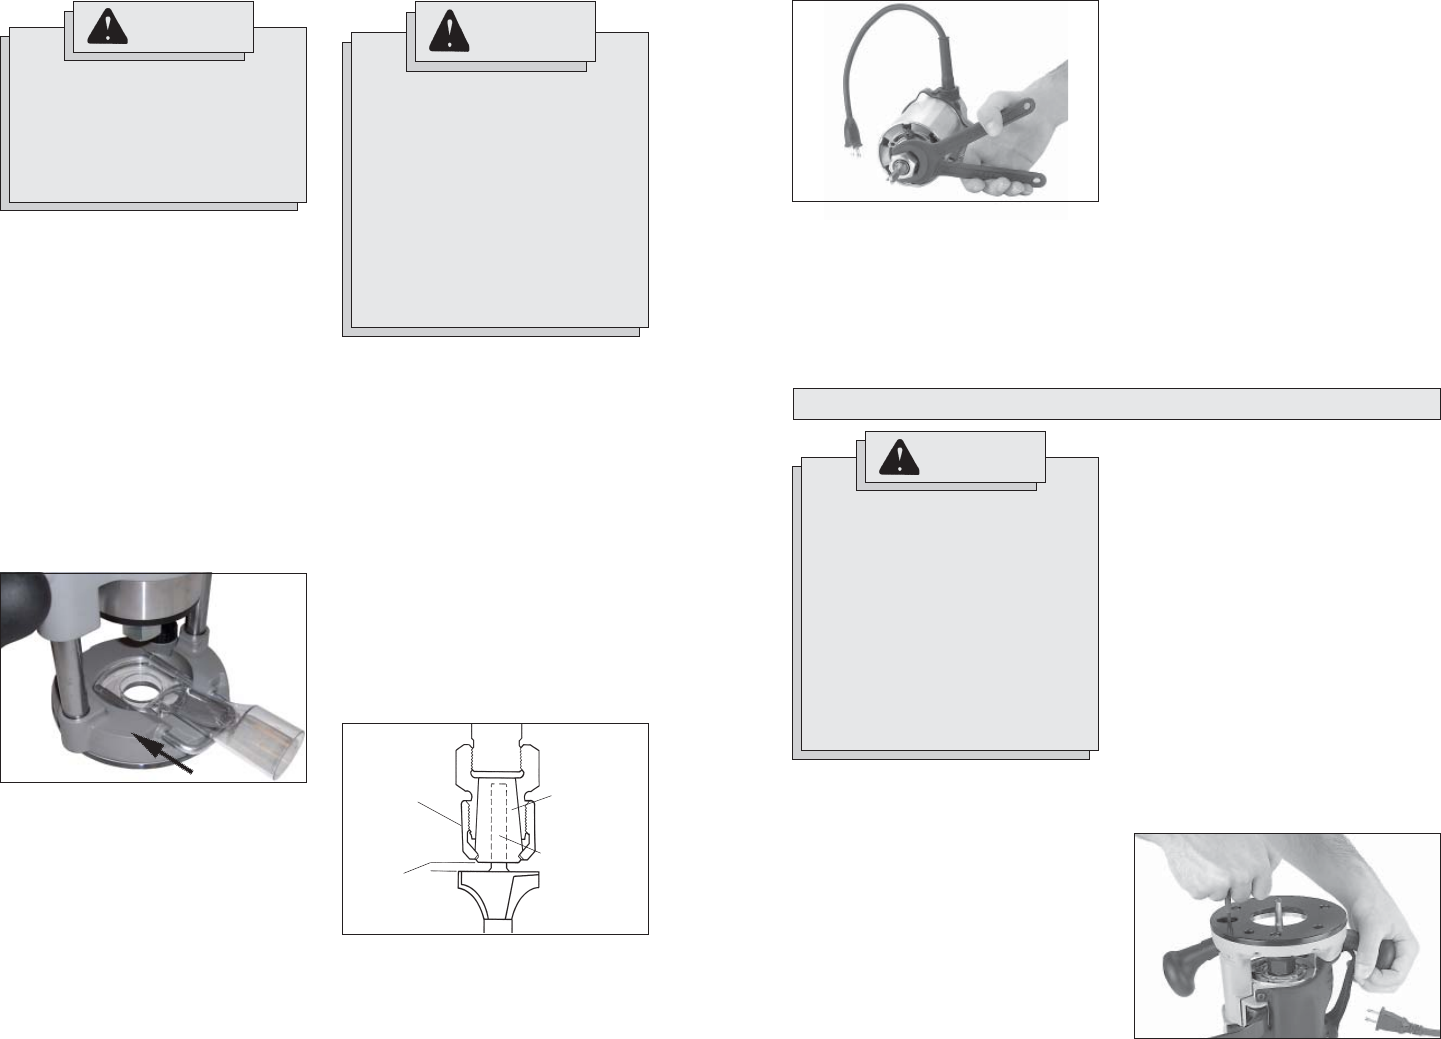
3. Place the router upright and set the circle
into the base (as shown in Fig. 9).
4. Slide the rods through the base rod
holes and into the port rod holes.
NOTE: Use either the rods supplied with
the dust collection port or rods from a
MILWAUKEE edge guide.
5. Tighten the rod screws.
6. Twist a vacuum hose into the end of the
port.
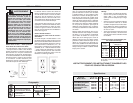
Adjusting the Depth of Cut
Bodygrip®, D-Handle and Production
models:
The tool depth can be adjusted by using
the depth adjustment knob or a 3/8" socket
wrench with an extension, or the Above-the-
table Depth Wrench (Cat. No. 49-96-0370).
When using the depth adjustment knob, fully
open the locking lever and rotate knob to
the desired depth of cut. One revolution of
the depth adjustment knob is equal to 0.2".
For fi ne adjustments less than 5/32", use
the independent scale on the depth adjust-
ment knob.
NOTE: Never tighten a collet assembly
without inserting a bit shank of the proper
size. This may damage the collet.