


14 15
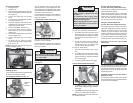
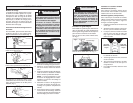
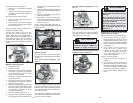
When working on an inside edge, move the
router in a clockwise direction (Fig. 20).
Moving the router in the opposite direction is
known as "climb cutting."
Fig. 20
Direction
of feed
WARNING
To reduce the risk of injury, avoid
"climb cutting." Climb cutting
increases the potential for loss of
control of the tool and damage to the
workpiece. If climb cutting can not be
avoided, use extreme caution.
WARNING
To reduce the risk of injury, always
wear eye protection.
To reduce the risk of explosion,
electric shock and property dam-
age, always check the work area
for hidden pipes and wires before
routing.
Making the Cut
Before cutting, check that all adjustments
are tight and the locking lever is fully closed
and secure.
The speed and depth of cut will depend
largely on the type of material being worked.
Keep the cutting pressure constant but do
not use excessive force on the router so the
motor speed slows excessively. It may be
necessary on exceptionally hard woods or
problem materials to make more than one
pass to get the desired depth of cut.
Before beginning the cut on the actual work-
piece, make a sample cut on a scrap piece
of lumber. This will show you exactly how the
cut will look as well as enable you to check
dimensions. Always be sure the workpiece is
secure before routing. When routing edges,
the router should be held fi rmly down and
against the work using handles.
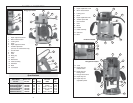
Since the cutter rotates clockwise, more
effi cient cutting will be obtained if the router
is moved from left to right as you stand
facing the work. The arrows on the base of
the tool indicate the direction of bit rotation.
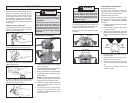
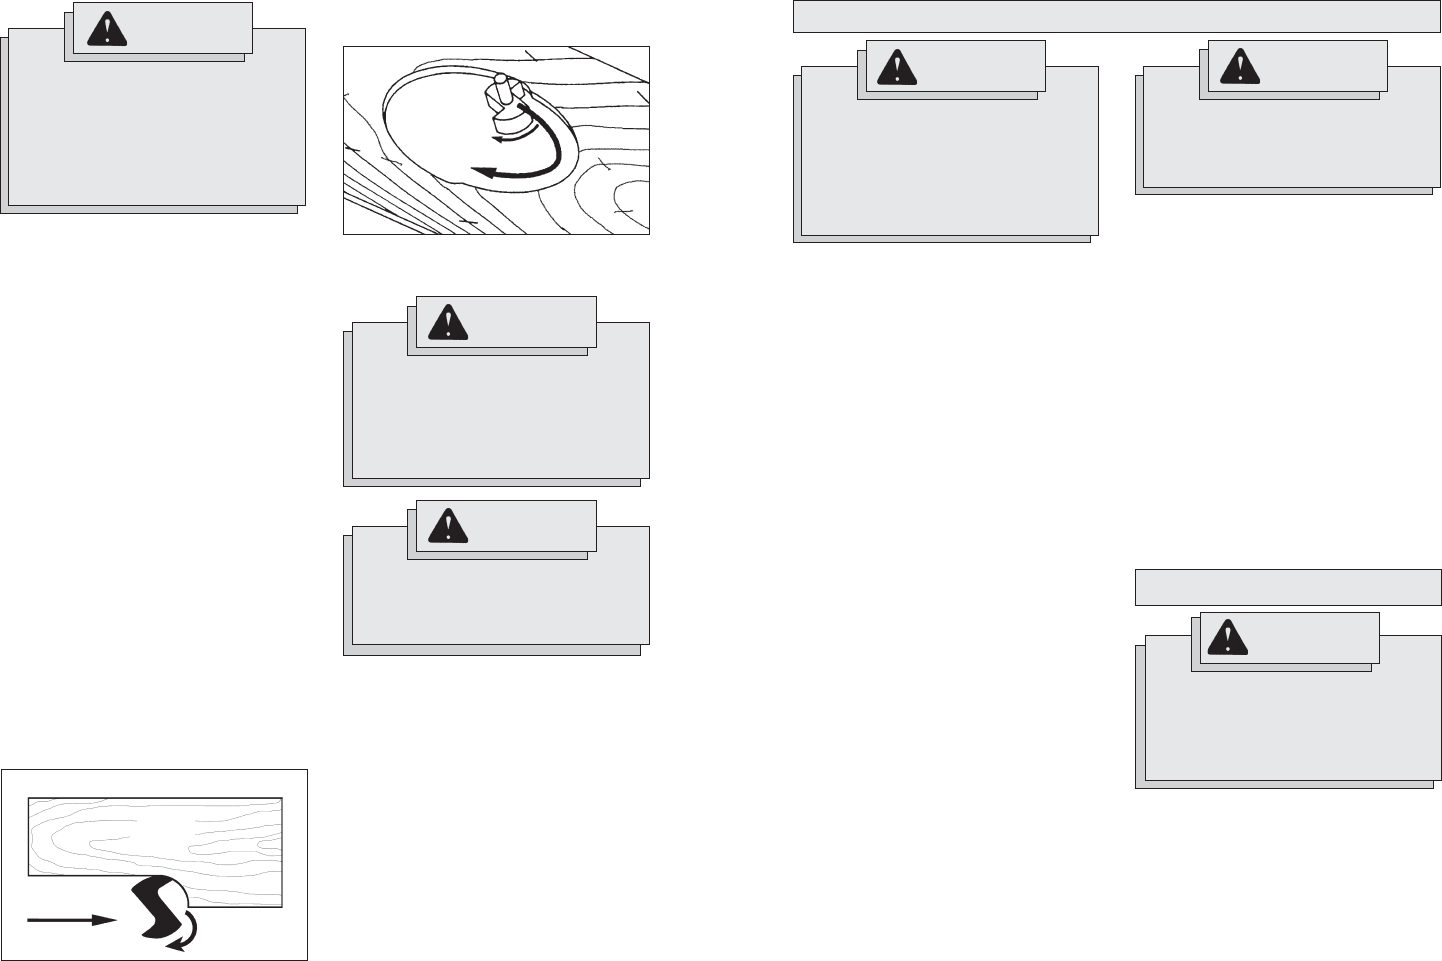
When working on the outside of an edge,
move router in a counterclockwise direction
(Fig. 19).
Fig. 19
Bit rotation
Router feed
Top view
Work
Maintaining Tools
Keep your tool in good repair by adopting a
regular maintenance program. Before use,
examine the general condition of your tool.
Inspect guards, switches, tool cord set and
extension cord for damage. Check for loose
screws, misalignment, binding of moving
parts, improper mounting, broken parts and
any other condition that may affect its safe
operation. If abnormal noise or vibration oc-
curs, turn the tool off immediately and have
the problem corrected before further use.
Do not use a damaged tool. Tag damaged
tools “DO NOT USE” until repaired (see
“Repairs”).
Under normal conditions, relubrication is not
necessary until the motor brushes need to
be replaced. After six months to one year,
depending on use, return your tool to the
nearest MILWAUKEE service facility for the
following:
• Lubrication
• Brush inspection and replacement
• Mechanical inspection and cleaning
(gears, spindles, bearings, housing,
etc.)
• Electrical inspection (switch, cord,
armature, etc.)
• Testing to assure proper mechanical and
electrical operation
WARNING
To reduce the risk of injury, always un-
plug your tool before performing any
maintenance. Never disassemble the
tool or try to do any rewiring on the
tool's electrical system. Contact a
MILWAUKEE service facility for ALL
repairs.
WARNING
To reduce the risk of injury, electric
shock and damage to the tool, never
immerse your tool in liquid or allow a
liquid to fl ow inside the tool.
MAINTENANCE
Cleaning
Clean dust and debris from vents. Keep
the tool handles clean, dry and free of oil
or grease. Use only mild soap and a damp
cloth to clean your tool since certain cleaning
agents and solvents are harmful to plastics
and other insulated parts. Some of these
include: gasoline, turpentine, lacquer thinner,
paint thinner, chlorinated cleaning solvents,
ammonia and household detergents con-
taining ammonia. Never use fl ammable or
combustible solvents around tools.
Repairs
If your tool is damaged, return the entire tool
to the nearest service center.
ACCESSORIES
Always remove battery pack before
changing or removing accessories.
Only use accessories specifi cally
recommended for this tool. Others
may be hazardous.
WARNING
For a complete listing of accessories refer to
your MILWAUKEE Electric Tool catalog or go
on-line to www.milwaukeetool.com. To obtain
a catalog, contact your local distributor or a
service center listed on the back cover of this
operator’s manual.
Above-the-table Depth Wrench
Cat. No. 49-96-0370
3/8" Hex drive wrench for use with above-
the-table depth adjustment system.
Collet Wrench (1-1/8")
Cat. No. 49-96-0365
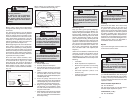
Plunge Cutting
1. Set the depth of cut.
2. Securely clamp the workpiece.
3. Press the plunge release lever and raise
the bit so it does not contact the work-
piece.
4. Hold the handles securely and turn on
the motor. Wait for the motor to reach
full speed (or the speed indicated by the
variable speed dial).
5. Press the plunge release lever and
slowly lower the bit into the workpiece
until the depth stop rod contacts the tur-
ret. Release the plunge release lever.
6. Begin moving the router, keeping the
sub-base fl at on the workpiece. Keep
the cord and dust collection hose out of
the path of the router.
7. When fi nished, press the plunge release
lever and raise the bit out of the work-
piece. Turn the motor off and wait for the
bit to stop turning.
WARNING
To reduce the risk of injury, do not
use a plunge base router if the motor
does not rise automatically when the
plunge release lever is pressed.