Ver: 10/14/2004 6
Driving Screws with the CH7260 Metal Pro Tool
1) Ensure you have the correct screws for the job, use the correct screw and version of
the tool for the application.
2) Check the motor direction switch is set to Forwards
3) If using a magnetic bit; check it frequently, preferably each time you load a strip and
clean the bit when required.
4) Ensure the screws are loaded into the CH7260 with the plastic strip facing out, (use
the screw diagram on the side of the nosepiece)
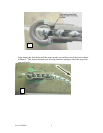
5) Make sure the first screw to be driven is latched (hooked) by the feed latch and is
in position to be driven with the longer end of the plastic into the plastic guide.
6) Turn on the motor and use the trigger lock to lock it in the on position
7) Position yourself to operate the tool, ensuring that you have footing such that you will
be able to push very firmly.
8) Push on the tool (if possible, watch to see screw is turning), increase force once the
drill point of the fastener hits the metal, push firmly until you hear the clutch
disengage and release. Firm pressure is a must for drilling self-drilling screws; do not
yield pressure until you hear the clutch release (buzz) for ½ a second. Sparks, red-hot
glow or unusual noises all indicate a possible problem. If any problem occurs flip
tool around and check the screws to ensure the screws are properly in position
before pushing again. Attempting to drive a second screw with one still in the barrel
will jam up the tool. If this type of jam does happen, push down on the nose or strip
guide to provide more room to rotate the feed lever and move and hold the feed latch
clear. Clear the loose screw with needle nose pliers, (watch the feed latch!) and
check the screws are correct before continuing.
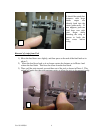
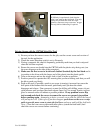
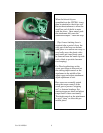
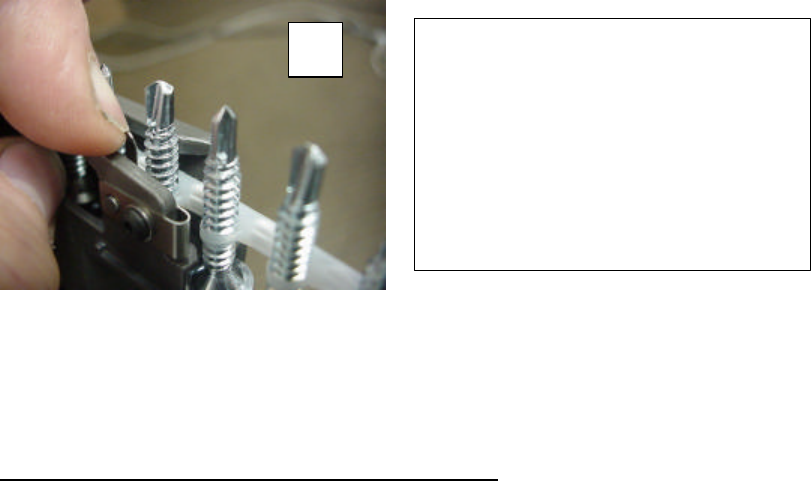
If difficulty is experienced, check that the
strip i
s not stuck on the feed latch. The strip
spring may be held back with one finger
(photo 6), while the strip is removed. Wiggle
the strip while withdrawing if required.
6


