613GC OPERATOR’S MANUAL
20
MAINTENANCE
DRIVE SPROCKET REMOVAL
• Remove the side cover, guide bar, diamond chain, and
clutch slurry shield.
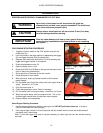
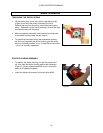
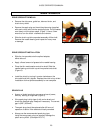
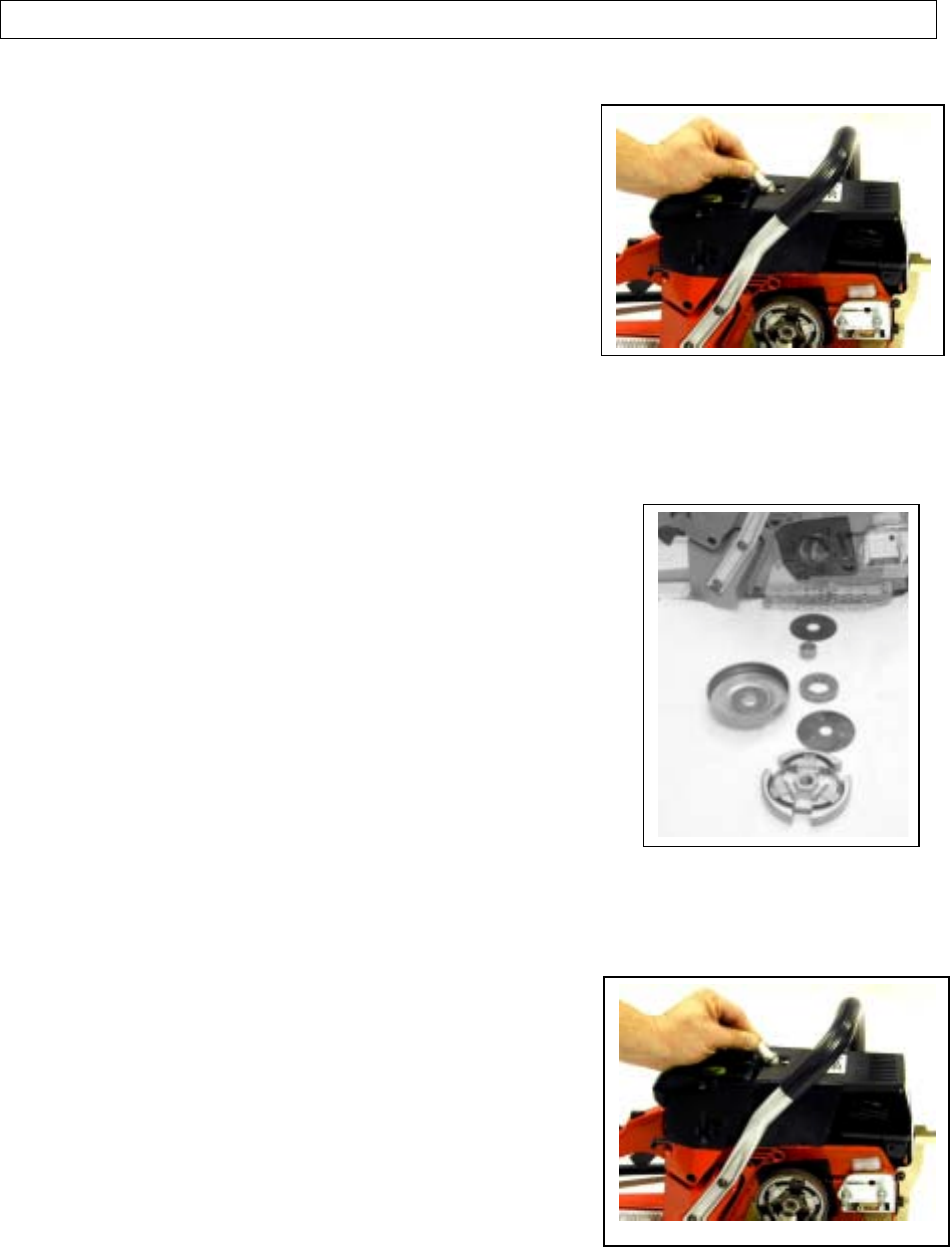
• Remove the spark plug and insert the piston stop (supplied
with each cut-off saw) into the spark plug hole. Pull the starter
cord slowly until the piston stops. (Figure 1) Use a 19mm
wrench to turn the clutch clockwise and remove.
• Slide the clutch cup/drive sprocket assembly off the shaft.
Remove the needle bearing and inspect for heavy wear
or damage.
DRIVE SPROCKET INSTALLATION
• Slide the rim sprocket onto the splined adapter,
either side out.
• Apply a liberal amount of grease to the needle bearing.
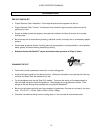
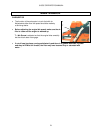
• Place the thin metal washer onto drive shaft. Slide the
needle bearing and clutch cup w/rim sprocket onto shaft
(Figure 2).
• Install the clutch by turning it counter clockwise on the
drive shaft and firmly tighten. Replace the clutch slurry shield.
Installation of drive sprocket assembly is now complete.
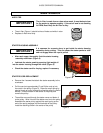
SPARK PLUG
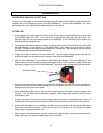
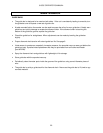
• A worn or fouled spark plug can cause a loss of power,
difficulty starting or rough idle (Figure 3).
• If the spark plug is dirty clean it with a wire brush and
check the electrode gap. Readjust if necessary. The correct
gap is (020” (0.50mm)
• The spark plug should be replaced after 40 hours of
operation or earlier if the electrode is badly corroded.
• Always use the recommended spark plug type,
Using the wrong spark plug can severely damage the
piston and cylinder. (Champion RCJ7Y).
Figure 1
Figure 3
Figure 2


