


-
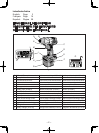
6
-
23
) Do not short the battery pack. A battery
short can cause a large current flow, over
heating and create the risk of fire or per
-
sonal injury.
24
)
NOTE: If the supply cord of this appliance
is damaged, it must only be replaced by a
repair shop authorized by the manufacturer,
because special purpose tools are required.
25
)
TO REDUCE THE RISK OF ELECTRIC
SHOCK, THIS APPLIANCE HAS A POLAR
-
IZED PLUG (ONE BLADE IS WIDER THAN
THE OTHER).
This plug will fit in a polarized outlet only one
way. If the plug does not fit fully in the outlet,
reverse the plug. If it still does not fit, contact
a qualified electrician to install the proper
outlet. Do not change the plug in any way.
IV. ASSEMBLY
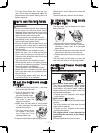
Attaching or removing bit
NOTE:
•
When attaching or removing a bit, discon-
nect battery pack from tool or place the
switch in the center position (switch lock).
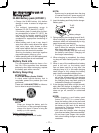
1. Hold the collar of quick connect chuck and
pull it against the driver.
2. Insert the bit into the chuck.
3. The collar will return to its original position
when it is released.
4.
Pull the bit to make sure it does not come out.
5. To remove the bit, pull back on the collar
in the same way.
CAUTION:
•
If the collar does not return to its original
position or the bit comes out when pulled on,
the bit has not been properly attached. Make
sure the bit is properly attached before use.
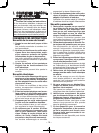
Use 6.35mm (1/4”) hexagonal bits.
To ensure proper securement of the bit, use
only hexagonal bits with 9.5mm (3/8”) detent.
6.35mm (1/4”)
9.5mm (3/8”)
Attaching or removing
battery pack
1. To connect the battery pack:
Insert the battery pack. It snaps into place
to indicate proper connection.
2. To remove the battery pack:
Press the two buttons on the sides of the
battery pack. Slide the battery pack out of
the tool body.
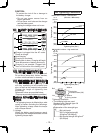
V. OPERATION
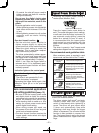
Switch and Forward / Reverse
lever Operation
(Forward, Lock, Reverse)
CAUTION:
•
To prevent damage, do not
operate Forward/Reverse
lever until the bit comes to
a complete stop.
Forward Rotation Switch
Operation
1. Push the lever for forward rotation.
2.
Depress the trigger switch slightly to start the
tool slowly.
3. The speed increases with the amount of
depression of the trigger for efficient tight
-
ening of screws. The brake operates and
the bit stops immediately when the trigger
is released.
4. After use, set the lever to its center posi-
tion (switch lock).
Reverse Rotation Switch
Operation
1.
Push the lever for reverse rotation. Check
the
direction of rotation before use.
2.
Depress the trigger switch slightly to start the
tool slowly.
3. After use, set the lever to its center posi-
tion (switch lock).
CAUTION:
• To eliminate excessive temperature
increase of the tool surface, do not oper
-
ate the tool continuously using two or
more battery packs. Tool needs cool off
time before switching to another pack.
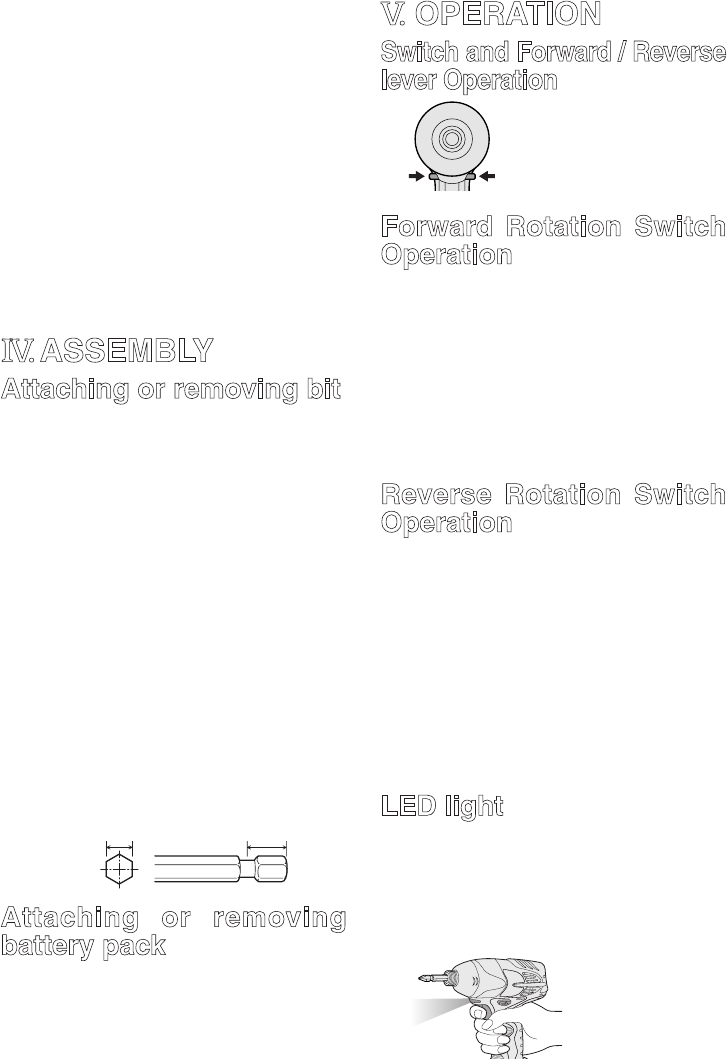
LED light
CAUTION:
• The built-in LED light is designed to illu-
minate the small work area temporarily.
• Do not use it as a substitute for a
regular flashlight, since it does not have
enough brightness.
Depress the trigger
switch, then LED
light turns on. When
the trigger switch is
released, the light
turns off automati
-
cally.