


-
9
-
NOTE:
∗ The one-shot impact function operates
after impact. Over-tightening may occur
when tightening screws into soft materi-
als as the tool does not impact.
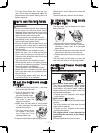
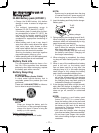
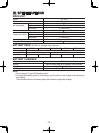
Using the one-shot impact function
When the trigger switch is released
and it is depressed fully within
1 sec., one-shot impact func-
tion operate. Then
the one-shot
impact LED light will blink.
Wait at least 1 sec. after
trigger is released, not
to operate the one-shot
impact function.
Keeping the bit head to the screw head to use
this function.
When the screw is sticking up quite a ways,
increase the clutch setting.
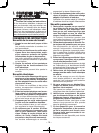
Using the one-shot impact function
continuously
Refer to the guideline table (See p.13.) and
check the application. Press the impact power
mode button (
) to select the setting. Select
the digital clutch setting (
) that matches the
application. To set the one-shot impact func-
tion, press the button (
) then light (
) turns
on. Depress the trigger switch fully to adjust
the screw tightening until the one-shot impact
function operates. The amount of screw fas-
tening rotation by one-shot impact will differ
depending on the impact power mode and
digital clutch settings. To turn off the one-shot
impact function, press the button (
) once
more then light (
) turns off.
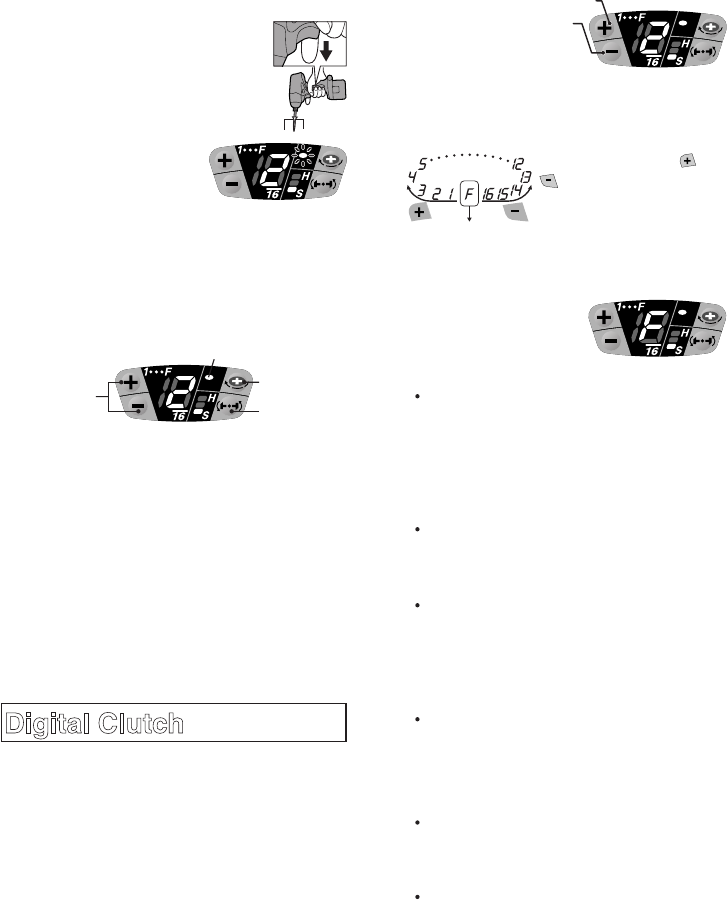
Digital Clutch
The digital clutch automatically stops the
driver rotation when the load is reached
to the select setting. Depress the trigger
switch fully to tighten the screws until the
digital clutch operates. If the screw head
is not flush to the material surface, release
the trigger switch and then within 1 sec.
depress it again. This will operate the one-
shot impact function.
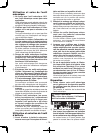
To select digital clutch setting.
Refer to the guideline table and check the
application. (See p.13.)
Press the impact power mode button to set
the impact power mode. (See p.8.)
Press the digital clutch setting buttons and
select the setting to match the application.
The digital clutch setting increases each
time (+) button is pressed.
The setting decreases
each time (
-
) button is
pressed.
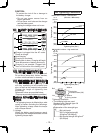
Digital clutch setting range
Setting is available from 1 to 16 stages to
match the application.
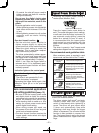
Full power
Keep pressing the and
button 0.6 sec or more
will automatically shift the
setting to “F”. (Digital clutch
is turned off in the each
impact power mode.)
Turn off the digital clutch.
Press the digital clutch
setting button to change
the setting to “F.”
NOTE:
When selecting the digital clutch set-
ting, first start at a low setting and a soft
impact mode. Then gradually select to
higher settings. Try on a scrap piece of
the material to determine the best set-
ting beforehand. Too high setting could
result in over-tightening of the screws.
Keep the trigger switch fully depressed
while tightening one screw to operate
the digital clutch. Do not release the trig-
ger switch until digital clutch operates.
The clutch setting remains the same
when the driver is changed from for-
ward to reverse rotation while the clutch
is set. To drive in reverse at full power,
change the clutch setting display to “F”
and turn off the digital clutch.
The driver is preset to “F” full power
(digital clutch is off) and the one-shot
impact function is off when shipped
from the manufacture.
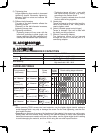
CAUTION:
When the clutch is set to 1 or 2 stage, the
impact power mode is automatically set
at “Soft” impact mode regardless of the
impact power mode select display setting.
When the clutch is set to 3 or 4 stage,
the impact power mode is automatically
set at “Medium” impact mode even in
the “Hard” impact mode display setting.