


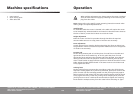

Helpline No. UK / Northern Ireland 0870 7323023 • Rep. Ireland 1800 481005
Web support: www.omegawolf.com/powercraft
Model Number: PRT-150
15
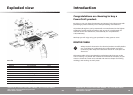
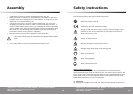
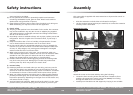
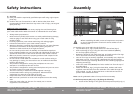
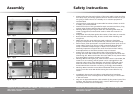
Assembly
Fig.12 Fig.13
Before assembling the table, ensure all components are present.
In case of shortages please contact the service address on the
warranty card.
To assemble your router table, do the following:
• Lay the table top (1, Fig.1) upside down on a flat surface (Fig.2).
• Place a table leg (2, Fig.1) using four allen hex head bolts (M6X12),
do not fully tighten yet (Fig.3).
• Repeat the above for the other three legs, and make sure the four legs
are on the same flat surface, then tighten all the bolts.
• Once all four legs are securely tightened, turn assembly over, check the
table does not rock. If any rocking is detected, this must be rectified
before continuing by loosening the bolts on the offending leg/legs and
adjusting accordingly.
• Insert two coach bolts (M5X50) into holes marked “B” from the top of
the table (Fig.4).
• Attach the fence (9, Fig.1), using hex head bolts, washers and knobs
supplied. Insert the bolts from the underside of the table through the
holes marked “A” (Fig. 5). Place the fence on the bolts and secure in
position with washers and knobs.
Note: Use the graduated scales to line up the fence accurately.
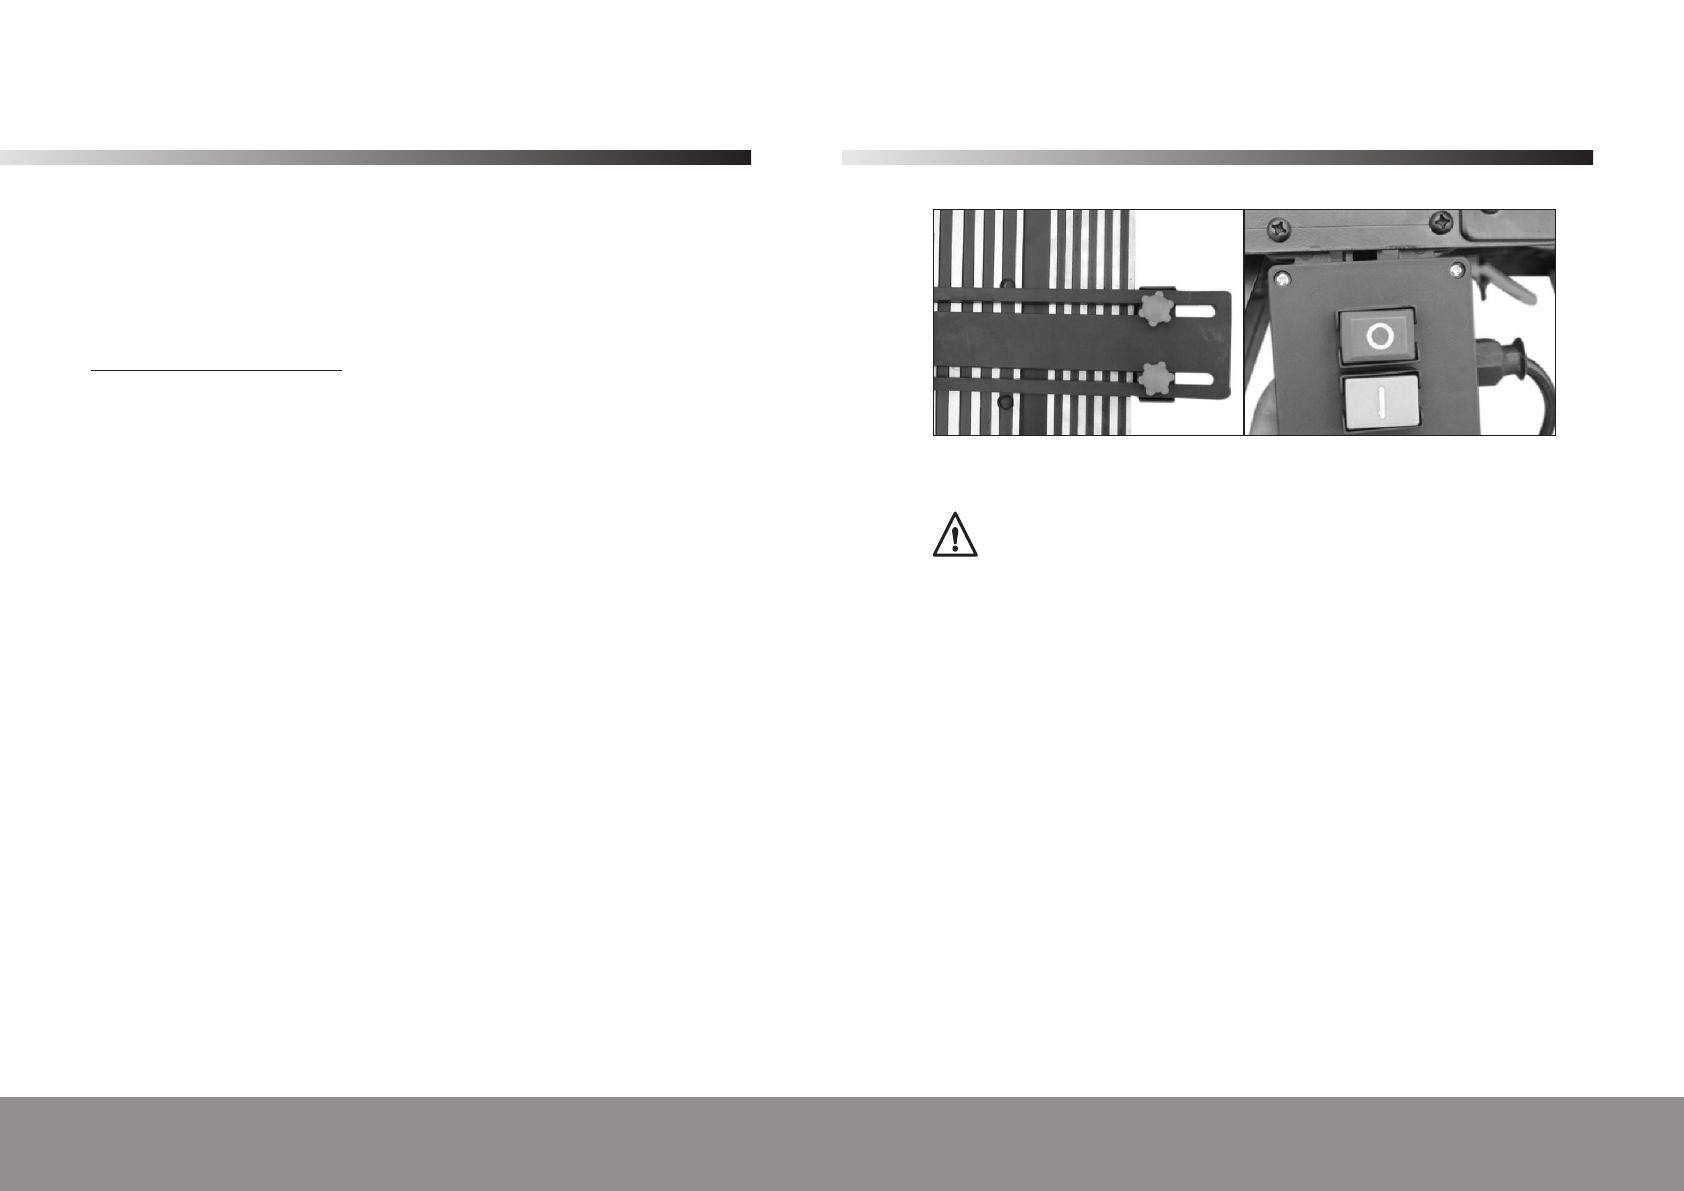
Fit the fence pressure pad (7, Fig. 1) by doing the following:
• Loosen all the fittings on the guide for fence pressure pad (6, Fig. 1).
Helpline No. UK / Northern Ireland 0870 7323023 • Rep. Ireland 1800 481005
Web support: www.omegawolf.com/powercraft
Model Number: PRT-150
10
Safety instructions
5) Servicing
(a) Have your machine repaired by qualified expert staff using original spare
parts only.
(b) Caution! The use of accessories or add-on devices other than those
recommended in these instructions may mean a risk of injury. Use original
spare parts only.
Additional safety instr
uctions
Safety is a combination of common sense, staying alert and knowing how
your router table works. Read this manual to understand this router table.
• Always wear eye protection.
• Noise levels vary widely with location. To avoid possible hearing damage,
wear ear plugs or ear muffs when using your router table for long
periods of time.
• For dusty operations, wear a dust mask along with safety goggles.
• Follow the instructions in your router owner’s manual.
• Warning! Vibrations, caused by the router during use, can cause fasteners
to become loose. Before use and periodically during use,check all
fasteners to make sure that all are tight and secure.
• Do not use this product until all assembly and installation steps have
been completed. Make sure you have read and understand all safety and
operational instructions in this manual and the router owner’s manual.
• Make sure that the router bit is properly positioned and clamped in the
router before making any cuts.
• Do not use the router table as a workbench or work surface. Doing so
may damage it, causing it to be unsafe to use. A workbench should be
used for this purpose.
• This product is designed for cutting flat workpieces. Do not cut or
attempt to cut workpieces that are not flat.
• This product is designed for cutting wood workpieces only. Do not use to
cut metal or other non-wood materials.
• The use of auxiliary in-feed and out-feed supports is strongly
recommended when routing long workpieces. Otherwise those
workpieces can cause the route table to tip over.
• Keep hands clear of the router bits and working area.
• Make and use a push stick to move small workpieces across the cutting
area.
• Clean the router after use. The use of a wet/dry vac or vacuum
equipment is recommended.