13
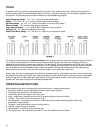
2. Lightly mark the center of the "V" with the tip of the skew.
3. Move the point of the skew to the right half of the desired width of your cut.
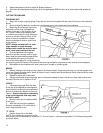
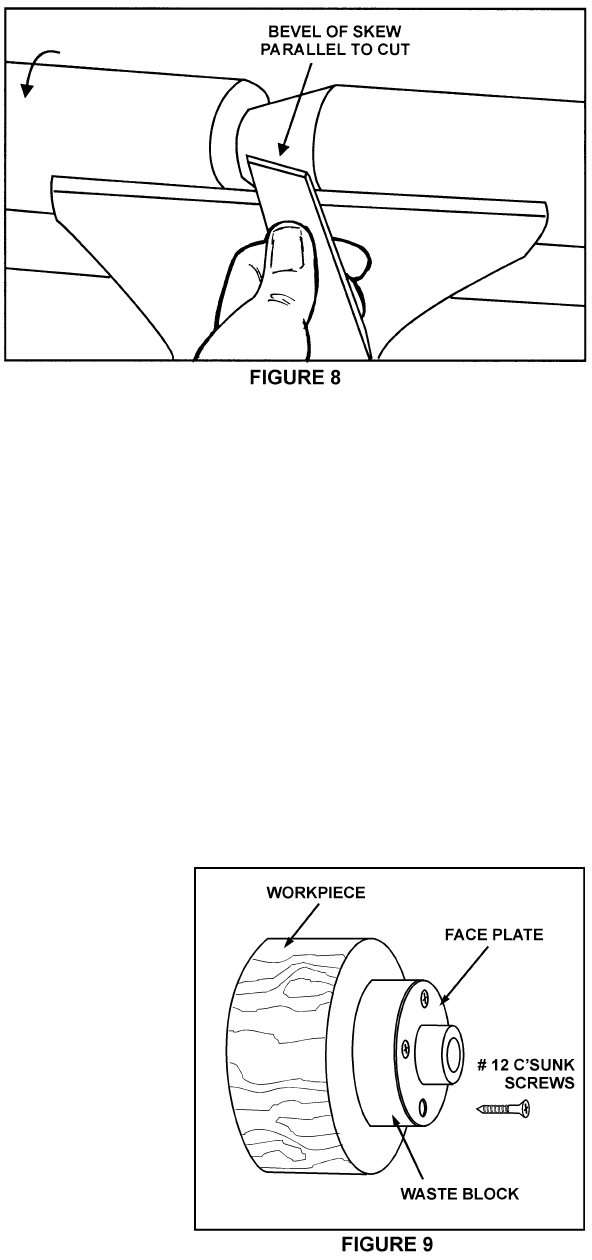
4. With the bevel parallel to the right side of the cut, raise the handle and push the tool in to the desired depth, as
shown in Figure 8.
5. Repeat from the left side. The two cuts should meet at the bottom and leave a clean "V" cut.
6. Additional cuts may be taken to add to either the depth or width of the cut.
PARTING OFF:
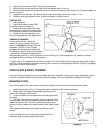
1. Use parting tool.
2. Adjust lathe speed to lower RPM
for parting through a workpiece.
3. Place tool on tool support and raise
the handle until it starts to cut and continue
to cut towards the center of the workpiece.
4. Loosely hold on to the piece in one
hand as it separates from the waste wood.
SANDING & FINISHING:
Leaving clean cuts will reduce the
amount of sanding required. Adjust the
lathe to a low speed, and begin with fine
sandpaper (120 grit or finer). Coarser
sandpaper will leave deep scratches that
are difficult to remove, and dull crisp details
on the spindle. Progress through each grit
without skipping grits (e.g., do not jump from 120 grit to 220 grit). Fold the sandpaper into a pad; do not wrap
sandpaper around your fingers or the workpiece.
To apply a finish, the workpiece can be left on the lathe. Turn off the lathe and use a brush or paper towel to apply
the finish. Remove excess finish before restarting lathe. Allow to dry and sand again with 320 or 400 grit sandpaper.
Apply second coat of finish and buff.
FACE PLATE & BOWL TURNING
Face plate turning is normally done on the inboard side of the headstock over the bed. Larger workpieces must be
turned on the outboard side (remove tailstock and tool support, and move headstock to opposite end of bed).
MOUNTING STOCK
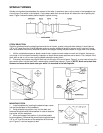
Use of a face plate is the most common method for holding a block of wood for turning bowls and plates:
1. Select stock at least 1/8" to 1/4" larger than each dimension on the finished workpiece.
2. Always select the largest diameter face plate that can be
used for the workpiece to be turned.
3. True one surface of the workpiece for mounting against the
face plate.
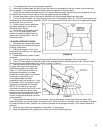
4. Using the face plate as a template, mark the location of the
mounting holes, and drill pilot holes of the appropriate size. Face
plates are drilled for No. 12 screws. (Phillips and square drive
screws will hold up better than slotted screws. Sheel metal screws
are
case hardened with deeper and sharper threads than wood
screws.)
If the mounting screws on the face plate interfere with the
workpiece, a glue or waste block can be used:


