


18
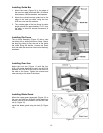
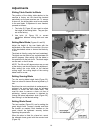
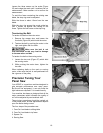
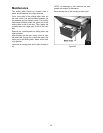
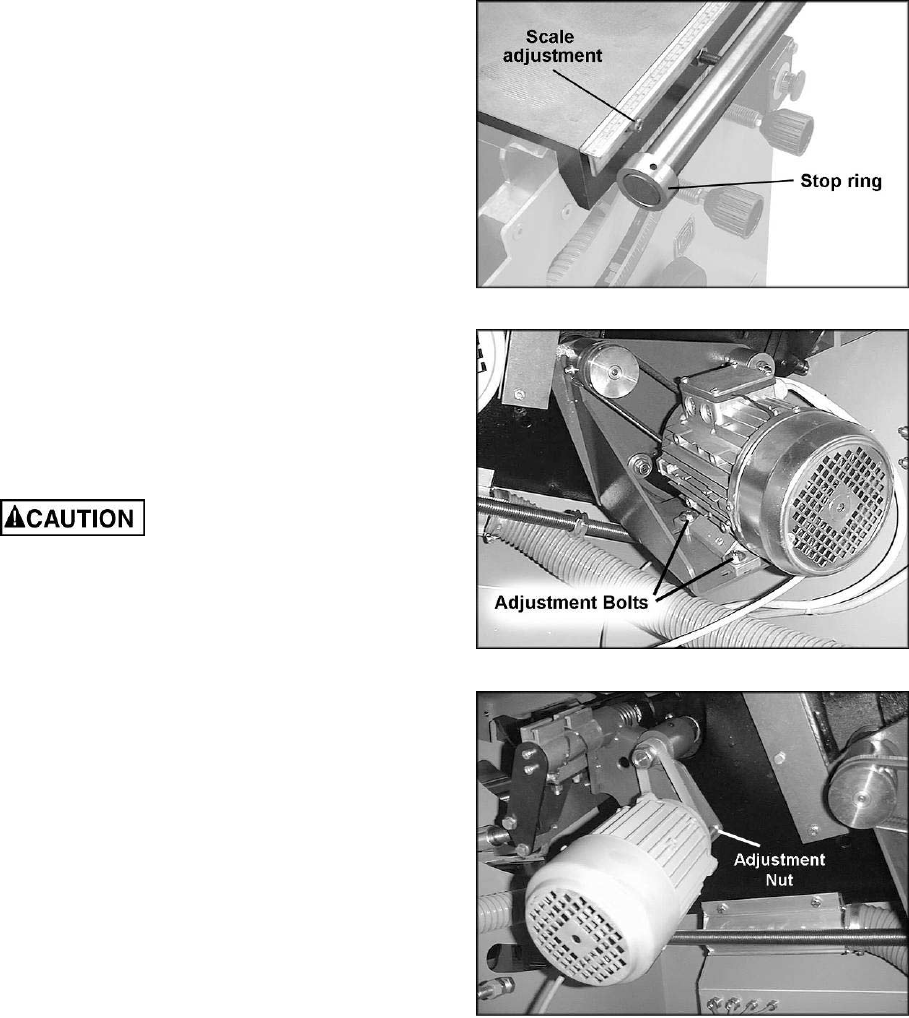
Loosen the three screws on the scale (Figure
35) and nudge the scale until it matches the cut
measurement. Make another cut to confirm the
measurement.
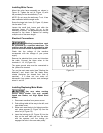
To avoid the fence contacting the rotating saw
blade, the stop ring must be adjusted.
Slide the fence to about 10mm from the saw
blade.
Slide the stop ring across the round guide bar
until it comes up against the casting of the
fence. Tighten the set screw on the stop ring.
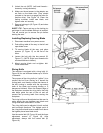
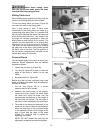
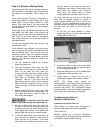
Tensioning the Belt
To tension the belt on the main motor:
1. Remove the access door and loosen the
four bolts (Figure 36) which hold the motor.
2. Tension the belt by pushing the motor to the
right, and tighten the four bolts.
Make sure the belt is not
over-tensioned as this may lead to damage
to the saw arbor and belt.
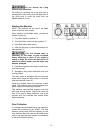
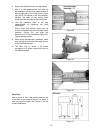
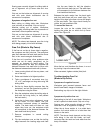
To tension the belt on the scoring motor:
1. Loosen the two nuts (Figure 37) which hold
the scoring motor.
2. While pushing the motor down, tighten the
two nuts.
When replacing belts on the main or scoring
motor, make sure the belt is well positioned into
the v-groove of the pulley.
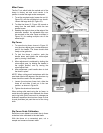
Precision Tuning Your
Panel Saw
Your HPS67 is a precision machine designed to
give accurate performance over many years.
But like all fine equipment, it can only meet the
tight tolerances required if it is tuned correctly.
Your machine has been so designed that all the
major parameters which influence the quality of
cut can be adjusted by non-technical staff.
These tuning procedures should be carried out
in the proper order, as later adjustments depend
upon the earlier being correct.
The four steps of the procedure are:
1. Free Cut from blade to sliding table
2. Free Cut from blade to rip fence
3. Square Cut
4. Scoring Saw
Figure 35
Figure 36
Figure 37