


16
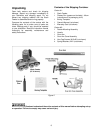
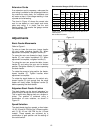
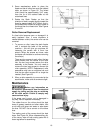
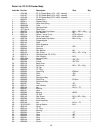
2. Some woodworkers prefer to place the
feeder so that all rollers are over the outfeed
table, as shown in Figure 22. The infeed
roller should be approximately 3/16” away
from the lip of the outfeed table at the
cutterhead area.
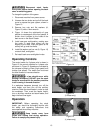
3. Rotate the Stock Feeder so that the
direction of feed is angled slightly toward the
fence by approximately 3/16” (5mm); that is,
the outfeed roller should be slightly closer to
the fence than the infeed roller. See Figures
21 and 22.
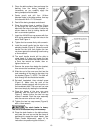
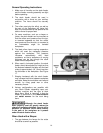
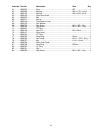
Roller Removal/Replacement
If a feed roller becomes worn or damaged it is
easily replaced. Also, if more clearance is
needed between rollers, the center roller can be
removed.
1. To remove a roller, lower the stock feeder
until it contacts the table of the auxiliary
machine – this will give you purchase for
loosening the screws with a 5mm hex
wrench. When the screws are loose, raise
the feeder off the table to continue removing
the roller(s).
There are four screws in each roller: the two
short screws unite the halves of the roller
hub; the two long screws secure the roller
assembly to the feeder. You only need to
remove the two long screws to remove the
roller assembly. NOTE: Replacement roller
assemblies may have a one-piece hub, and
thus the two short screws will no longer be
needed.) See Figure 23.
2. When a roller assembly is re-mounted to the
stock feeder, make sure all screws are tight.
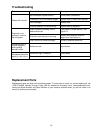
Maintenance
Before any intervention on
the machine, disconnect it from the electrical
supply by pulling out the plug or switching
off the main switch. Failure to comply may
cause serious injury.
If the power cord is worn, cut, or damaged in
any way, have it replaced immediately.
The rubber tires on the rollers should be kept
clean of grease, sawdust and other debris. Use
a soft cloth with soap and water to wipe down
the tires. DO NOT use a solvent on the rubber
tires.
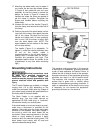
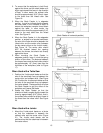
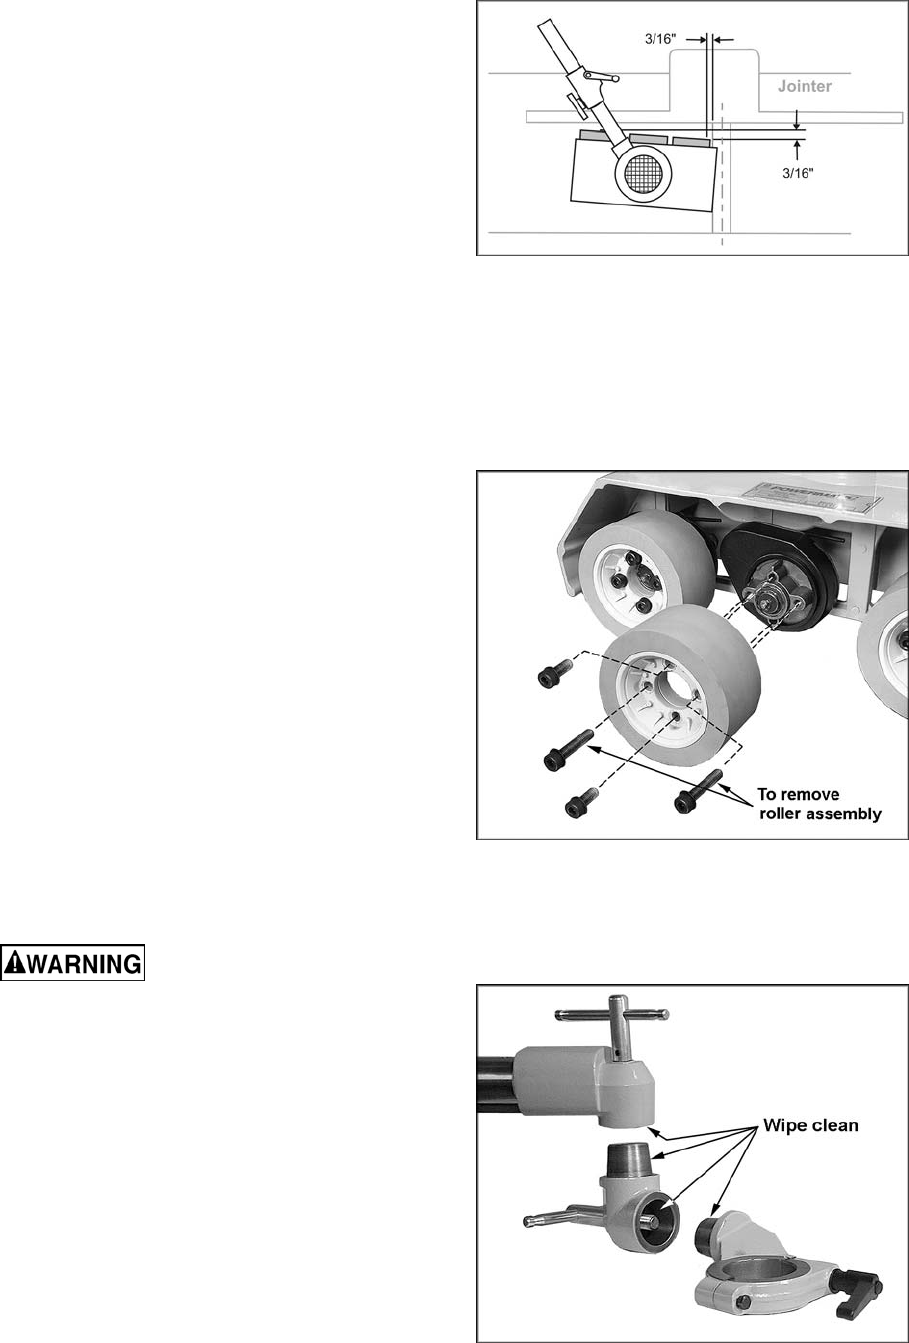
The mating parts of the cones should be kept
clean. See Figure 24. When disassembling any
of the cones, wipe off both mating parts with a
clean rag before re-assembling.
Figure 22
Figure 23
Figure 24