


10
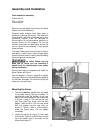
3. Tighten the handle (A, Figure 3). If
necessary, move the Fence slightly to bring
it parallel with the blade.
4. When satisfied, mark the location of the
second hole using the hole in the Fence
base as your template.
5. Remove the Fence from the table, and drill
and tap the second hole.
6. Place the Fence over the hole pattern again,
and secure the Fence to the table with two
M10 x 30 hex cap screws and two M10 lock
washers. Tighten firmly.
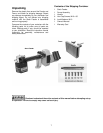
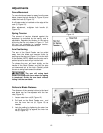
Mounting the Feeder
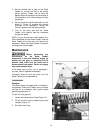
1. Screw the handle (Figure 4) all the way into
the threaded hole of the Stock Feeder.
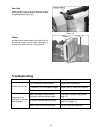
NOTE: If the mounting surface is narrow, a
bracket (not provided) must be attached to
support the Stock Feeder. Figure 5 shows an
example.
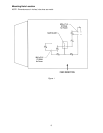
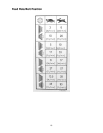
The Stock Feeder is heavy.
Use a hoist during installation procedures.
Failure to comply may cause injury!
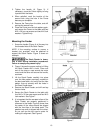
2. Figure 6 shows the proper method of lifting
the Stock Feeder with a hoist. Place one
end of the strap or rope around the motor
mount and the other end around the handle,
as shown.
3. Lift the Stock Feeder carefully into place
over the hole pattern previously marked on
the band saw table, and verify that the hole
pattern lines up correctly with the holes in
the Stock Feeder base.
4. Remove the Stock Feeder, and drill and tap
the four holes.
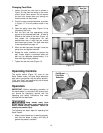
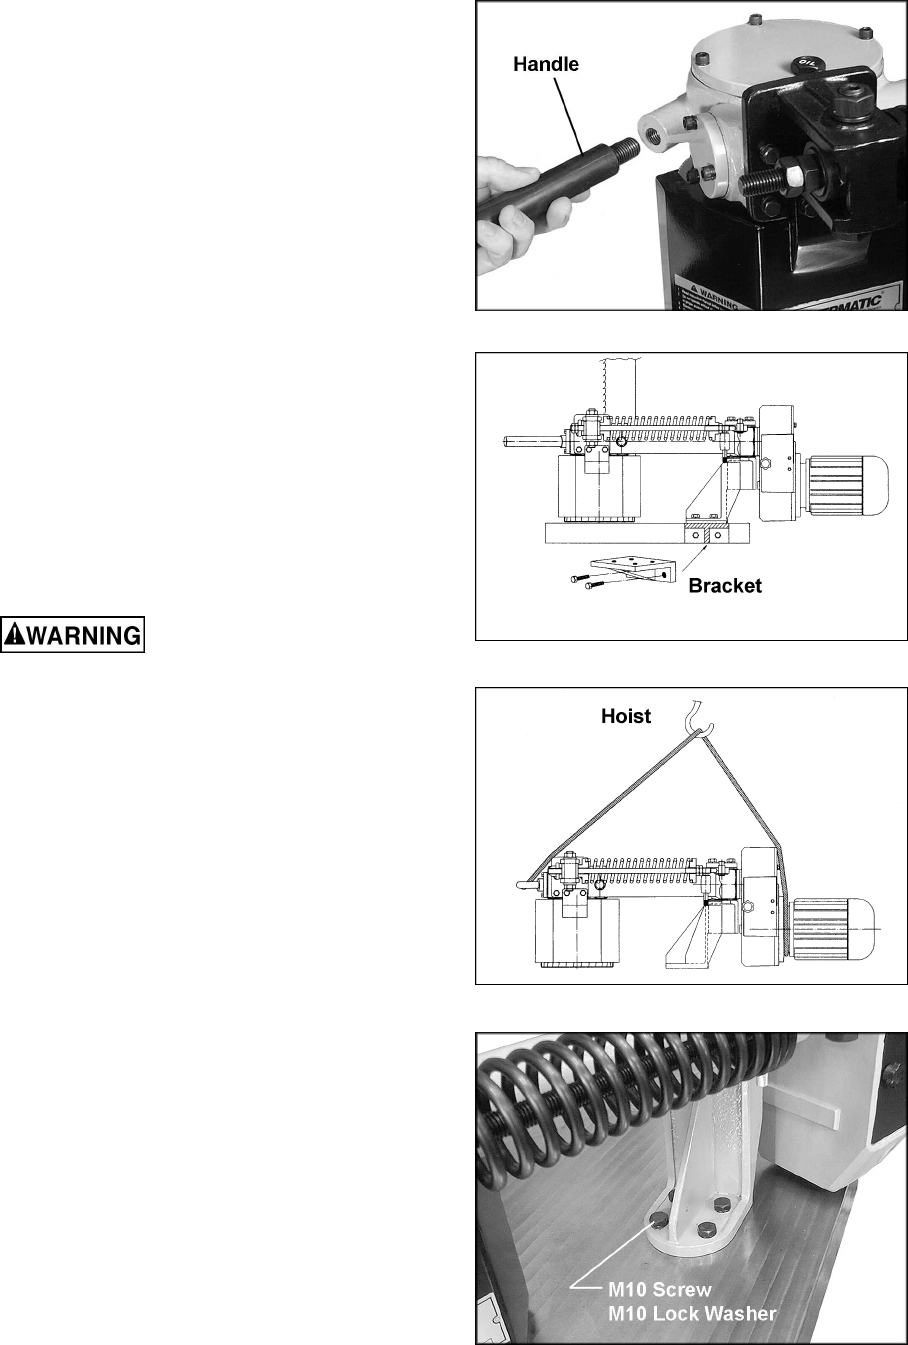
5. Secure the Stock Feeder to the table with
four M10 x 30 hex cap screws and four M10
lock washers. See Figure 7.
6. It is important that the serrated rollers of the
Stock Feeder are properly positioned in
reference to the blade. Figure 8 shows how
the center of the rollers should be aligned
with the front tips of the blade teeth. The
gearbox top cover is aligned with the rollers,
so you can use the top cover’s center for
making this alignment. See Figure 8.
Figure 4
Figure 5
Figure 6
Figure 7